
This is the part where all the details come together to ensure that the work goes smoothly. There’s a lot of information here that might not apply to your own project, but I’ve included it here in case it’s helpful.
Specs:
Transition area under double doors with hardwood on both sides
Wood planks glued-on (kitchen side) and floating (office side)
Area: 6ft x 6in
Materials (approximate cost 2018):
1x-Henry Premixed Patch and Level (~$25/gallon)
4x-Jeffrey Court Creama River Rock mosaic tile, 10.75in x 10.75in x 10mm (~$10/sheet)
1x-Polyblend Sanded Grout-Antique white (~$15/10lb box)
1x-Polyblend Sanded Caulk-Antique white (~$10/10.5oz tube)
1x-Miracle Sealants 511 Impregnator Sealer (~$15/16oz)
2x-Hardboard Tempered Panel, actual 23.75in x 47.75in x 0.115in (~$4/panel)*note, or use a single hardboard panel that spans the transition. We just happened to have two smaller pieces.
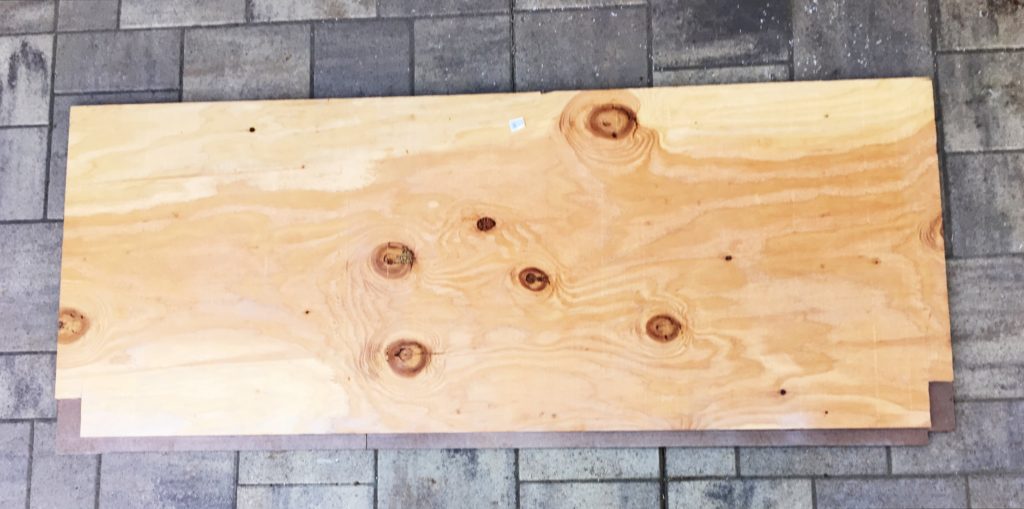
1x-scrap plywood with a clean straight edge longer than the transition area *note, the quality of this edge dictates how clean and straight your cut line can be. We had this edge cut at our local Home Depot, as we didn’t have the setup to do it ourselves.
3x-1000 grit sanding paper
Grout sponge
Clear Satin Water-Based Interior Polyurethane
Miscellaneous: small foam brush, wood screws, wood glue, scrap wood studs, box sealing tape, painters tape, freezer paper, nitrile gloves.
Tools:
Circular saw with wood blade and concrete blade.
Oscillating multitool with wood blade.
Concrete chisel and mallet
Rulers
Spreaders/spatulas (Bondo plastic spreaders worked well)
Grout trowel (appropriate for your tile, we got the square notch QLT Marshalltown plastic spreader for ~$1, and it was perfect )
Vacuum cleaner
Cleaning supplies (bucket, rags, paper towels…etc).
Plan and Prepare:
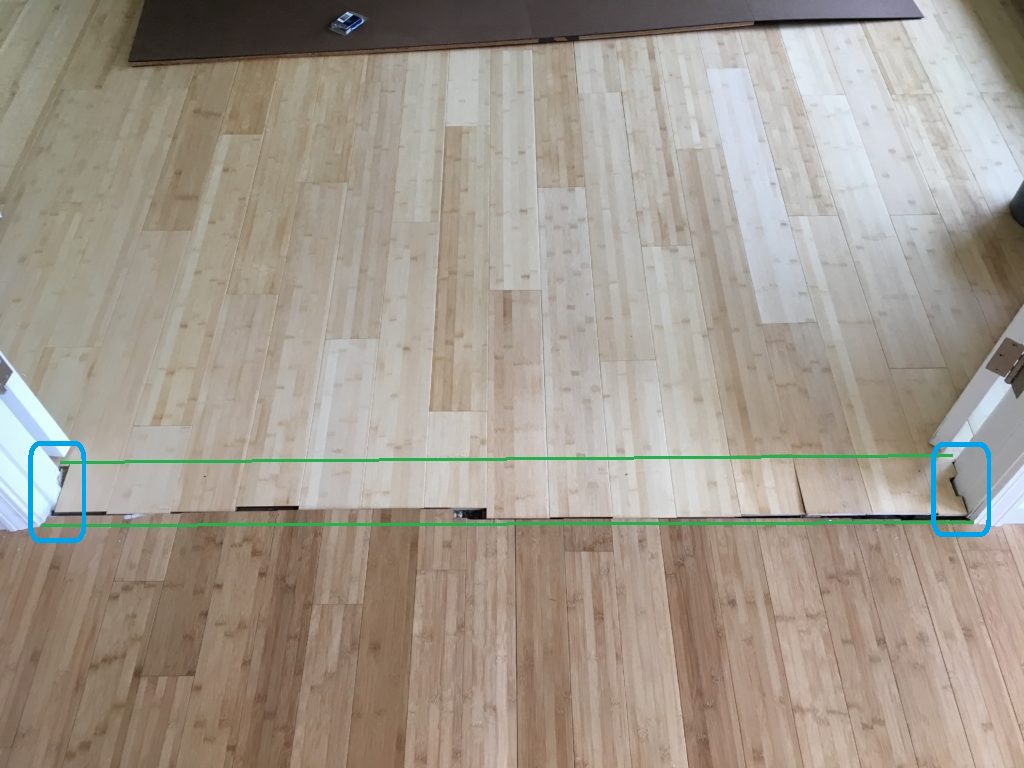
1. Decide size, shape of transition area. We decided to cut back the planks to completely remove the boards that were extra short or damaged (see Figures 3 and 4 from Part 1, and Figure 1 below). We made sure that our cut lines would match up with the door frame for a clean edge. The width of the gap would give us access to all areas underneath that needed work to support the boards. This area turned out to be 6ft wide and 6in across.
2. Making the saw guide. To ensure that we get the cleanest, straightest edge possible, we made a guide for our circular saw, using the scrap plywood and hardboards. Here’s a great video on making your own custom saw guide for a project: Circular Saw Guide. We made sure the guide was long enough to encompass the length of the transition.
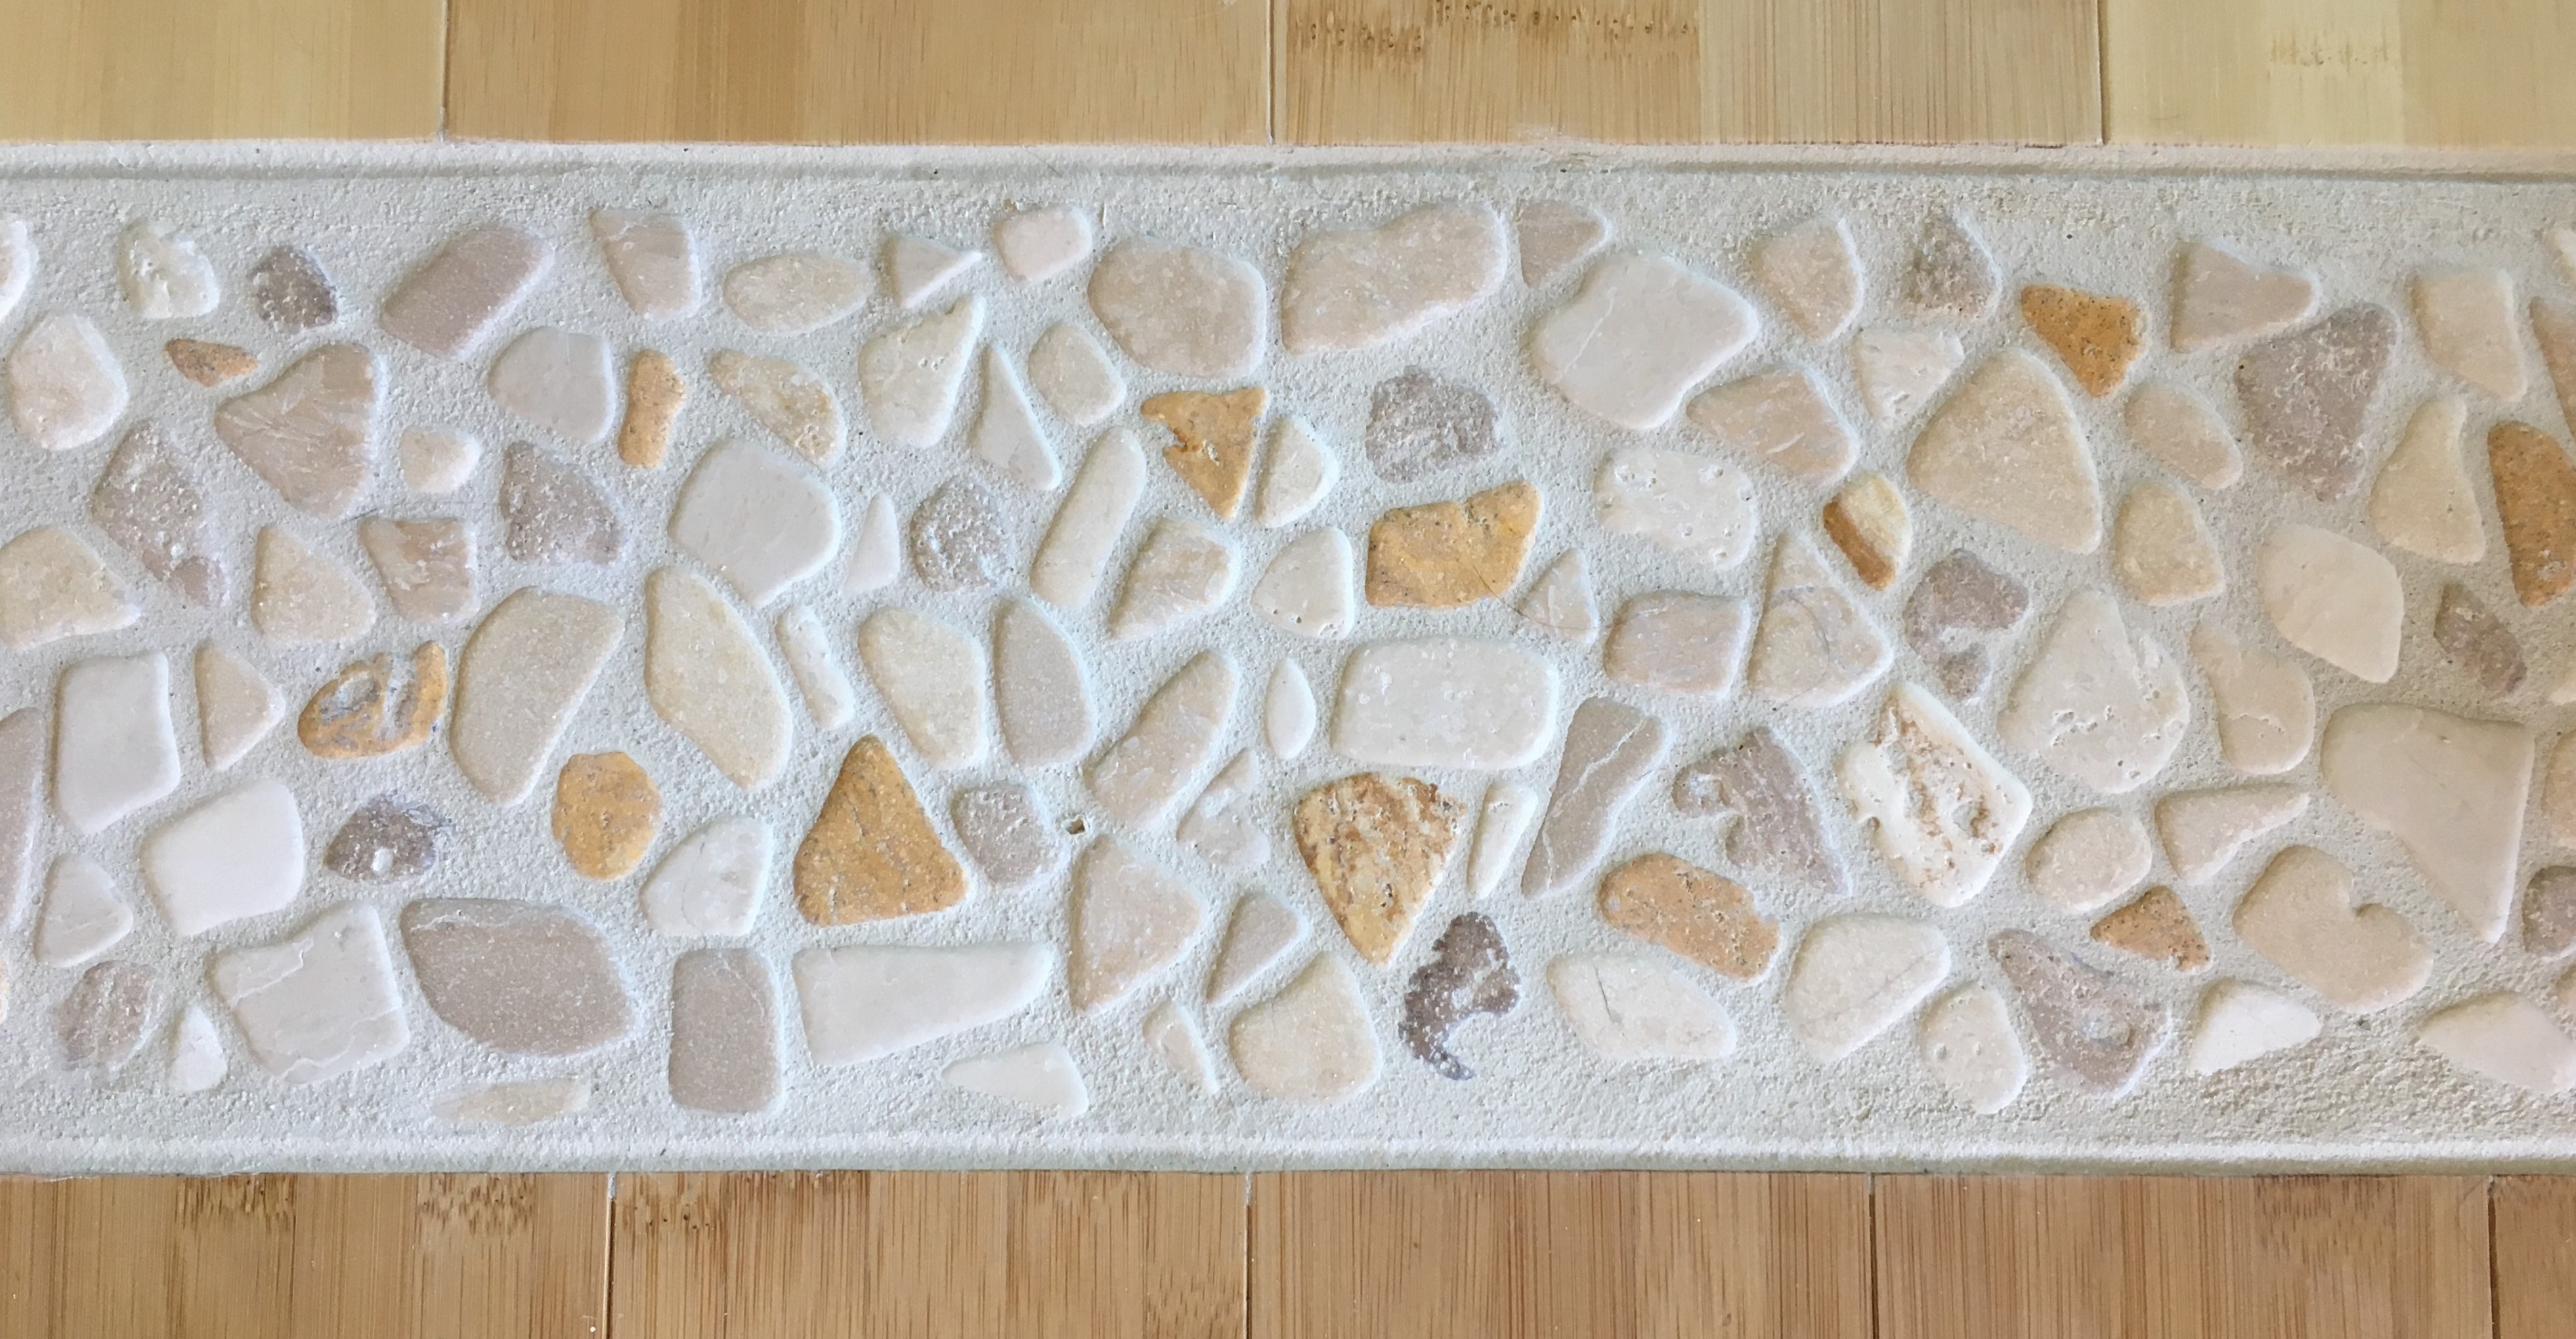
3. Decided the type of tile/rocks that you would like to use. We decided on the Jeffrey Court Creama River Rock mosaic tile, 10.75in x 10.75in x 10mm because we thought the colors would go well with the flooring and we wanted a natural look. The other reason we wanted to use river rocks is because we didn’t want to deal with the hassle of cutting tile. We decided that we would mix and match the rocks to the space. Given our area (6ft by 6in), we needed a total area of 3 square foot of tile, so we got ~4 square foot to have wiggle room.
4. Once we decided on the material in our transition, we could calculate the necessary depth so that our finished transition would be flush with the floor across the entire transition. The thickness of our rocks was 10mm. We planned to use square notch 1/4in adhesive to attach our tiles, which can add around 3-5mm of height. This told us we needed to have a clearance of about 15mm deep in the transition for the tiles and adhesives.
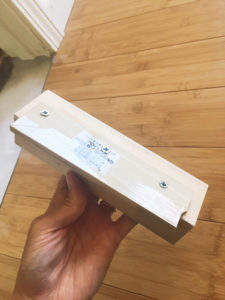
5. Making a spreader. Using scrap wood, wood glue, and a few screws, I made a 6.5in spreader with a 5.5in flap that extends 15mm beyond the edge. I sealed the bottom edge with box sealing tape so it doesn’t get wet when I’m using it to spread the premixed patch and level. This will allow me to smooth the patch and level underneath to provide 15mm of clearance, regardless of the difference in height between the kitchen and office floor across the entire transition. This way, the finished transition will be smooth from one floor to the other, regardless of the difference in height, or the direction of the difference (i.e. if the office floor is higher in some spots and the kitchen floor is higher in other spots).
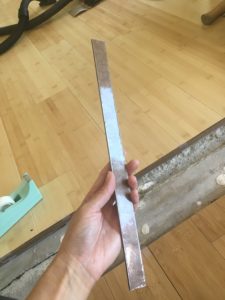
6. Making spacers. Because our flooring is both hardwood, and one is actually a floating wood floor (office), I wanted to ensure that there are space gaps on either side of the transition for flexible caulk to accommodate the expansion/contraction of the floor. I cut strips of the hardboard that were narrow enough to sit at or below the level of the floor. I covered them with a strip of box sealing tape so that the patching compound and grout would not stick to this strip.
To see how we used these plans and materials in the installing, check out the next post “River rocks for a twisted transition-Part 3: Execution”.