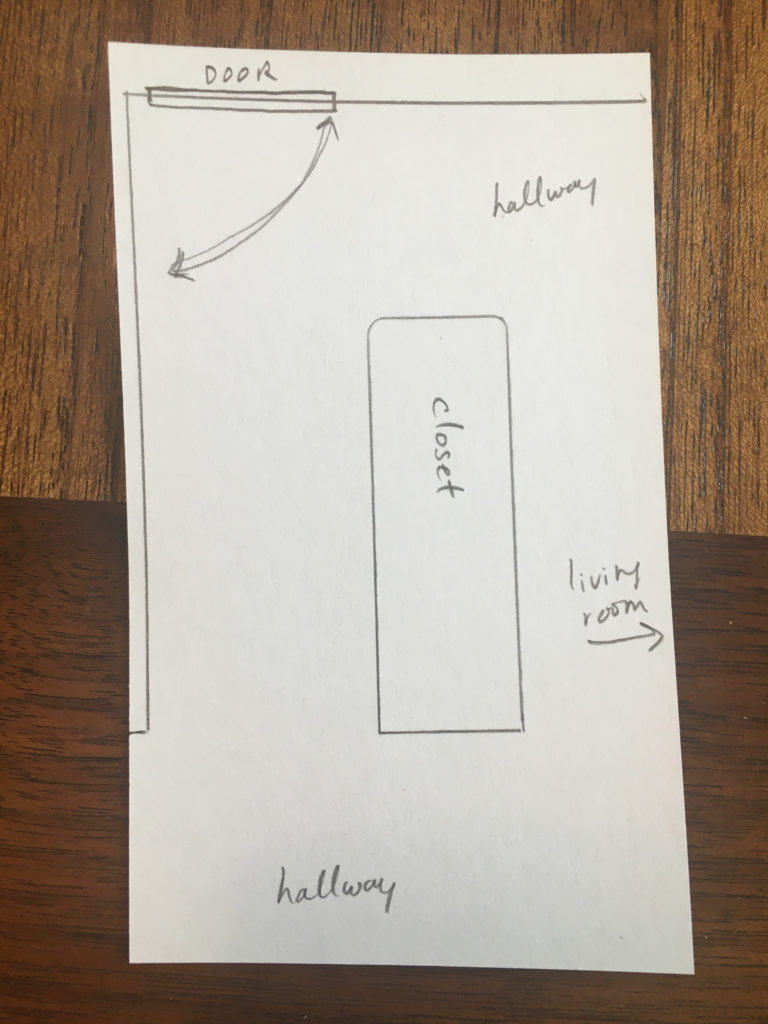
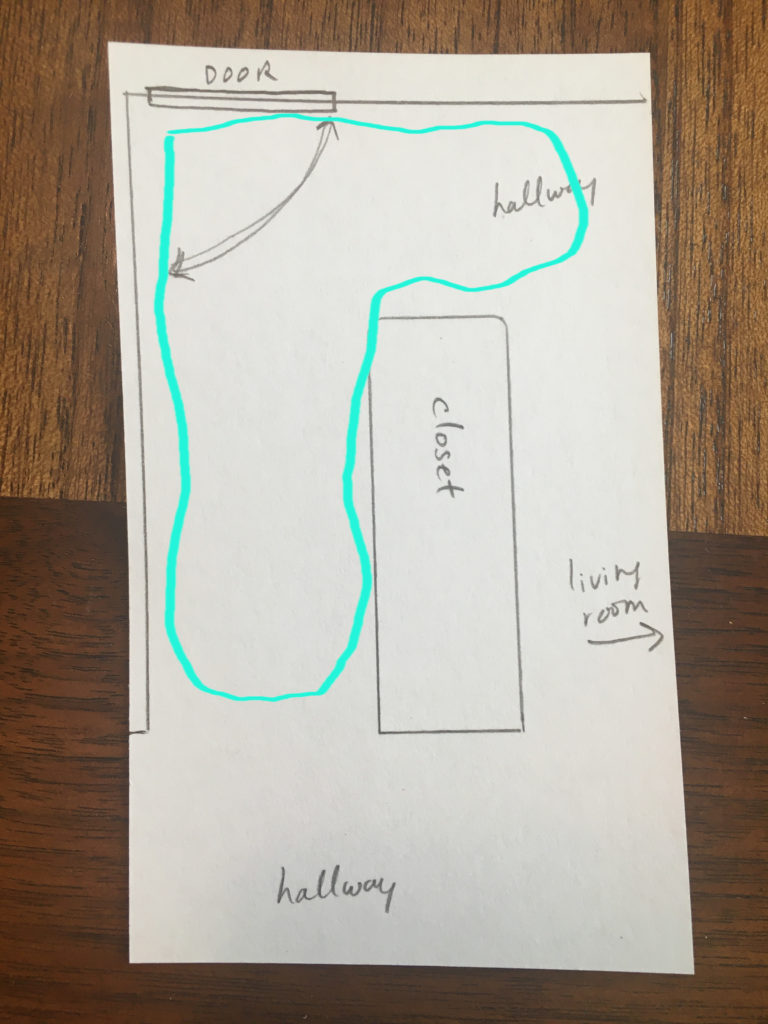
The front entryway of our house is somewhat of an awkward space; the hall continues straight as well as to the left of the door (there’s a floor-to-ceiling closet right in between). We wanted a rug to span the entryway area, but in the meantime, we tried to cover the area with two rugs…
Here’s a schematic of the layout.


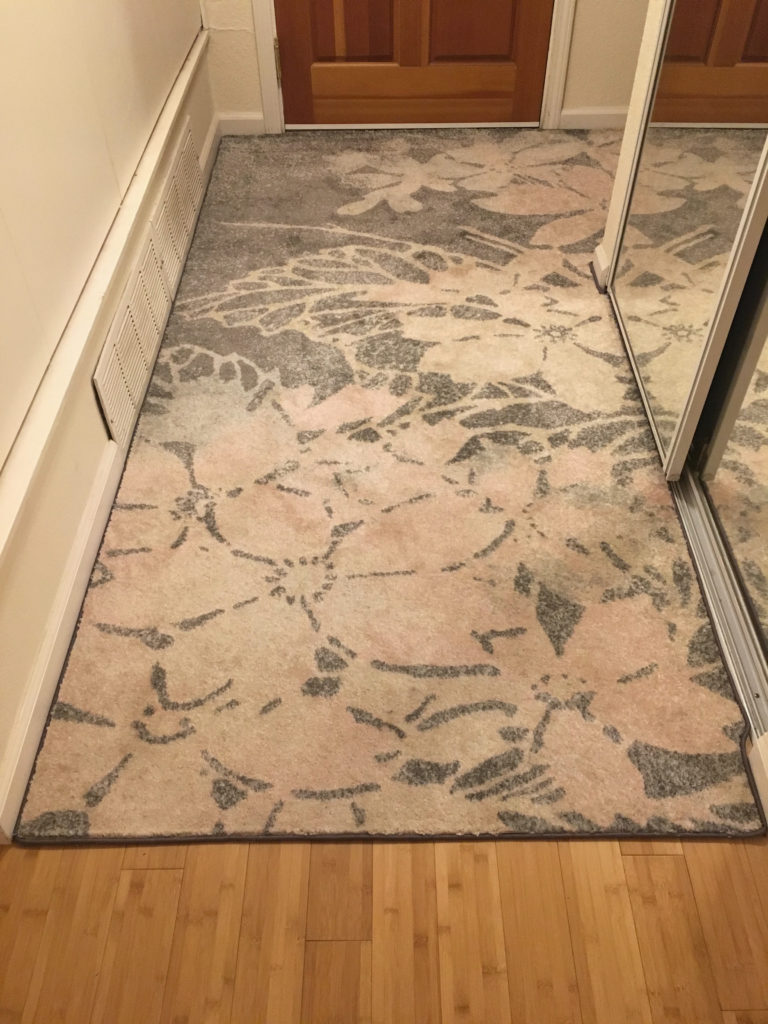
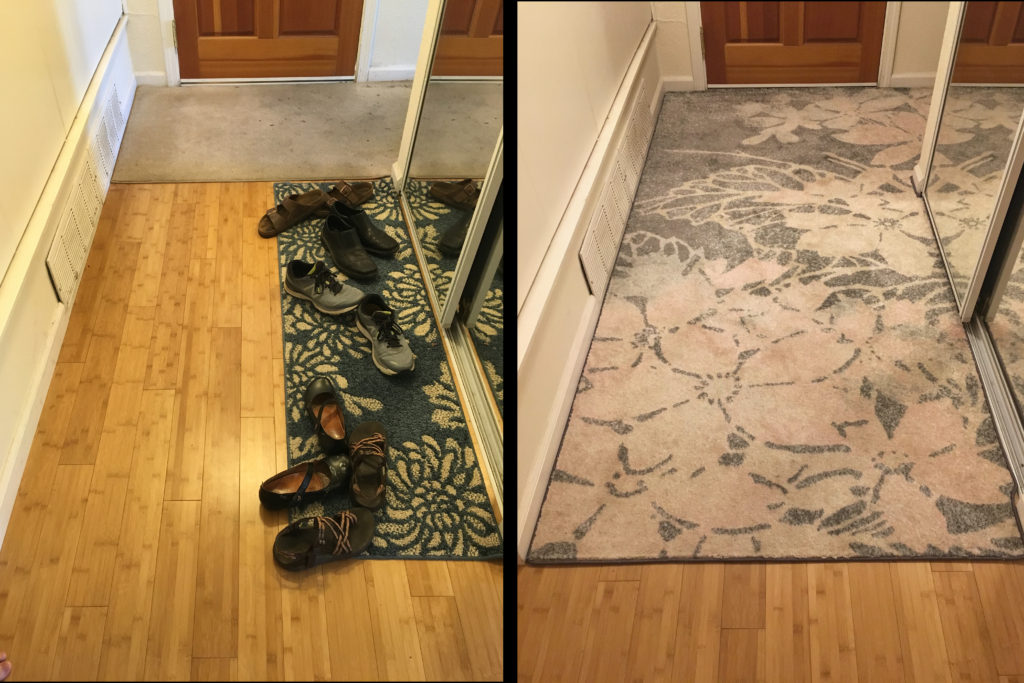
View from side of door View from opposite of door

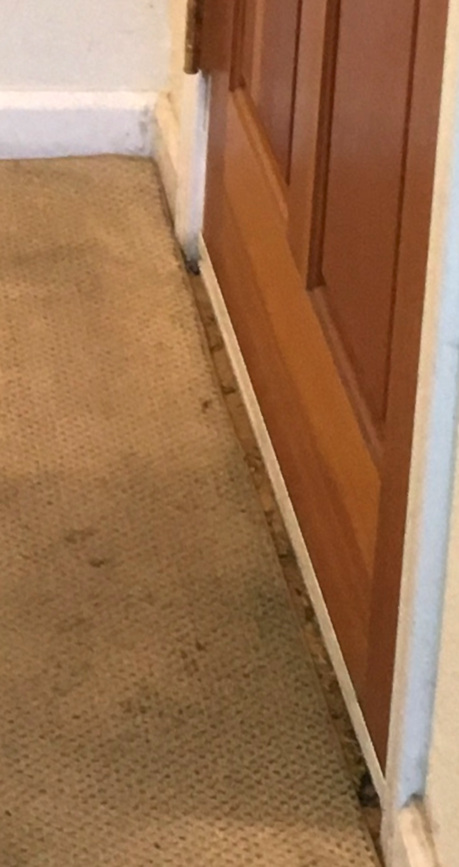
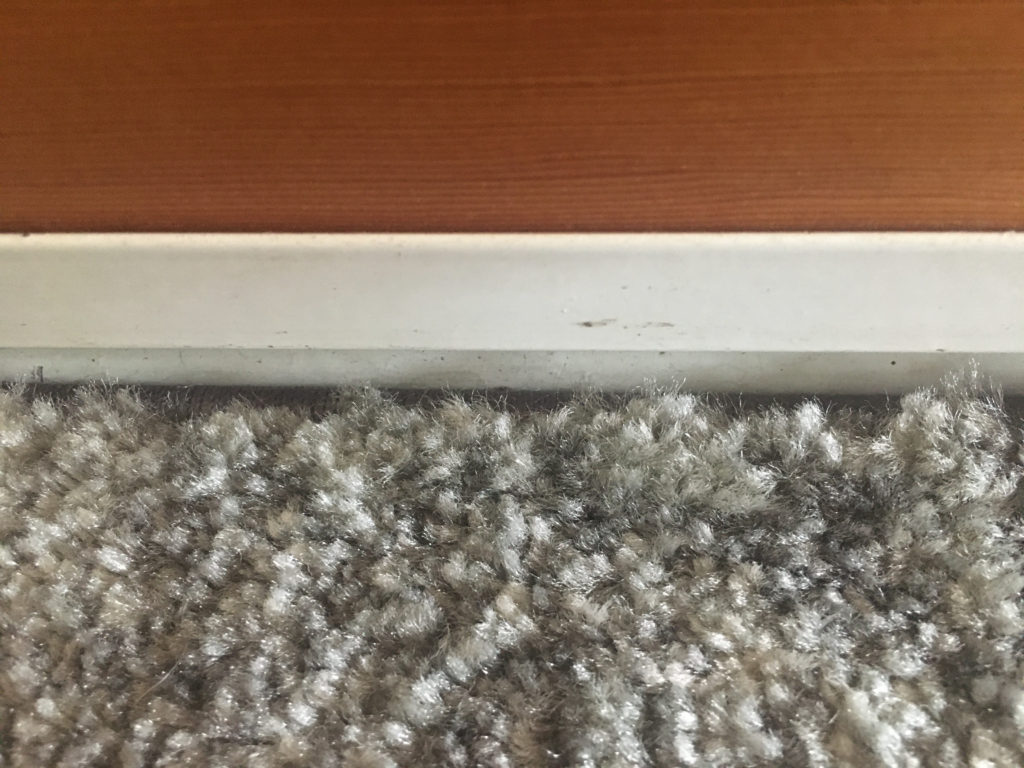
Now this worked for a long while. We don’t wear our shoes in the house and typically leave them on the rug or keep them in the closet. But the problem with this is that there are small gaps between the rugs and the edge it’s up against, leading to areas that collect debris.
In the picture above, you can see a gap between the blue floral rug and the track of the closet door. The gap between the front door transition and the tan rug was even worse, that gap collected debris regularly, and our Roomba can’t get in there.
The other problem is that our very kind guests always end up trying to balance themselves on the rugged areas when taking off/putting on their shoes, despite us telling them not to worry about it. Another project we have in the works is a small fold-down seating bench so that we can sit while fiddling with our footwear.
We decided that we needed to have a custom rug made for this area. We figured we could save money and get exactly what we want if we did this ourselves. And to be truthful, I’m not sure how much money it saved, but we like to do projects anyways!
It turns out that it’s not a big project, it took us a few hours one afternoon once we had all the materials. What I love about this project is that we have flexible choices for our rug pattern, texture, etc.
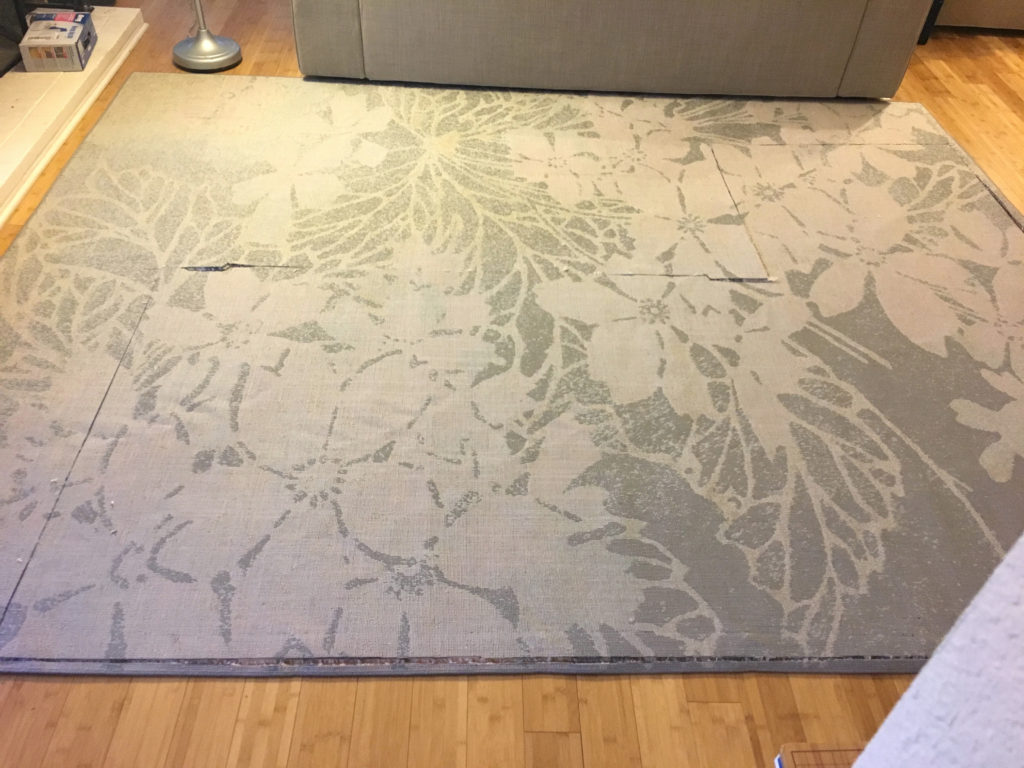
Our space was about 8.5ftx6.5ft. So we got a nice rug on Amazon that was bigger than our area.
The idea is to buy a rug with a pattern we like, that is large enough to cover our space, custom cut it, and bind the entire edge with Instabind Carpet binding. Check out the installation video on the Bond Products website: binding
Materials (approximate cost 2019):
8ftx10ft rug- We got the Nourison TRA08 Tranquil Floral Contemporary Grey/Pink Area rug ($143.00 from Amazon).
54ft roll of Instabind Regular Style Binding- Color Grey from Bond Products ($56.00 + $17.30 Shipping)
*We ordered a Instabind Regular Style & 3″ syn/cotton Sample Chart for $10.00 (free shipping) to see the actual binding colors before we ordered our binding.
1lb bag of #272 1/2″x4″ glue stick from Bond Products ($8.75)
*Next time we would buy the 10″ extra long glue sticks, the short glue sticks were a hassle with our glue gun. Longer glue sticks would have fewer loading, and fewer loading issues.
Glue gun- that accepts 1/2″ glue sticks
Long Nozzle Glue Gun Tip- Bond sells one for $13.95, but we ended up ordering a set of nozzle tips on Amazon for $15.99. The smallest diameter tip works well.
Thick paper for making a template. We used construction paper from a paint store. (template made as discussed in the Bathroom Vinyl post)
Utility knife with hook knife blade.
Scissors to cut the Instabind.
Old credit/plastic cards
Method:
Before starting make sure you have time and space (and all the necessary materials) to complete this project in one sitting; you wouldn’t want a cut and fraying rug hanging about, it’ll just keep fraying, which could ruin the project. I would also suggest reading all instructions and watching any necessary instructional videos first.
1. Using the thick paper, we first made a template, using the same methods we used for the Bathroom Vinyl project. This was especially important in order to have the custom rug fit the space as closely as possible.
2. Using the template, we marked the pattern on the back side of the rug. Make sure your have a good working space, you will want to try to minimize moving the rug after cutting and before finishing binding.
*If your rug has an orientation (ours did), make sure you know what orientation you want for the final product before marking your pattern on the back of the rug.
*Also, we could have left one edge of the rug intact. This would require two points where the Instabind attaches to the existing binding. For a finished look, and to avoid a messy join of the binding in two places, we decided to not include the existing binding. So we set our template and made sure all our cut marks are inside of the existing binding. This also makes for a better fit because some of our walls are not perfectly straight.
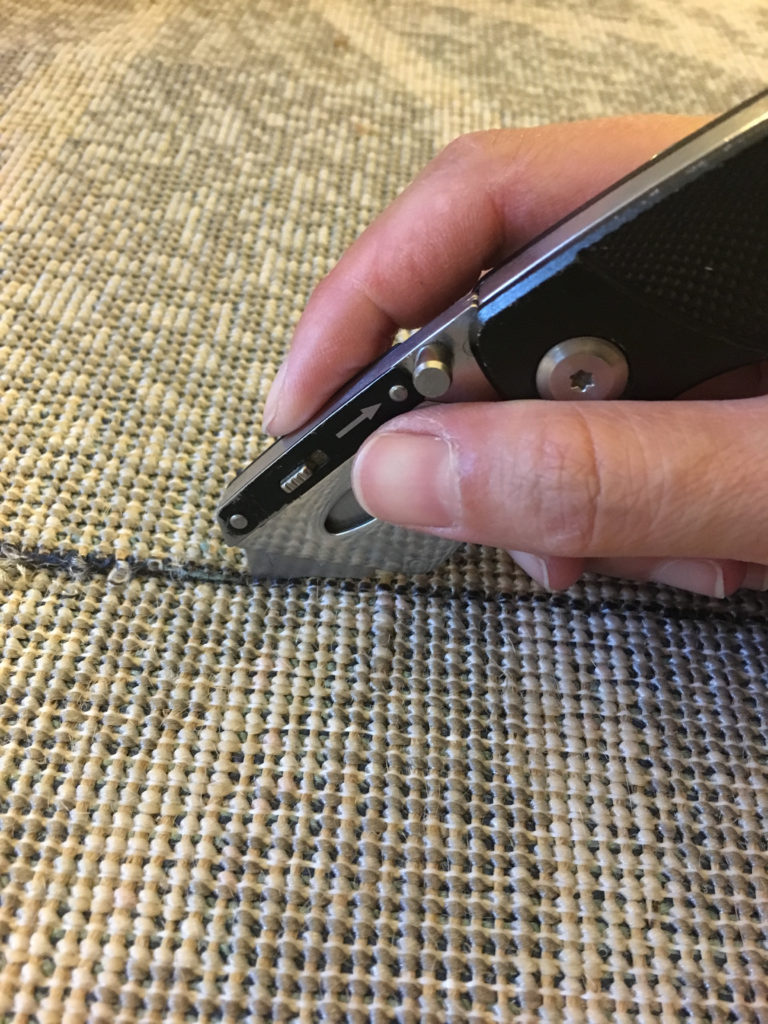
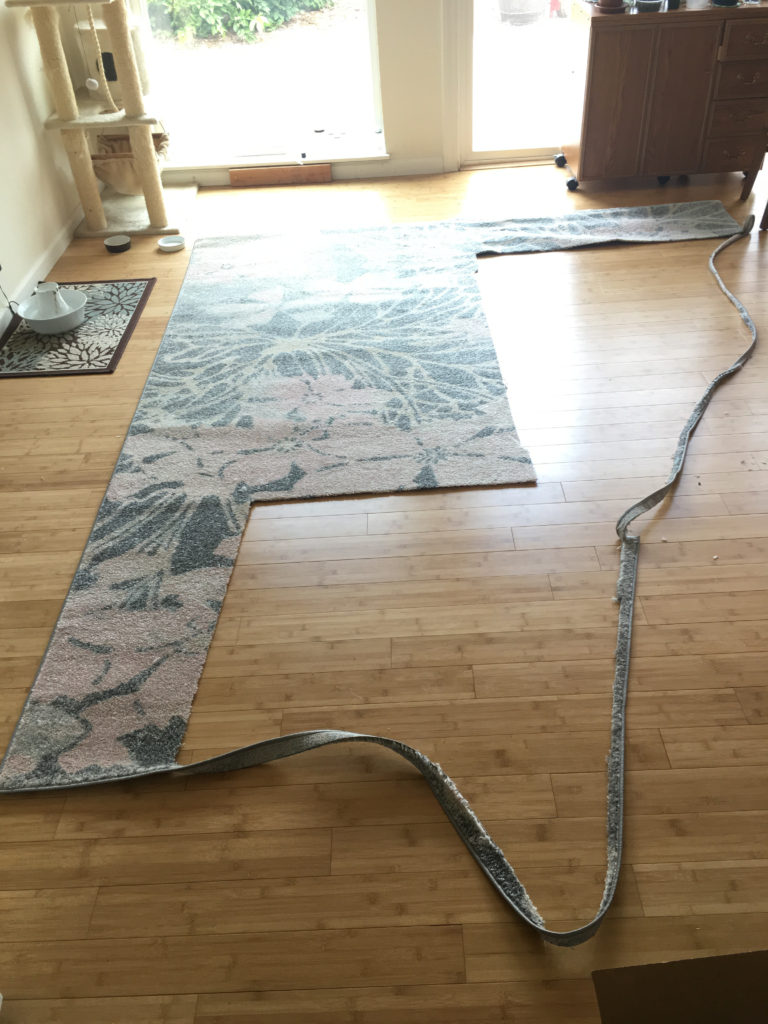
3. Cut along the pattern with a fresh hook blade in your utility knife. Make sure you have a cutting mat under your knife at all times. Once the rug is cut, it’s quite fragile, so be gentle with all handling. If you need to move your rug, hold the rug well into the body of the rug and avoid holding the raw edges.
Cut from back of rug Remnant
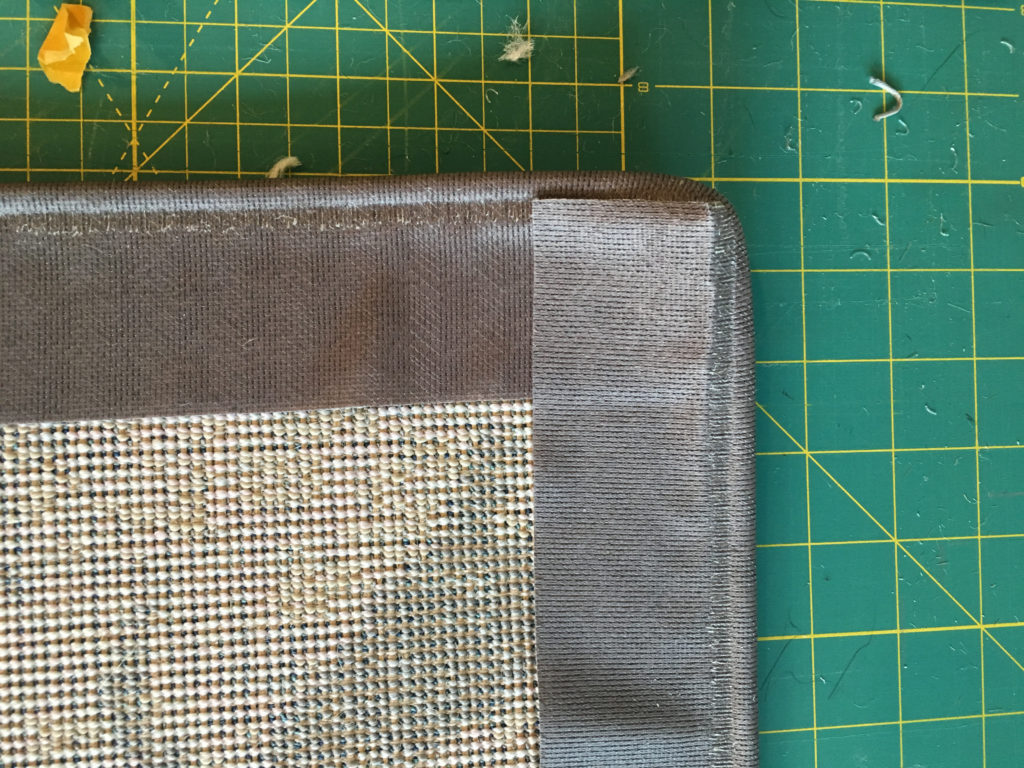
4. You’ll want to bind the edges of your custom rug ASAP after cutting. Follow the directions that come with your binding or follow the instructional video. The first step is to peel off the backing and attach/fit the binding to the raw edges.
*Because we had excess rug left over, I’ve tried binding both with the rug upside down (backing facing up) and rug right side up. In the end, I think it’s best to have the rug right-side up, because then you can get the rolled edge of the binding as close to the raw edge of the rug as you can.
*It is important that the rolled edge is not on top of the raw edge, because there would not be a good space for the glue to go in afterwards, and the binding would not rest flush with the floor.
*We found that it is possible to follow small corners/notches with the Instabind, just take your time and make sure you have a sharp pair of scissors to cut the binding backing.
5. Continue to attach the binding using hot glue gun. The smallest diameter needle tip for the glue gun worked well once the glue was hot enough. As you’re gluing from right side, I found that the rug fibers can get in the way of the glue gun tip, so I used an old credit card to keep the nap out of the way.

That’s it! Once the glue is cooled and everything is stabilized, you can gently clean the loose/disturbed nap from the edges, but be very careful if there are loose nap on the edge, use some more glue. I also used my glue gun to more securely attach the backing of the Instabind in areas that I felt could use reinforcement.
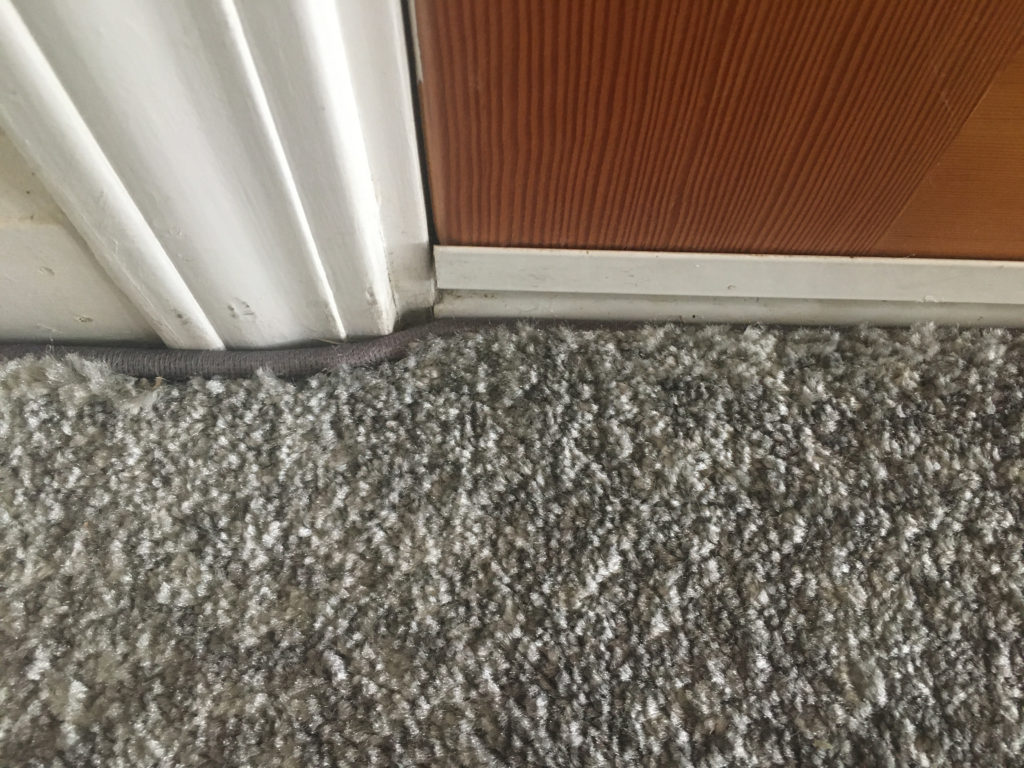
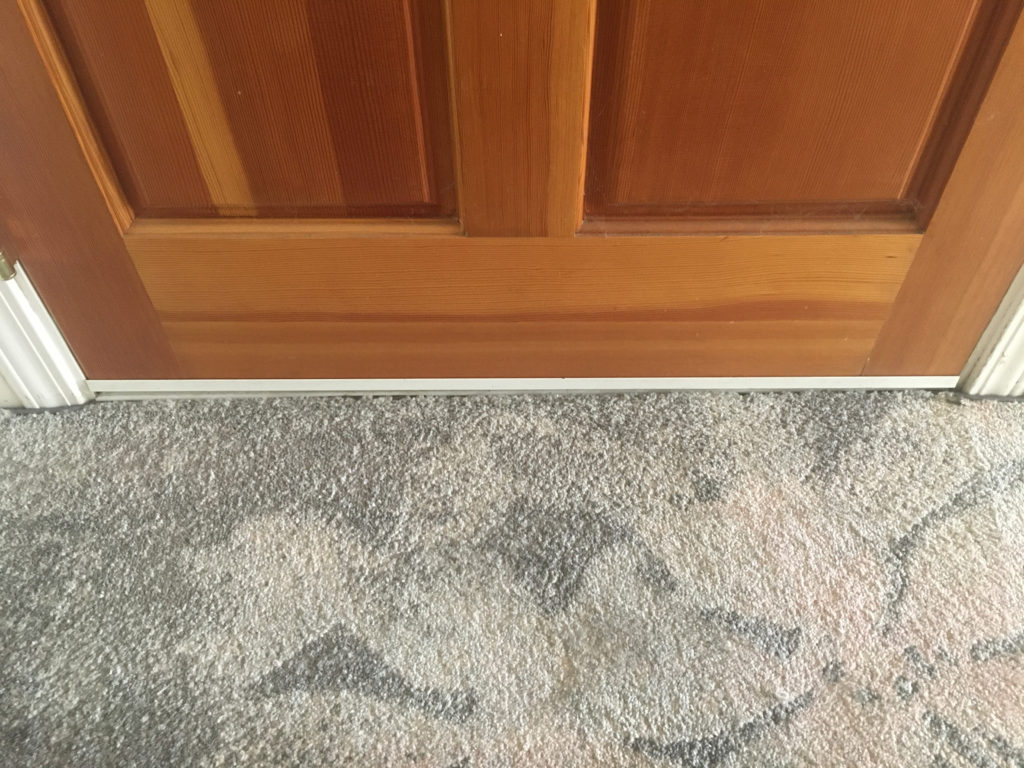
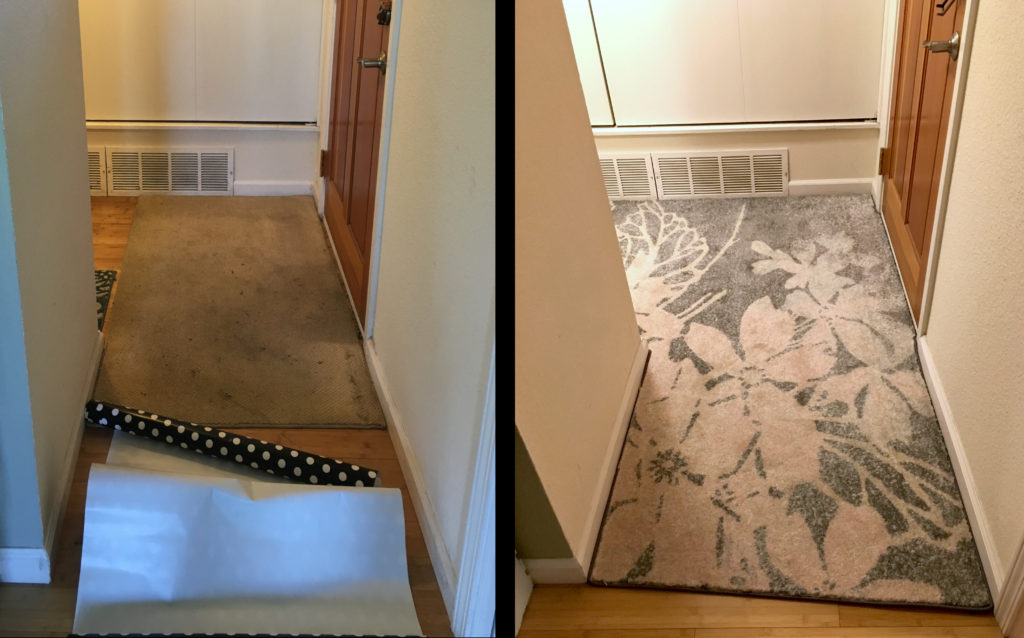
This entryway rug is just right, you can see below that the contours can be made to fit small notches, and the fit is very close so that there isn’t a gap to collect debris!

No gap between door transition and rug! Curve around the frame allowed the rug to snug up to door transition. Clean transition between door frame and rug.
We are very happy with the result!
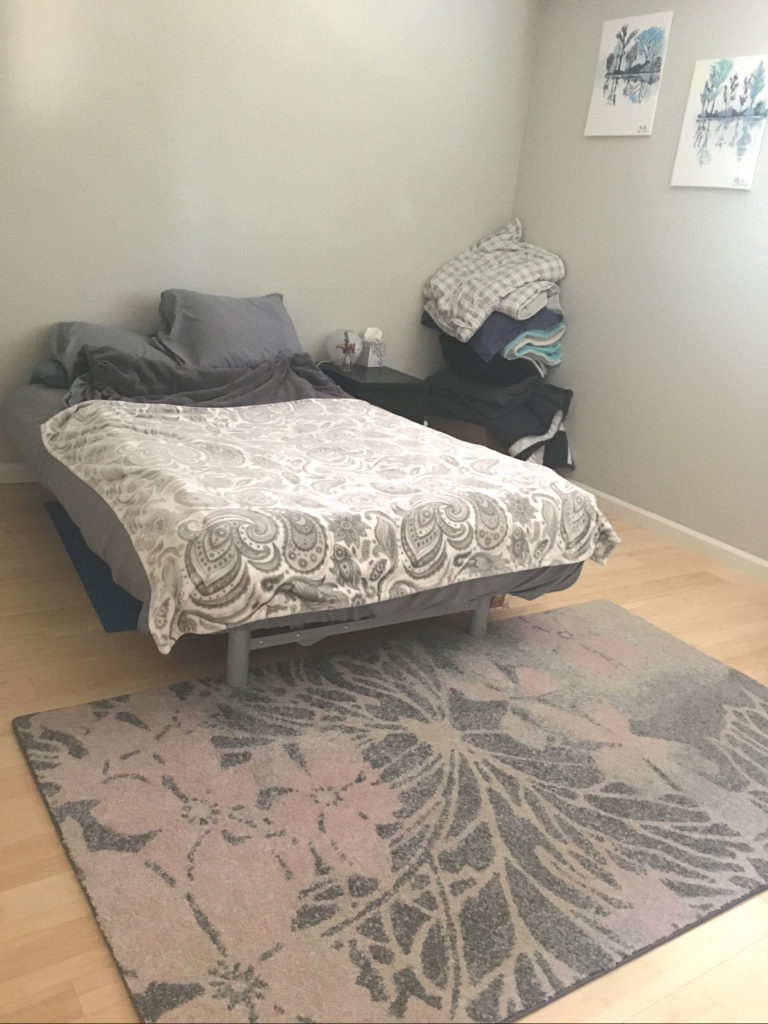
As for the excess remnant, we had enough binding to make an extra area rug for our guestroom.
In case you’re interested, we had plenty of glue sticks left. If I did this project again, I’d make sure to have a more ergonomic glue gun.
This method would be great to make a custom rug with different shapes, it could easily make a round rug, or a heart rug, or a whale rug! Or a rug for an area that isn’t a perfect rectangle!
We are so pleased with the results!