- Concrete Strawberry Risers- 1. The idea
- Concrete Strawberry Risers- 2. The materials
- Concrete Strawberry Risers- 3. The first batch.
- Concrete (Aircrete) Strawberry Risers: 4. Optimize
- Concrete (Aircrete) Strawberry Risers: 5. Optimized Procedures
To address the weight issue and after a lot of research, we found a great information series on aircrete by Man About Tools: https://manabouttools.com/best-aircrete-recipe/
Caution: Before getting too excited about the aircrete, just know that it can be very finicky. In the end, I would have continued to troubleshoot aircrete, but I found that perfect aircrete risers would crack straight through after being installed in the garden for a month. This could be due to a variety of factors, but for me, I’m not sure it’s worth all the effort to continue to optimize the things if they have a high chance of cracking a month later. I’ll discuss this more in a later in the series. Meanwhile, some of the following optimizations are useful for regular concrete as well as for aircrete.
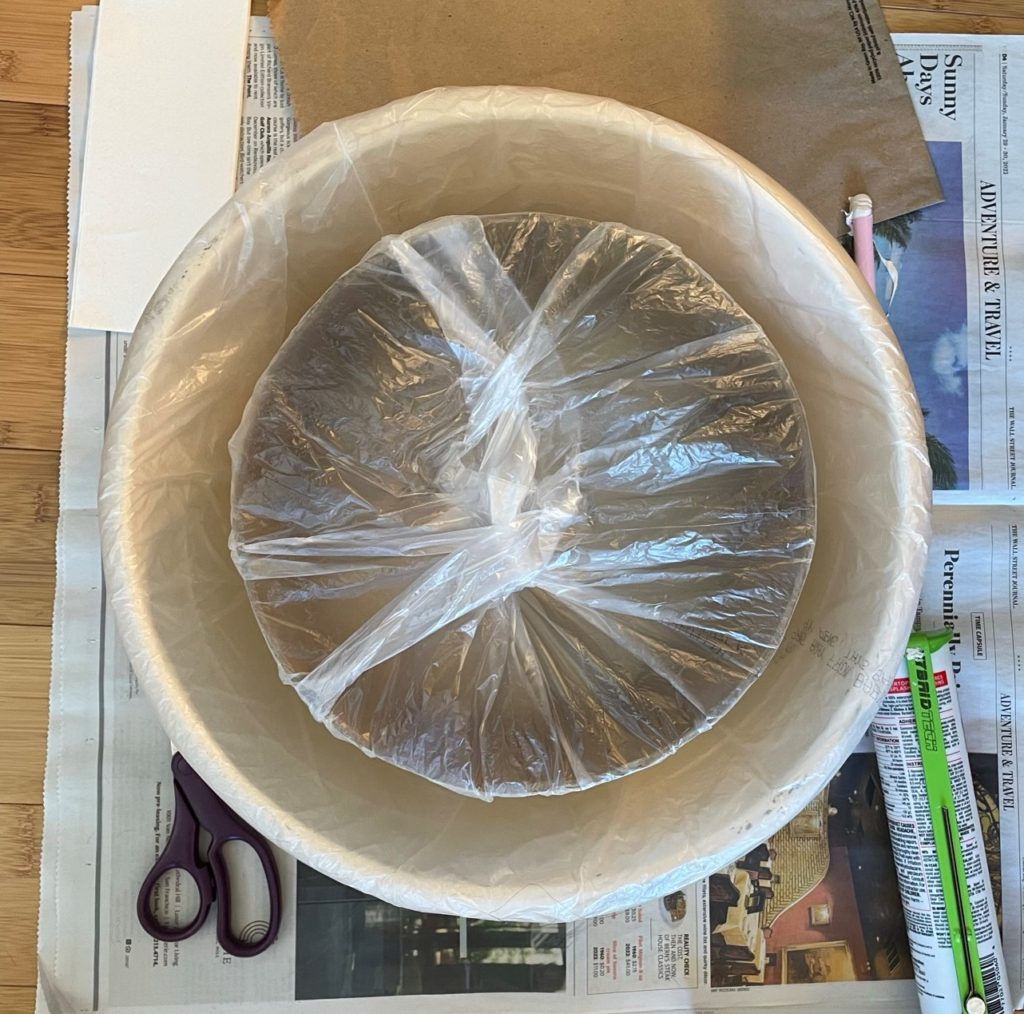
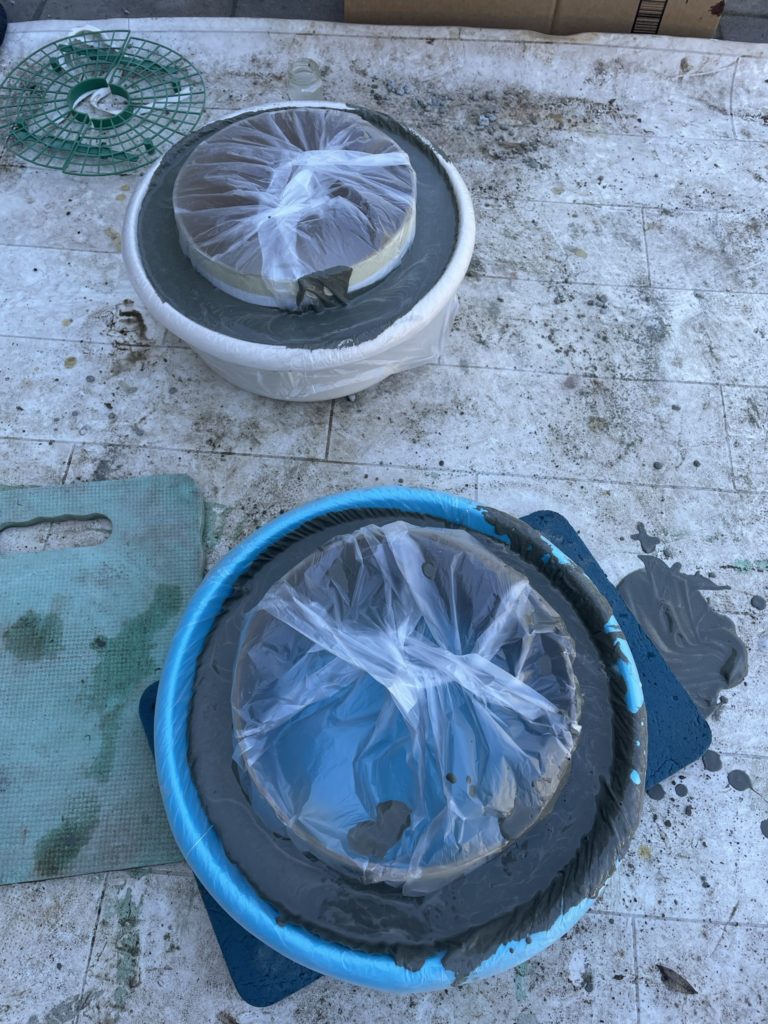
To address the release issue, we tried plastic bags.

We lined the mold with the plastic bag along the areas where the aircrete would touch. I must admit a part of me really hoped for a solution that would not require me to wash and scrub the mold after every batch!
We made up the first batch of aircrete according to ManAboutTools as follows:
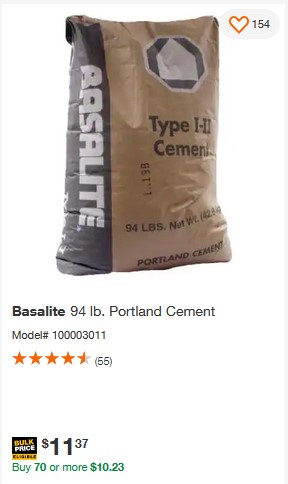
- Portland Cement: 10lbs
- Water: 5.6 lbs
- Foam Solution: 0.5lbs (made with 3oz Dawn green apple antibacterial dish soap into 0.5 gallon of distilled water)
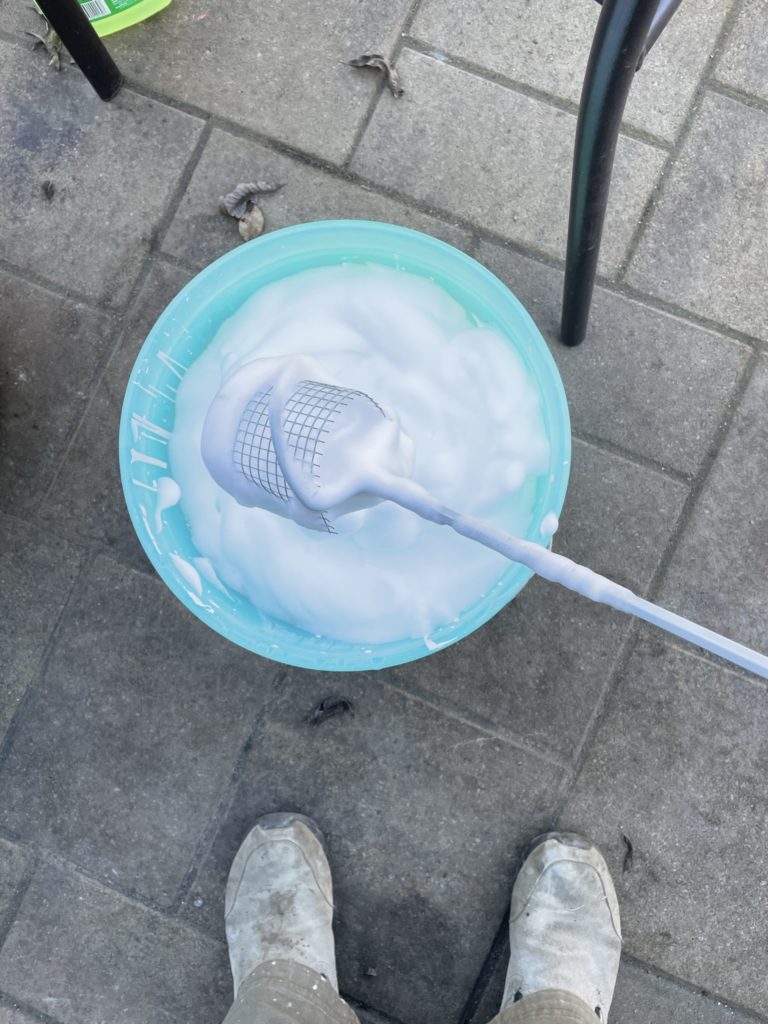
We used Dawn dish soap as that is what we had on hand, and we used distilled water to make up the solution, as we have hard water which decreases foaming action. We mixed up the foam first with a drill attachment that had a piece of hardware cloth attached, which actually worked really well.
We then mixed up the concrete in a separate bucket and added it to the foam and mixed it as well as we could. We noticed that if the final mix was done on high speed, it seemed more of the foam deflated and formed big bubbles that would burst through the surface. This made me feel that we needed to work quickly so minimize foam deflating. The quantity of materials used was enough to fill about 2 molds worth.
After pouring, we noticed that we needed to wait a lot longer to start watering the surface of the aircrete- it was very soft and watering too early would simply wash a hole into the aircrete surface where the water falls. We poured on the 14th and demolded on the 18th just to be on the safe side.
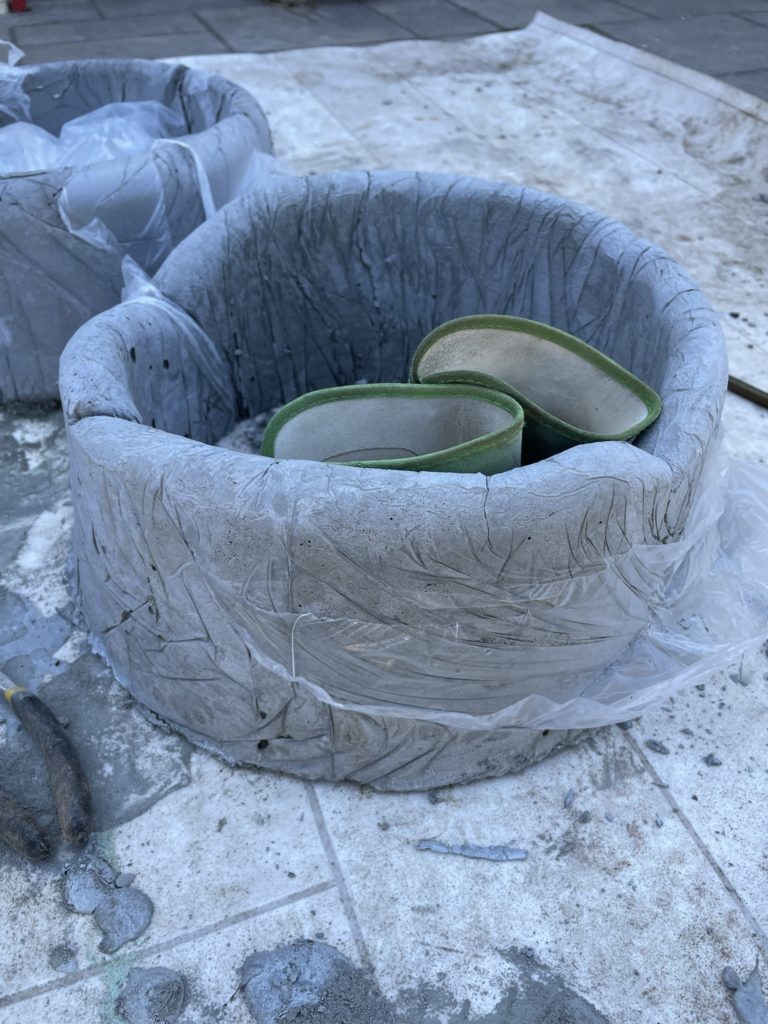
I wish I could say that we figured it all out quickly, but this was not so. The biggest issue was that the plastic bag was difficult to smooth out entirely, especially now that the concrete mix was much lighter.
What we learned:
- The biggest issue was that the plastic bag was difficult to smooth out entirely, especially now that the concrete mix was much lighter. Tapping the molds after pouring the aircrete didn’t help much and just seemed to make the bubbles rise to the surface some more. This resulted in incomplete aircrete forms and the plastic was also getting caught in the ‘wrinkles’. One the plus side, where the plastic was smooth, it released perfectly from the aircrete.
- The aircrete was much easier to work with given the lower weight and the ability to mix everything with a drill attachment.
- The aircrete was very soft and needed over 72 hours of setting before it could be removed in an intact form. However, after it is set, it becomes more difficult to remove the cardboard sonotube from the center. For some reason, some batches of aircrete were more soft/crumbly than others.
I won’t go into all the various additional tests we did. Instead I’ll summarize the major issues we were dealing with and variables we tested and the best solution in bold:
- Release of the aircrete from the basin.
- Nothing- not great: the aircrete clings to the basin and requires lots of tapping/shaking to get out. Also a pain to clean the basin afterwards.
- Paste wax- not great: pretty much the same as nothing.
- Plastic bag- bad: it was impossible to ensure a perfectly smooth surface on our curved basin and wrinkles created deep crevices and irregularities.
- Murphy oil soap- bad: the aircrete would adhere to the sides and form a thin brittle shell separate from the rest of the aircrete.*
- WD-40- bad: the same as for the Murphy oil soap.*
- Pam- bad: the same as for the Murphy oil soap and WD-40.*
- *For these variables I applied the release shortly before pouring the aircrete, I don’t know if the results would be different if the release was allowed to dry first.
- Paste wax followed by Johnson & Johnson baby powder (cornstarch)– great: allows the aircrete to slide out effortlessly after a brief soak of the outside of the basin in hot water.
- Release of the sonotube from the aircrete.
- Cut the sonotube lengthwise– great: cutting the tube allows me to remove it easily despite the contraction of the aircrete. I sealed the cut with clear box sealing tape and added some pull tabs with the same tape along the length. This facilitated the removal of the sonotube and also protected the sonotube for repeated use.
- We tried all the same release stuff we tried for the basin (1. above), except for the paste wax followed by J&J baby powder.
- Lined with Home Depot plastic bag (shown at top of this post)- great: Because the sonotube is a uniform cylinder, I could use a plastic bag after cutting off the bottom where it gathers. The excess plastic could be easily taped up to present a perfect smooth surface for the aircrete. This has the added advantage of not having to scrub or clean the outside of the sonotube that comes in contact with the aircrete, which maintains the integrity of the sonotube and allows reuse.
- Increasing set of the aircrete for quicker turnaround and increased durability– we considered adding hardware cloth, but we didn’t think we’d need to go so far for small garden risers that wouldn’t be bearing any weight.
- Add Sakrete Set Accelerator (3oz per 50lbs cement)– great: this totally helped the set up and allowed watering in a couple of hours and demolding after 48 hours. We could actually demold sometime after 24 hours depending on the temperature.
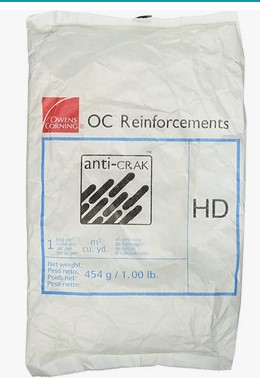
- Add Glass Fibers (a pinch)– great: this seemed to help the aircrete gain some durability and had the added benefit of being mixable with the drill attachment. We ended up getting a second mixer attachment so that we can mix the cement without the hardware cloth attachment (used only for the foam mixing), which would end up catching all the glass fibers. Also very easy to use. This idea came from ManAboutTools.
- (add wire mesh)- I got some hardware cloth, but the shape and setup for this was awkward for placing and stabilizing the mesh in the middle of the aircrete, so I didn’t try this. May try this if I continue to troubleshoot aircrete.