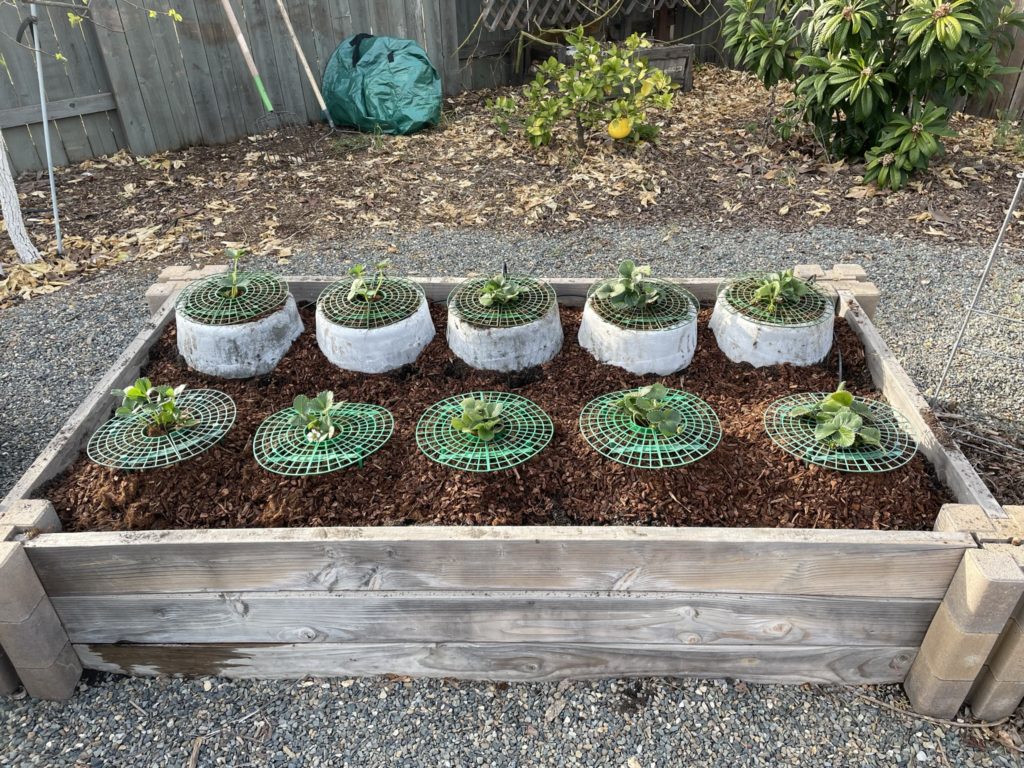
- Concrete Strawberry Risers- 1. The idea
- Concrete Strawberry Risers- 2. The materials
- Concrete Strawberry Risers- 3. The first batch.
- Concrete (Aircrete) Strawberry Risers: 4. Optimize
- Concrete (Aircrete) Strawberry Risers: 5. Optimized Procedures
Armed with the information we gleaned from our tests, here’s our optimized protocol to make these beautiful risers:
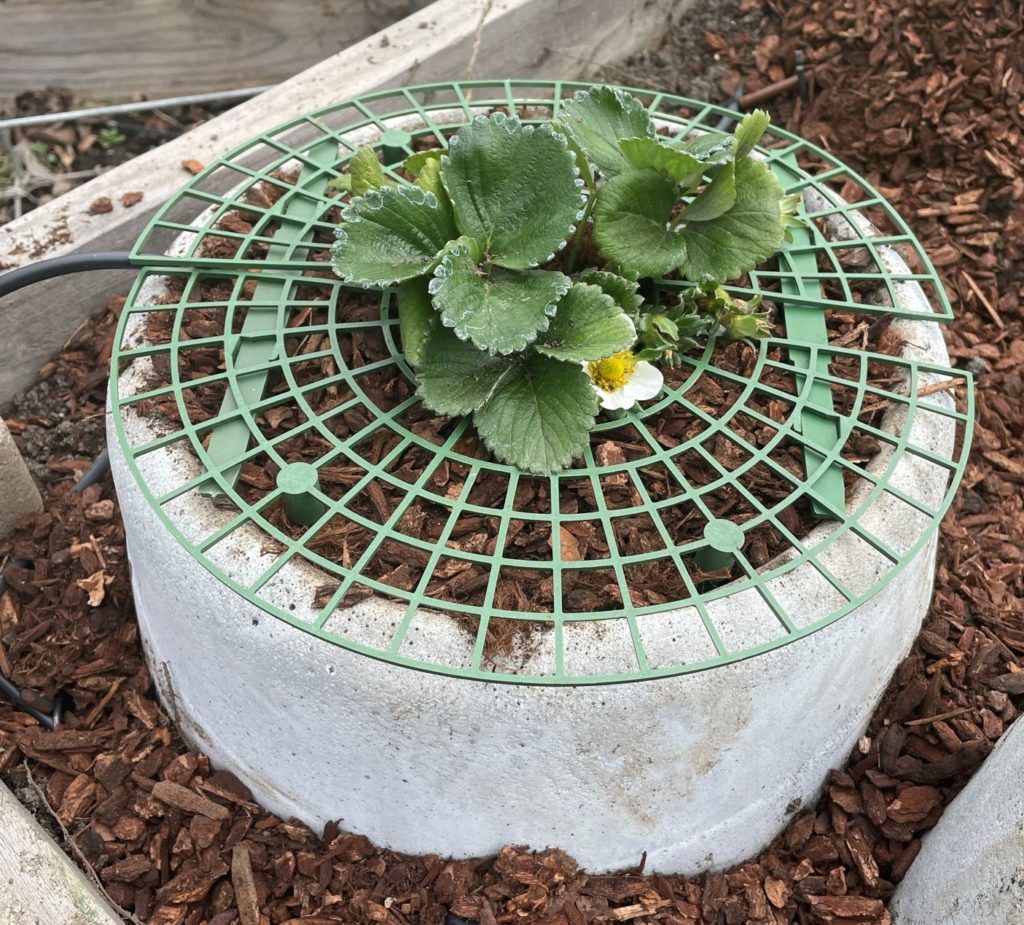
Caution: I mentioned in my last post, and I’ll repeat it here- Aircrete risers while they look beautiful and are light and easy to move around, might not be very durable in this application. I am still making this info available as it can be applicable to both regular concrete as well as aircrete, and maybe someone else is interested in trying aircrete.
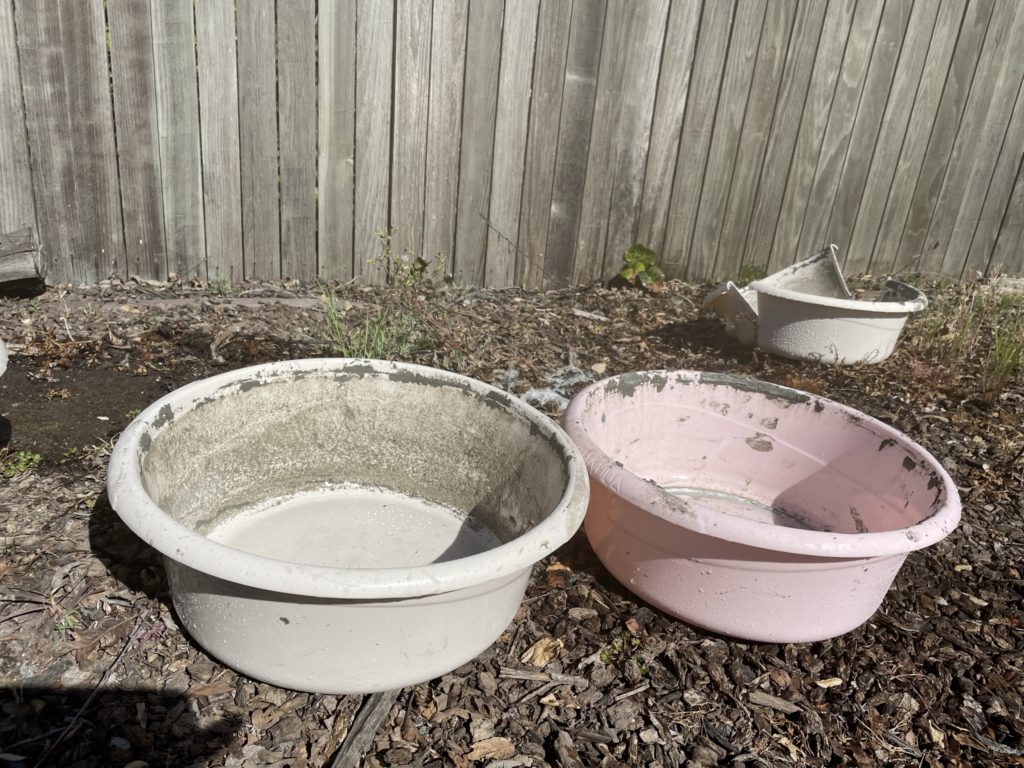
- Preparation basin: We start with clean basins that we washed after the last batch. The caulk needs to be fully removed. Anything stuck on the basin would create the corresponding hole in the final product, so we’re careful here. After washing and drying the basins, we apply a coating of paste wax to the inside of the basin.
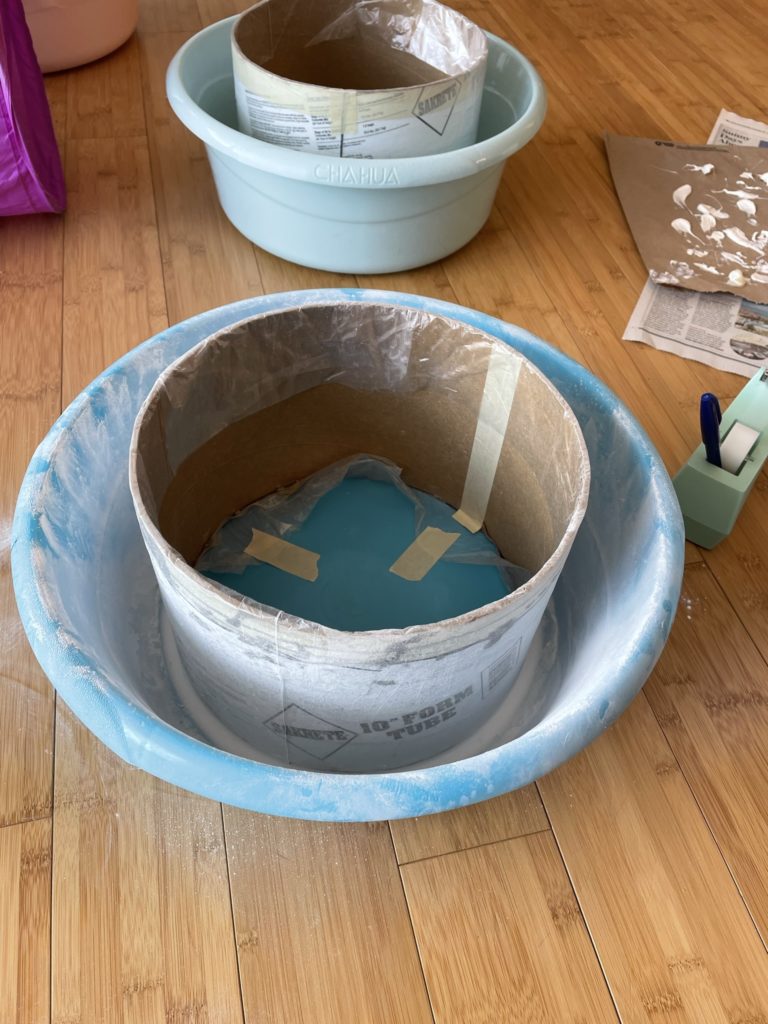
2. Preparation sonotube: The sonotubes are cut to about 6.5″ in length. We then cut a straight vertical line, or seam, along the side, which is sealed with clear box sealing tap. We added some additional tables on the top and along the edges to facilitate the removal of the sonotube.
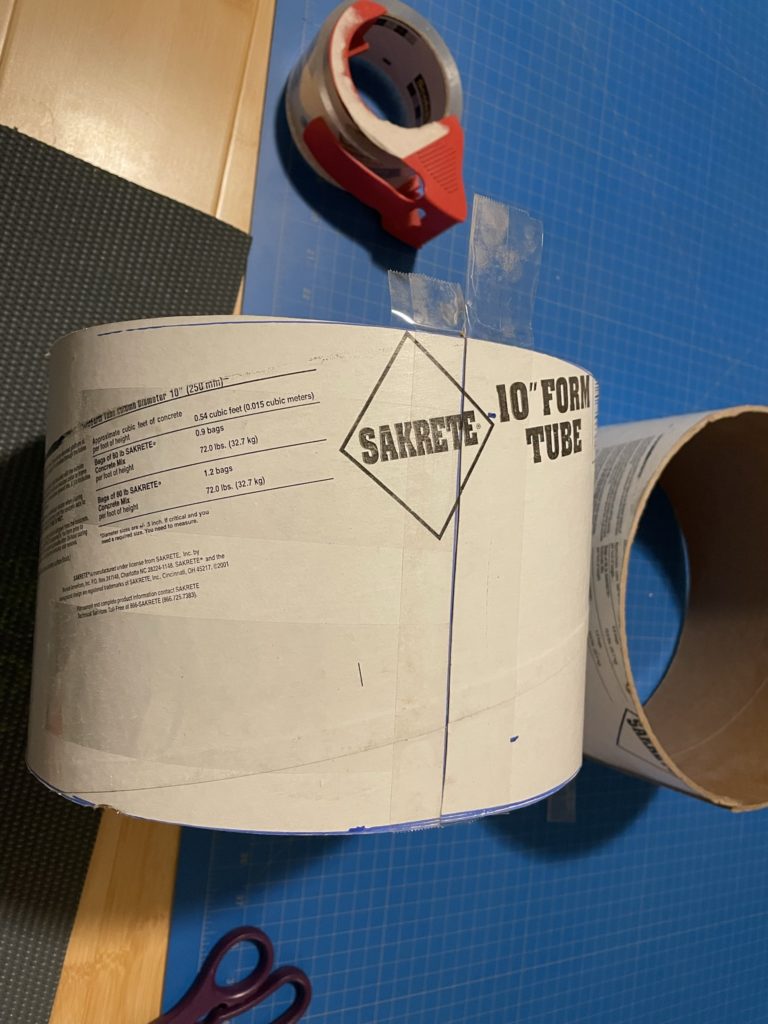
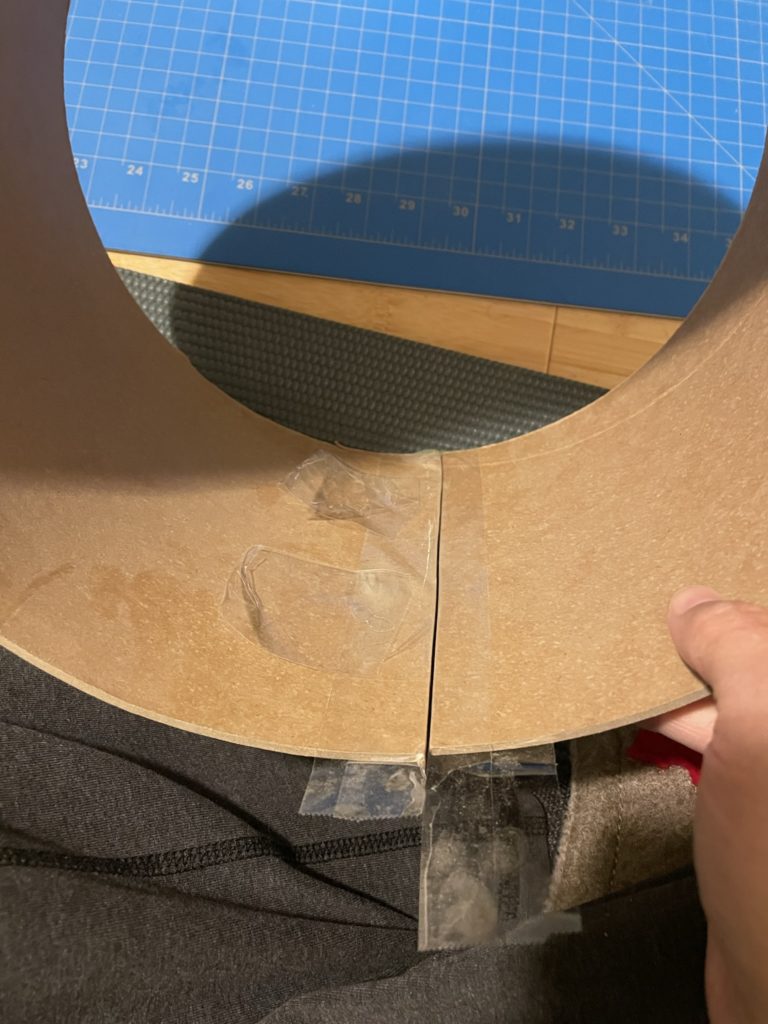
3. Preparation assembly of mold: The seam of the sonotube is taped with masking tape along the entire length. A tube of plastic is fitted to the outside of the sonotube with scotch tape sealing the plastic so that it is perfectly smooth. This lined sonotube is then matched to the foot ring of the basin by holding it up to the light and secured with more masking tape between the inside bottom of the sonotube and the bottom of the basin.
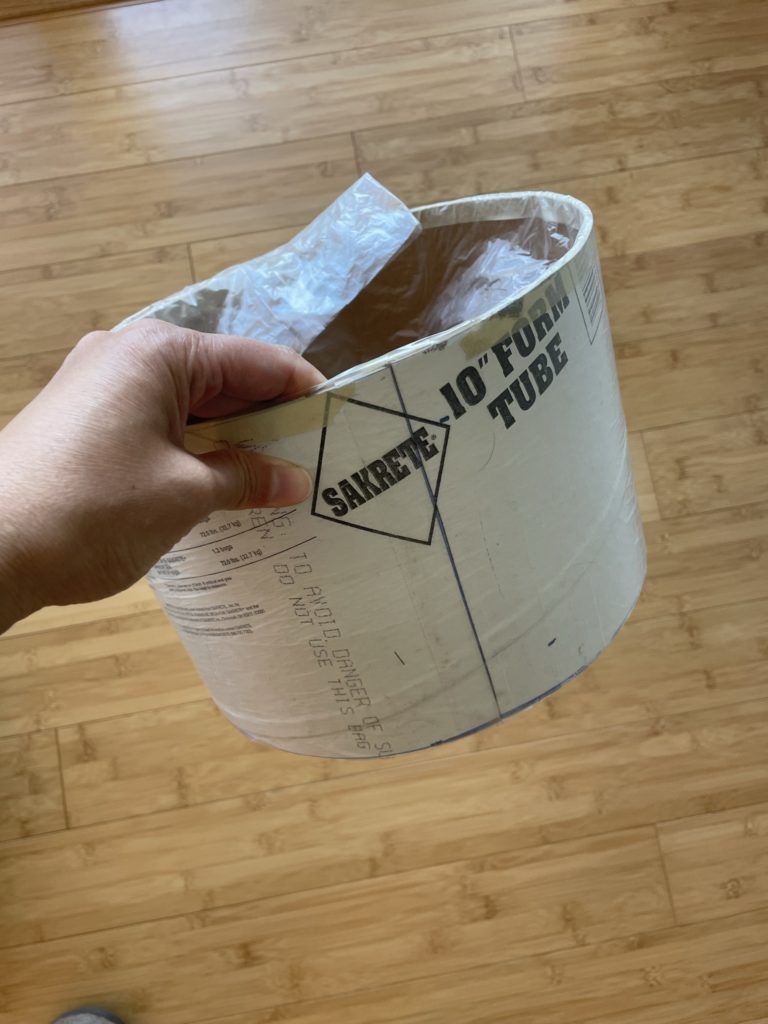
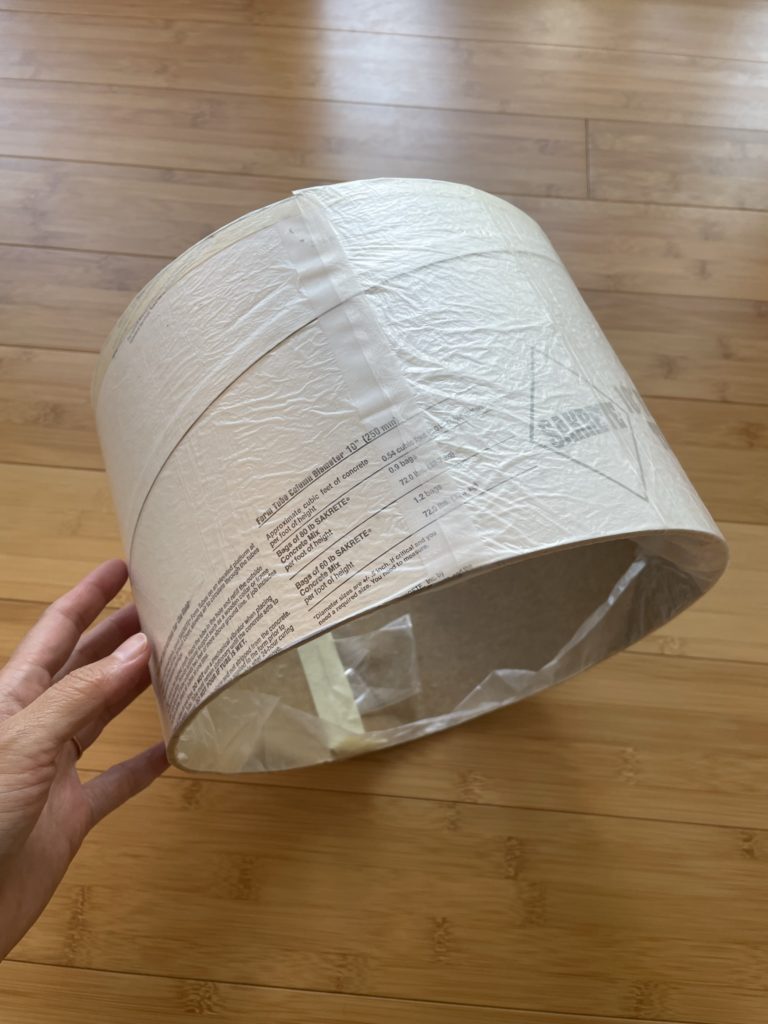
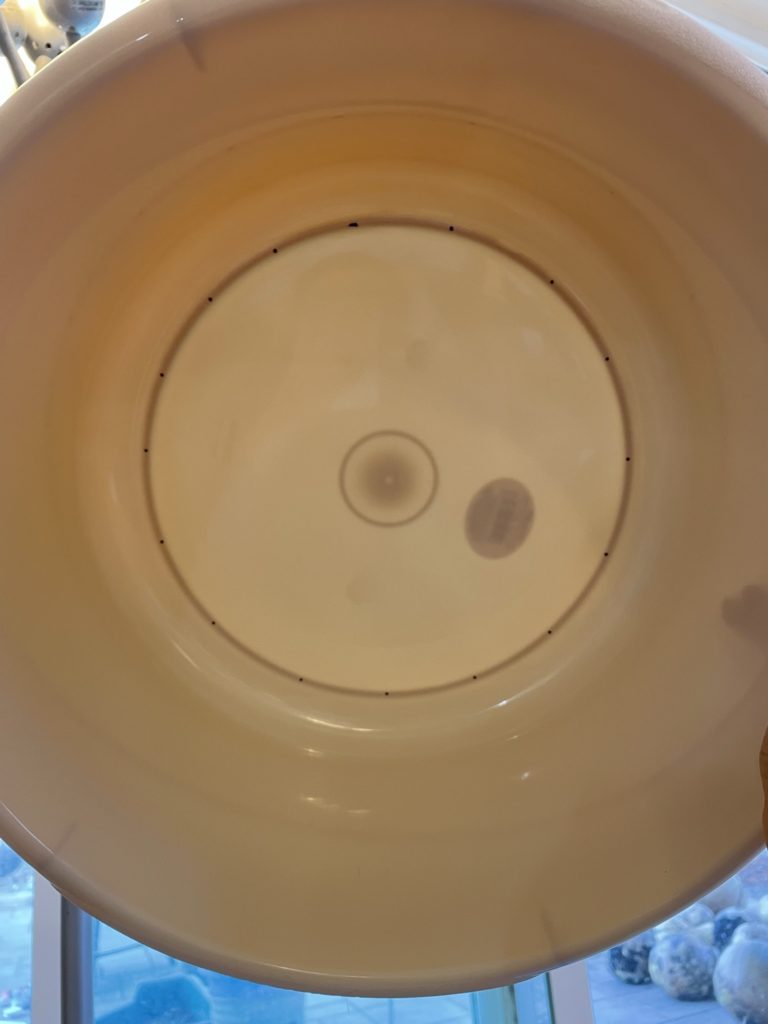
4. Preparation of mold: After all the parts of the mold are assembled, we caulk the joint between the basin and the sonotube, smoothing it out with a caulk ball tool. Once the caulk is set, we remove the excess caulk, apply paste wax to the part of the basin that will come in contact with aircrete, and dust the waxed area with J&J baby powder (cornstarch).
Here is my recipe for ~3 molds worth of aircrete:
- Portland cement- 17.5lbs
- Water- 9.33lbs
- Foam solution- 10oz
- Glass fiber- 1 pinch
- Set accelerator- 0.9oz
My Foam solution recipe:
- 3oz Suave Daily Clarifying shampoo
- 3oz Glycerol
- 631ml Distilled Water (this actually helps, our tap water is hard).
5. Mix aircrete: I add water to a clean bucket thoroughly mix in the set accelerator first and add the cement slowly while stirring, making sure the mixture is homogeneous. I whip up the foam solution in a separate clean bucket (with my hardware cloth adapted mixer attachment) that can accommodate the full aircrete volume. Once the foam is fully fluffed, I add the cement mixture to the foam slowly while mixing on low speed (it helps to have the drill on reverse, so instead of pushing air into the mix in the center, pull up the mix in the center). Once all the cement is added and the mixture is homogeneous, add the glass fiber and do a final mix.
6. Pour aircrete: This part is pretty self explanatory. It helps to have two people for this part. I like to tidy up the edges of the mold if aircrete got all over the place. Let this set for an hour or so in the shade. I typically have a little excess that I pour into a waste plastic bag which I use as an indicator of the aircrete in the mold. When the excess has firmed up a bit, I’ll very gently mist any exposed aircrete and cover with a plastic bag.
7. Removing mold: I typically leave the forms in the mold undisturbed except for regular misting with water for 2-3 days. I gently remove in inside mold first by removing the masking tape over the gap, and then pulling the sealing tap ‘tabs’ attached to the edges of the gap. I then gently tap and pull the aircrete out of the plastic basin and immediately submerge completely in a tub of water.
8. Curing aircrete: The aircrete is fully submerged in water for a week or two during which I make sure to do at least 3 water changes so that when we’re using these in the garden they don’t raise the pH too much.
And then we finally get to use them in the garden!
