Earlier this year we made some tumbling composters using 55 gallon plastic drums that we found on Craigslist. It got us thinking more about the stuff we could make with 55 gallon plastic drums; one of those being planters.
Around the same time I saw some ideas online about marbled painting and really loved the look. We have some paint samples left over from our previous painting projects, and we figured we could use them for this little project.
Materials:
- 3x 55 gallon white plastic drums (previously used to transport food ingredients).
- Plastic sheet (around 1.5x the width of the barrel and over 72″ long-the circumference of the barrel). We went with white barrels as we wanted light colored planters.
- Leftover latex paint (in the future we’d probably try to get some free paint from the local paint disposal facility).
- Something to stir paint with.
- Disposable gloves
- Something to set the painted barrels on while the paint dries, we used some old cardboard.
- Jigsaw to cut the barrels and a drill to make drain holes at the bottom.
Note: if it’s a windy day, you might need stuff to weight down your plastic sheet. It was a bit windy, and we were working underneath a tree in our backyard and the falling leaves kept sticking to the paint… You may want to wait for a less windy day. Also, two people makes this project much easier!
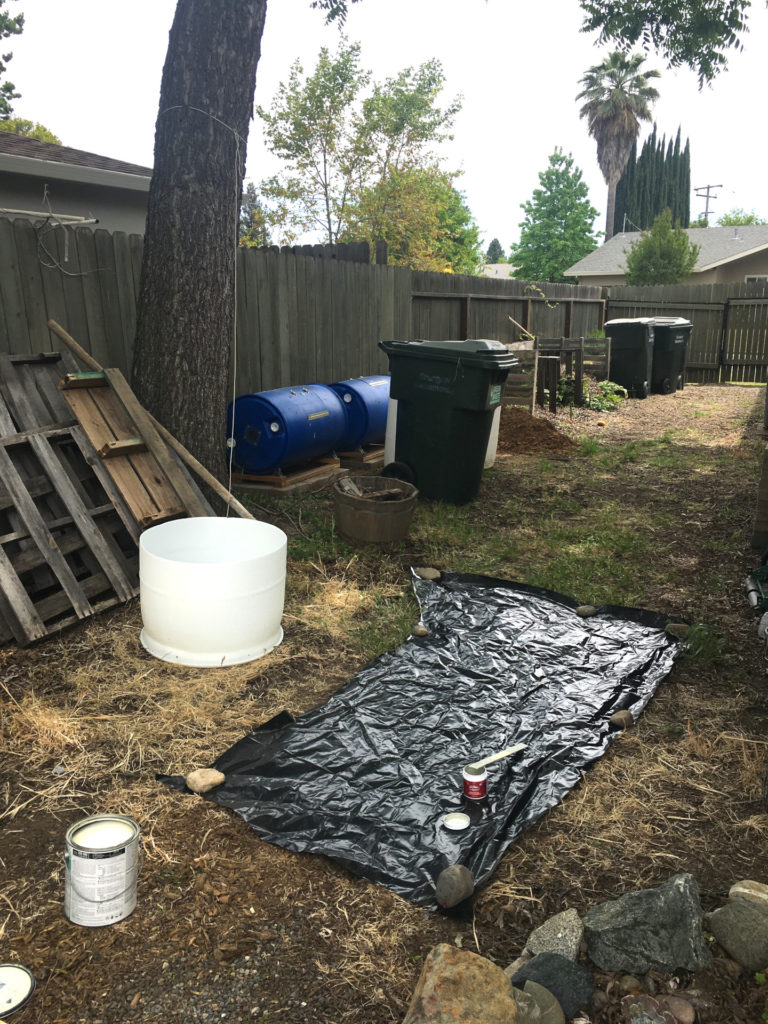
Method:
- Cut the barrels in half using a jigsaw. You can drill the bottom holes now, or after marbling (when the paint is dry).
- Lay out the plastic sheet and weight down with some rocks.
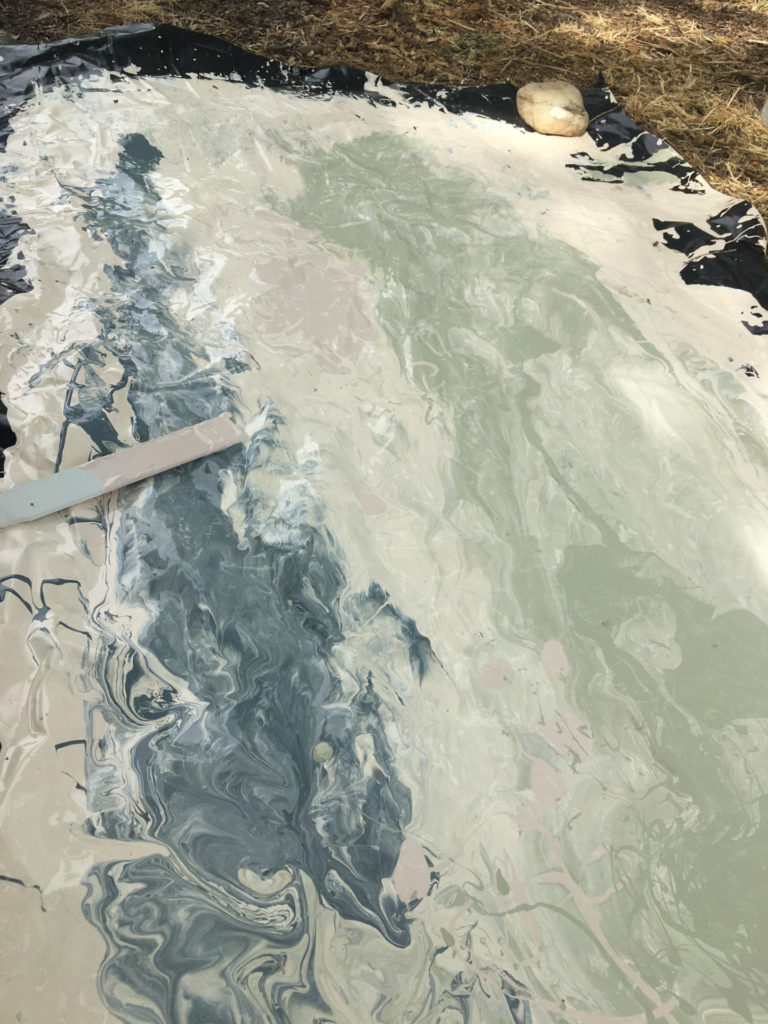
- Pour paint to cover the plastic sheet, making sure all the plastic is covered. Feel free to make some swirls/marbling, etc.
- Starting at one end of the plastic sheet, set the barrel down in the paint, and roll down the length of the plastic sheet.
- Set it upright to dry! All done!
The basic steps are pretty simple, here are some important tips:
Tips on paint marbling:
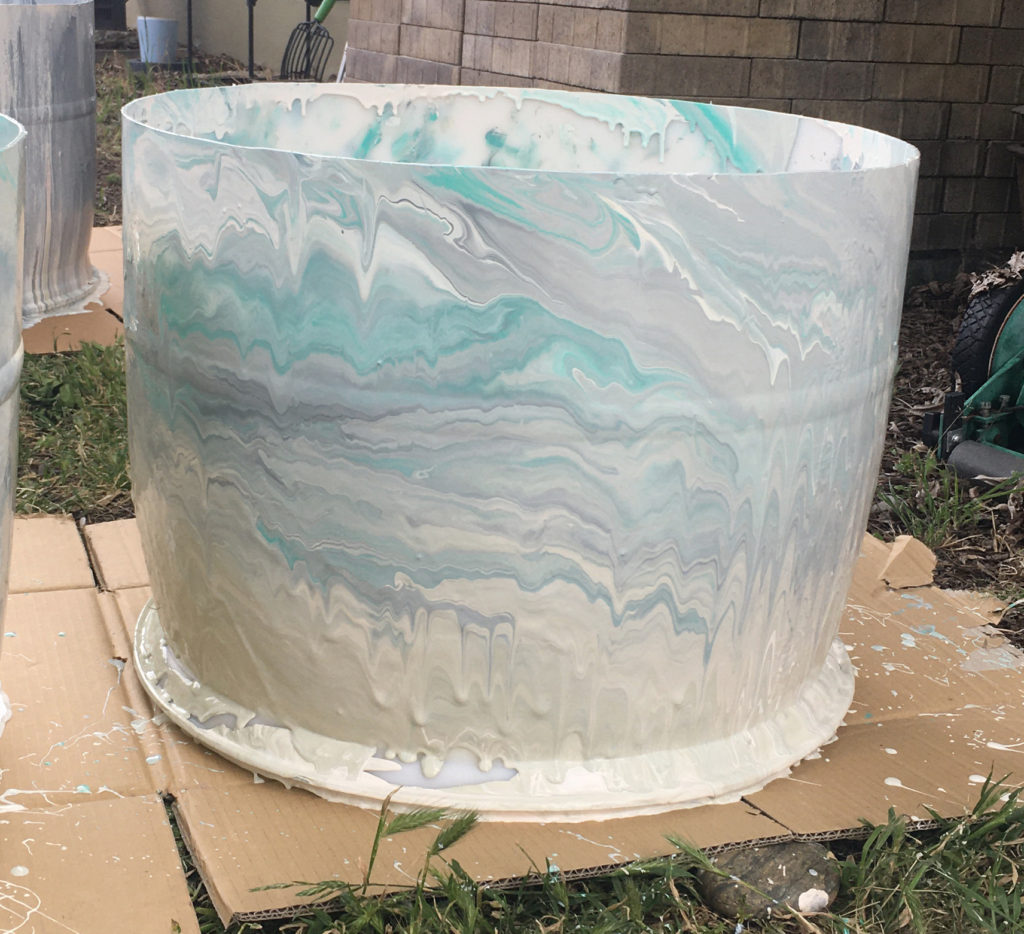
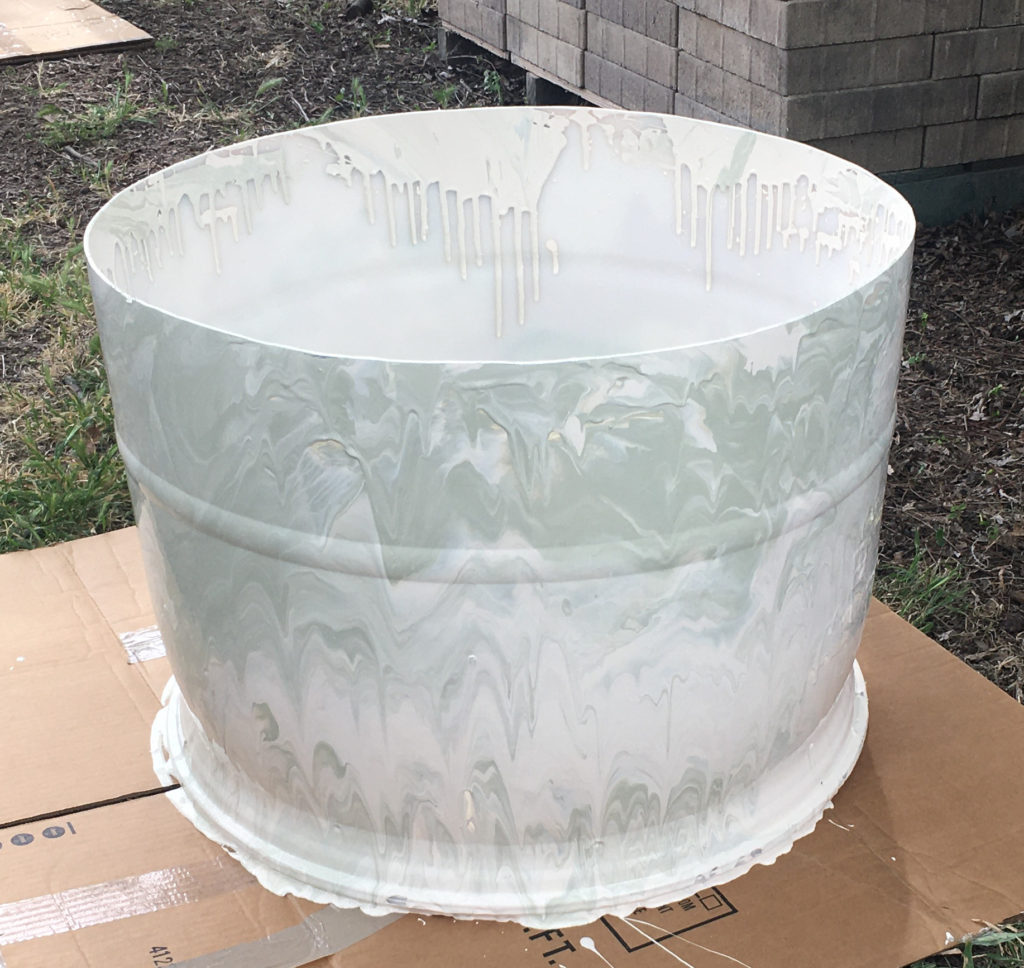
- Decide ahead of time the ‘orientation’ of the paint on the plastic sheet. We wanted our planters to be light colored, but we also wanted to see marbling, so we had a mostly pale background paint with darker paint for contrast. To do this, we set up the paint on the plastic to have ~3/4 of the width pale paint (on the right side) and ~1/4 dark paint (on the left side). When we roll the barrel over the paint, we make sure to orient the opening of the barrel to the left side, so that after the paint is applied and we set it to dry, the dark paint on the top of the barrel runs down toward the paler paint, creating the marbling/dripping effect.
- If you want the paint to have more movement, you can thin it (the paint you want to move more) a little. Be careful not to thin the paint too much, or else it’ll just drip right off your barrel.
- Paint toward the ‘bottom’ of the barrel might not appear very much if the paint at the top runs a lot.
- You can make all kinds of beautiful swirly designs, but the end product is the result of paint running downward.
- The paint that is on the uppermost surface (on top of the plastic sheet) can be hidden/masked on the barrel by the paint that is lower down (closer to the surface of the plastic sheet). So if you pour some white on the plastic sheet first, and then pour a little green paint on top, after rolling your barrel through the paint you might see a sea of white and only a little green.
Tips on getting the paint on the barrels:
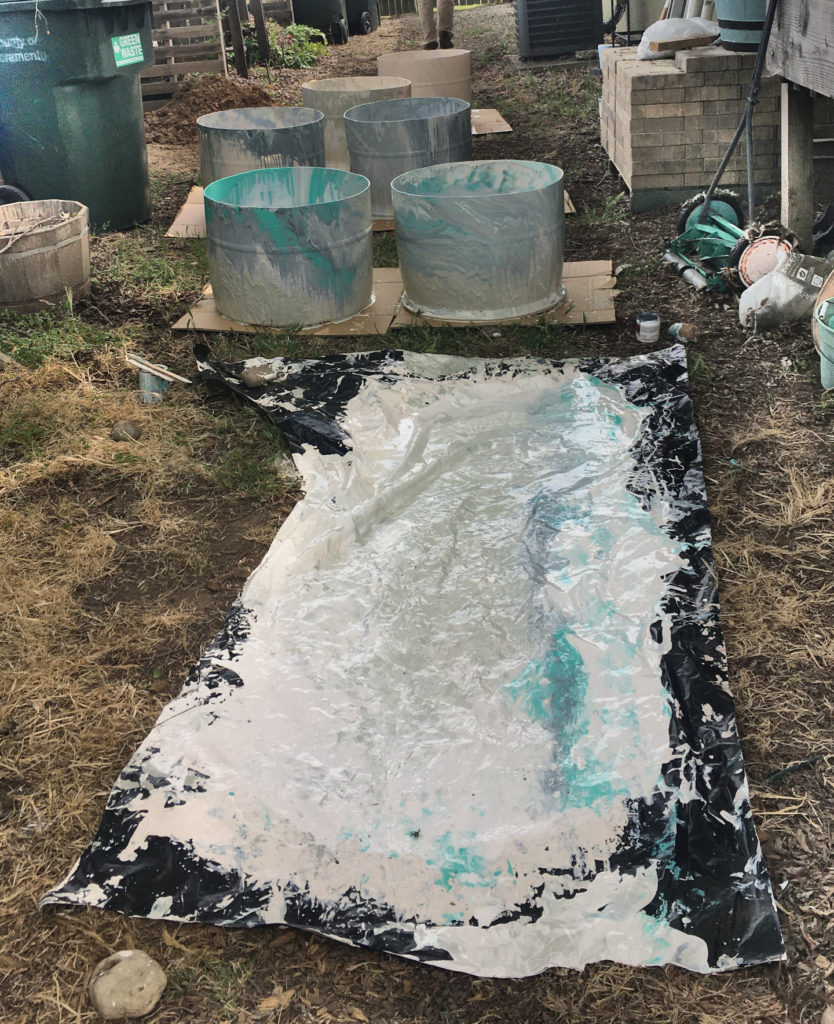
- If the ground is not level, a second person pushing the inside of the barrel down toward the paint on the plastic sheet is helpful.
- For parts of the barrel that are not flat and do not easily touch the paint on the plastic sheet, it really helps to have a second person who can lift the plastic sheet and push it into contact against the barrel.
- It’s easier to apply the paint if there is plenty of paint on the plastic. We started with a couple of samples and just kept throwing new paint on the plastic.
This was a quick easy project for an afternoon, and we really like the results.
