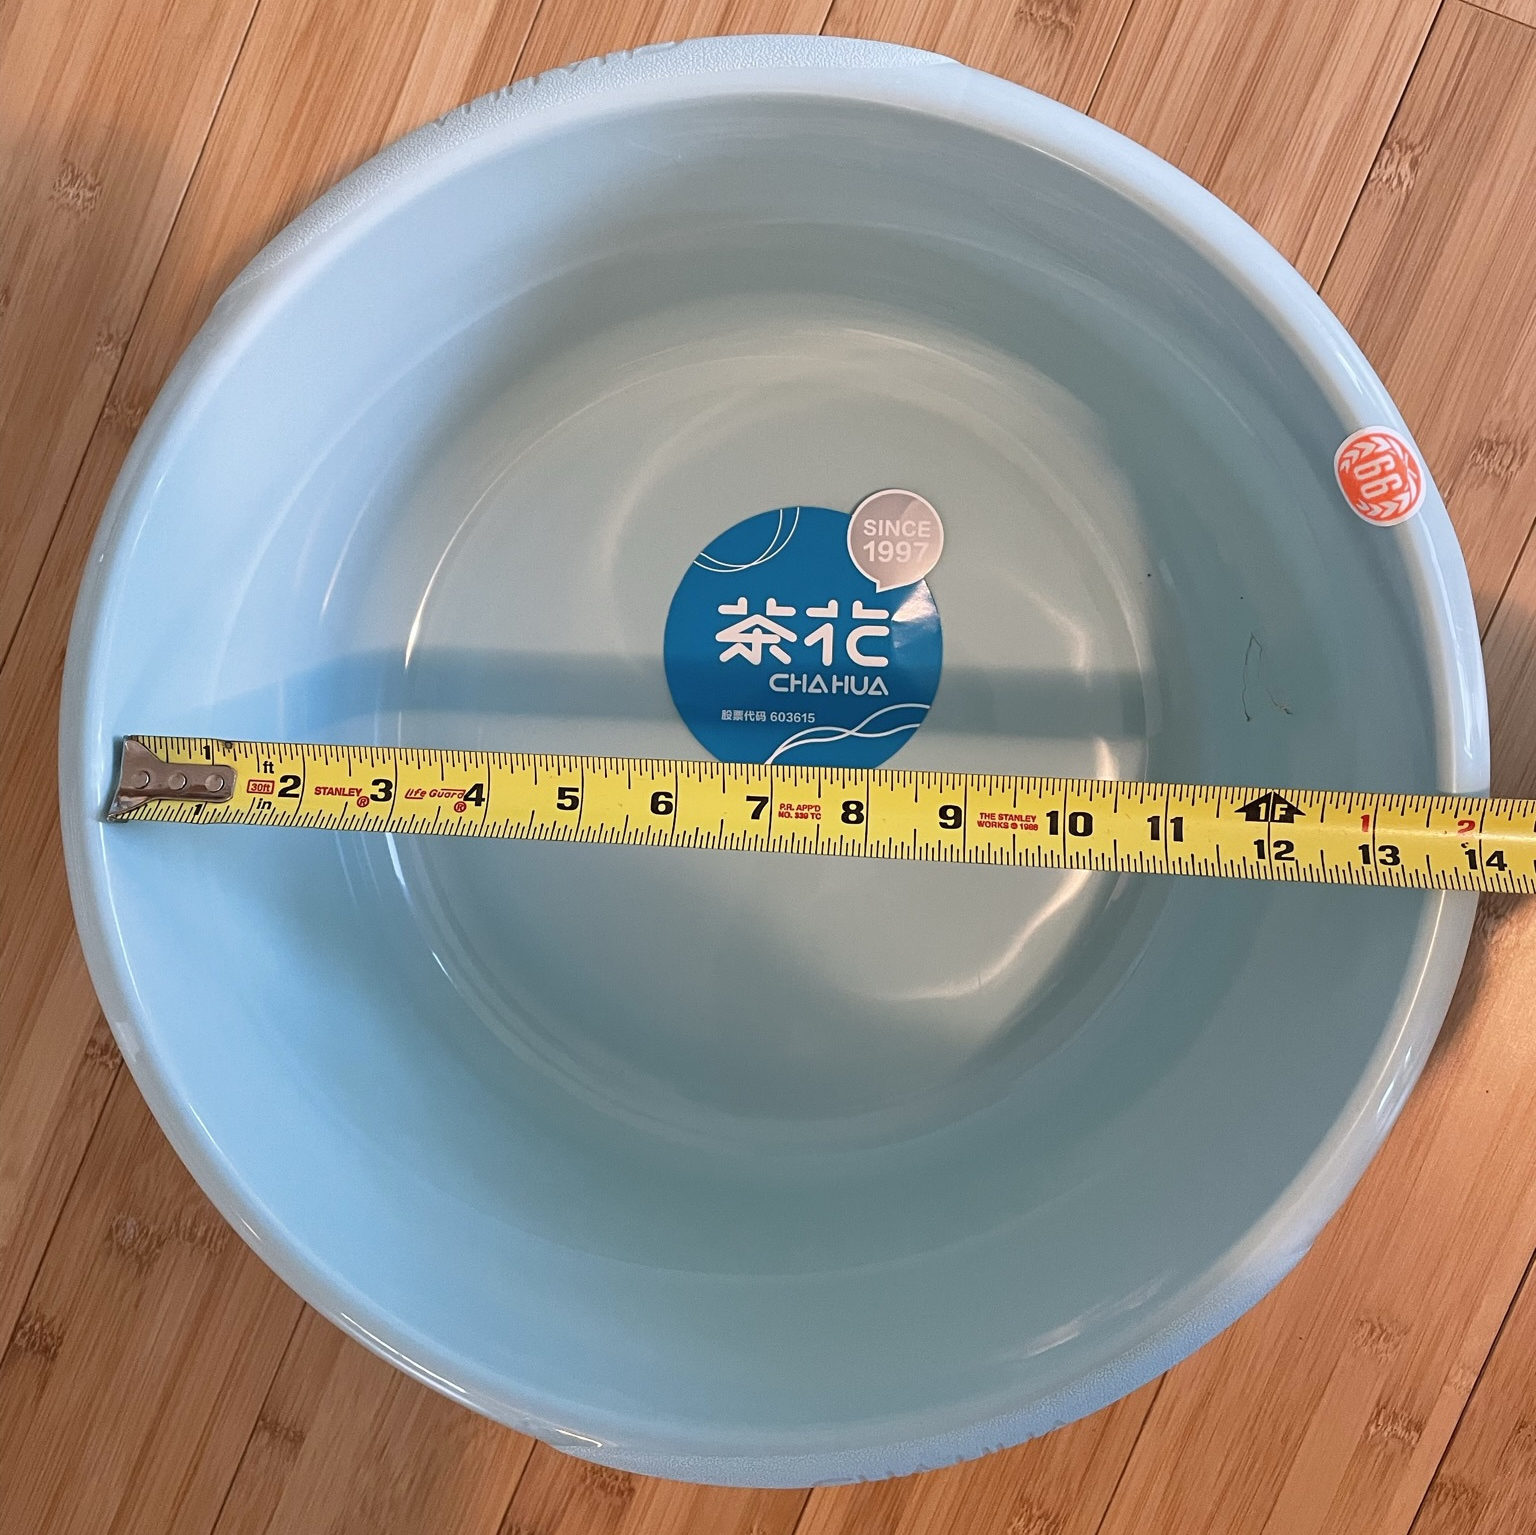
After searching Big Lots, Dollar Stores, and gardening stores, I finally decided on a plastic basin from Ranch 99 (an Asian grocery store) as the mold for the outside of the riser. These are labeled as 39cm x 14.5 cm (15.35in x 5.7in), but the inside diameter of the basin is actually closer to 13.5in. So the diameter and height are perfect!
The basin tapers in a little toward the bottom, and I decided to go with a 10in diameter concrete form tube for the inside of the mold. I could have gone with 12in tube, but that would make the wall of the concrete riser too thin (less than 1″ in some areas). I wanted the riser to be thick enough to withstand outdoor gardening, and also, to provide some temperature buffer for the strawberry roots when it gets really hot in summer and the sun is shining directly on the riser.
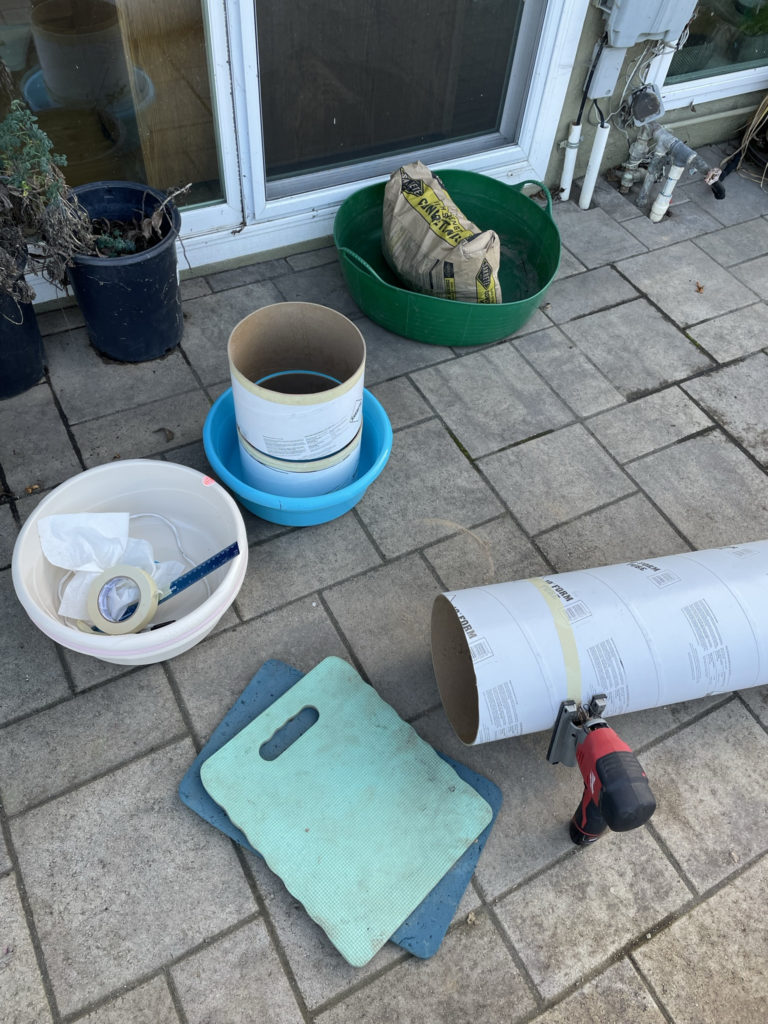
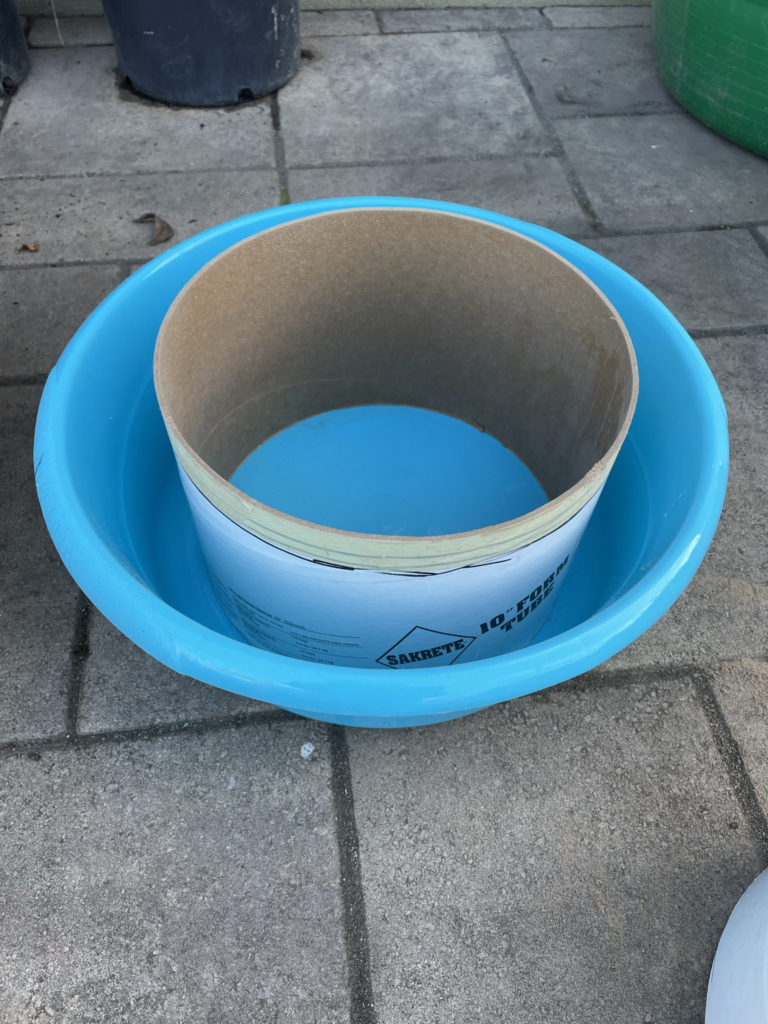
I cut the tubes to 6.5in in length by marking 6.5in from the edge, making a couple of marks along the tube, and making sure it’s straight by using masking tape lined up to all the marks. Since I want to be able to reuse all my mold components, I initially sealed the outside of the tubes with clear box sealing tape. I subsequently found this to be unnecessary, as I later wrapped the outside of the concrete tubes in plastic to aid release. More details on that later.
*In hindsight, I’m so glad I made the tubes a bit ‘taller’ than the basin, this makes it much easier to deposit the concrete between the basin and the tube.
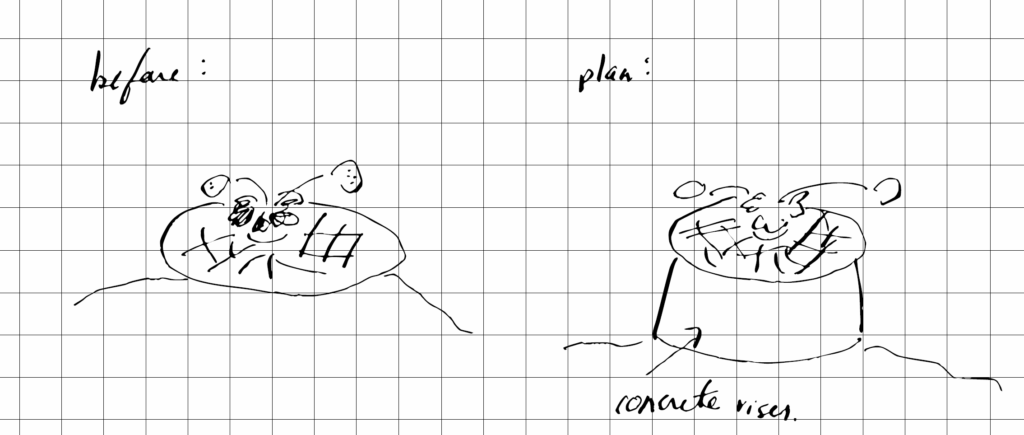
Because the basin tapers outward toward the top, I decided that the molds would be of the strawberry risers upside down. The benefits of this would be that the riser would have a wider, more stable base, and also that the ugly un-molded surface would be sitting on the soil and not visible.
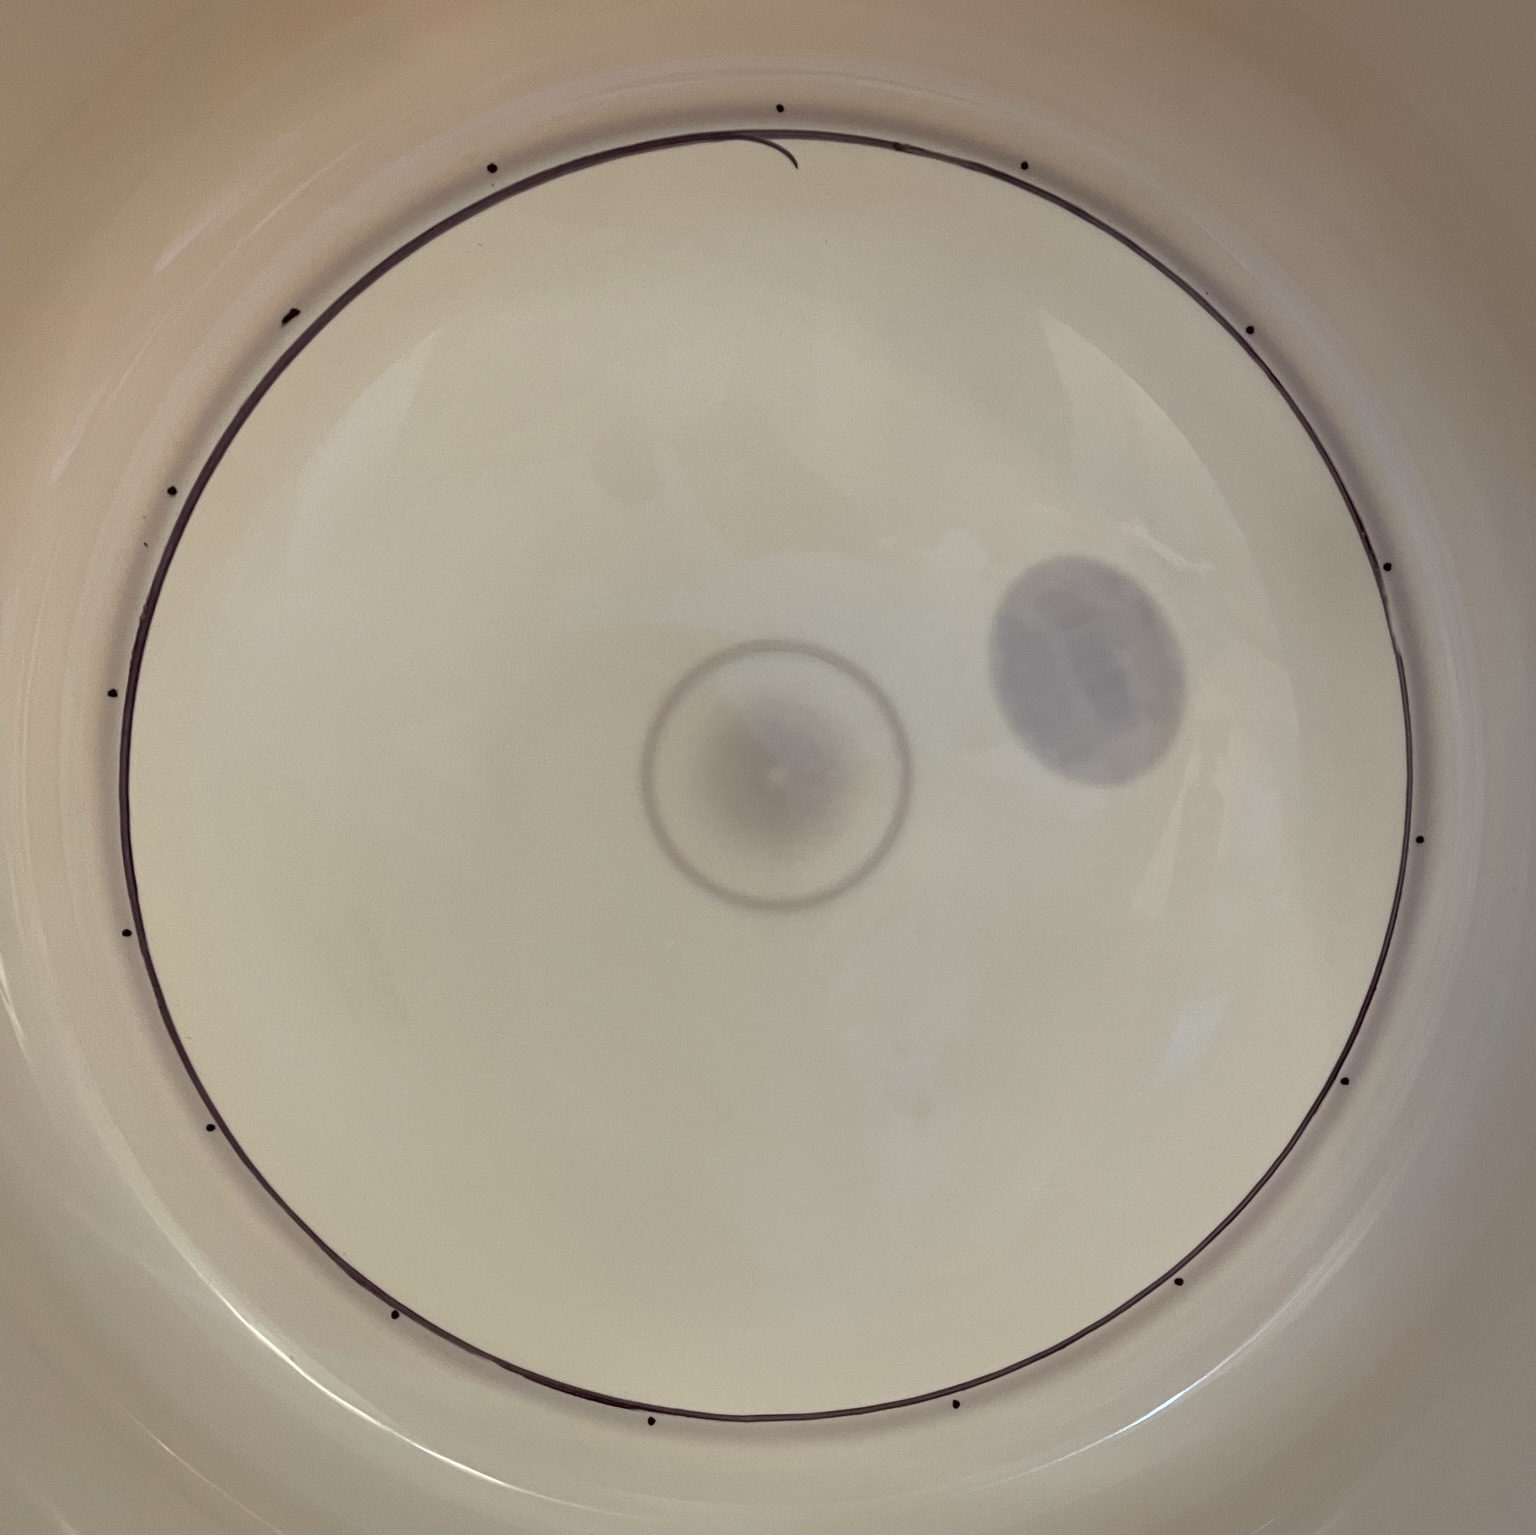
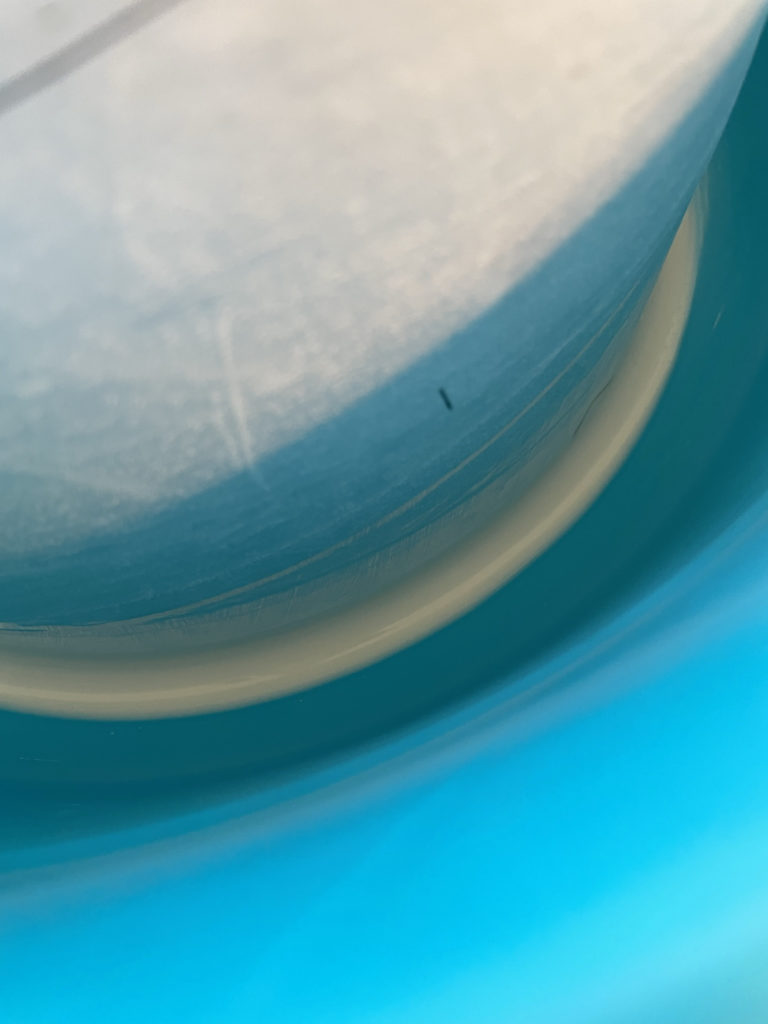
To ensure that the tube is sitting in the middle of the basin, I found that if you hold the basin up to the light, the foot ring on the bottom of the basin is very close the diameter of the tube! Initially I just marked the position of the foot ring with dots using a sharpie, line up the tube to the marks, and then trace the ring. Later I found this unnecessary- washing the mold after each batch of concrete removed the marks and instead of spending time re-marking, I just held the basin up to the light each time I’m attaching the inside part of the mold.
It occurred to me that even though I won’t likely come in frequent contact with the upper inner edge of the riser, I would like it to be rounded out for greater durability and appearance. So with this, I looked up ‘beveling concrete edges’ and after an embarrassing amount of time on google, I found this awesome video, which is perfect and makes me want to make more concrete stuff:
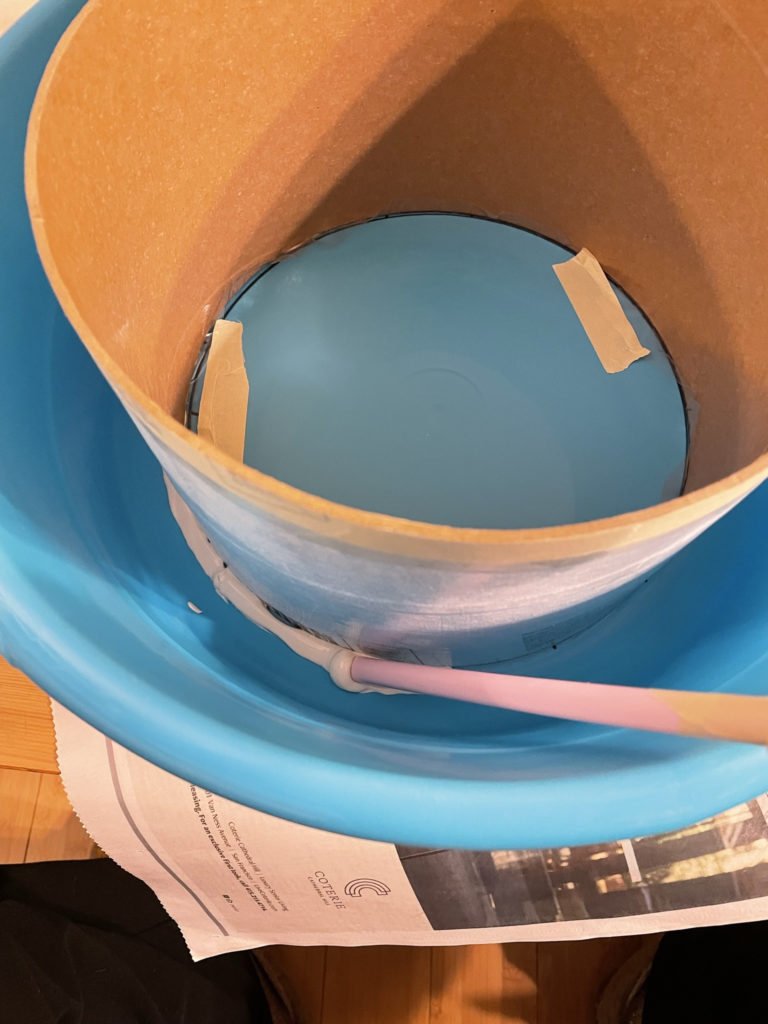
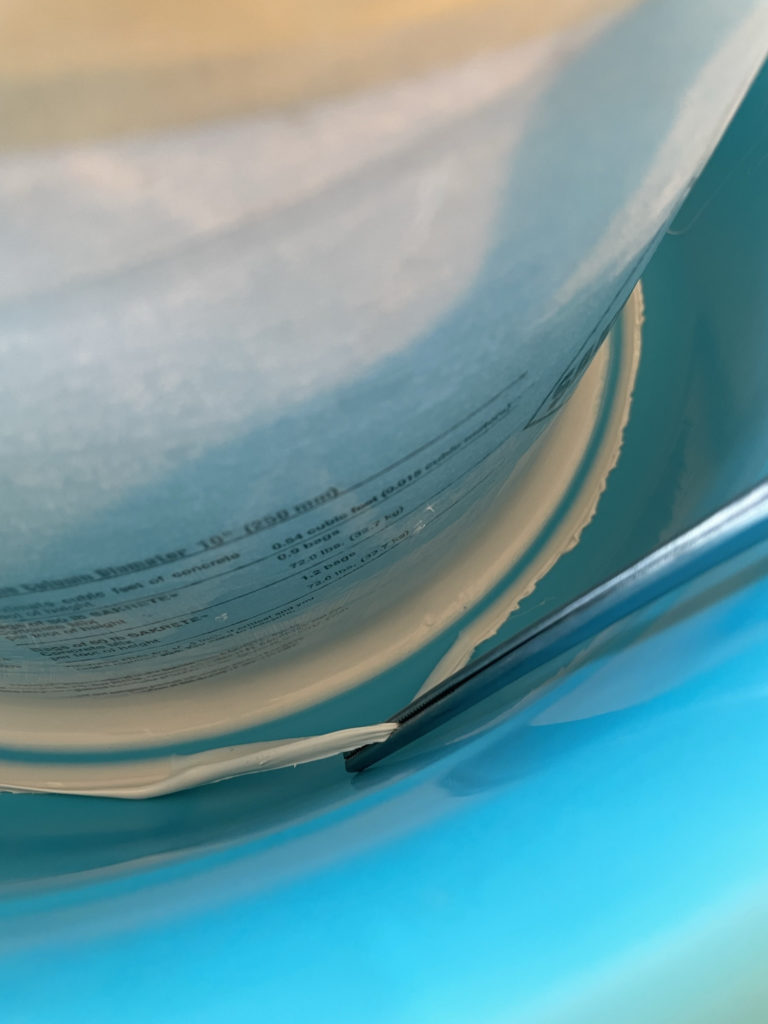
This video tutorial worked out exactly for me! I pretty much followed the directions exactly. In the images below, you can see where I used some masking tape to secure the bottom of the concrete tube to the basin itself. This is necessary to prevent movement as I caulk the edge.
Following the instructions from the video, I waxed my mold with paste wax (both basin and tube), and used a 100% silicone bathroom caulk we had laying around. Because I could not reach the bottom of the edge with my caulking tube, I extended the tip with a thick straw (boba straw) secured with masking tape. This actually worked really great. Initially I did not have a ball tool, so I used a metal washer secured to a pair of long tweezers with masking tap and this worked well. Subsequently I got the ball tool, because it was much easier. Lastly, I had to wait overnight for the caulk to stiffen enough to pull the excess away cleanly.
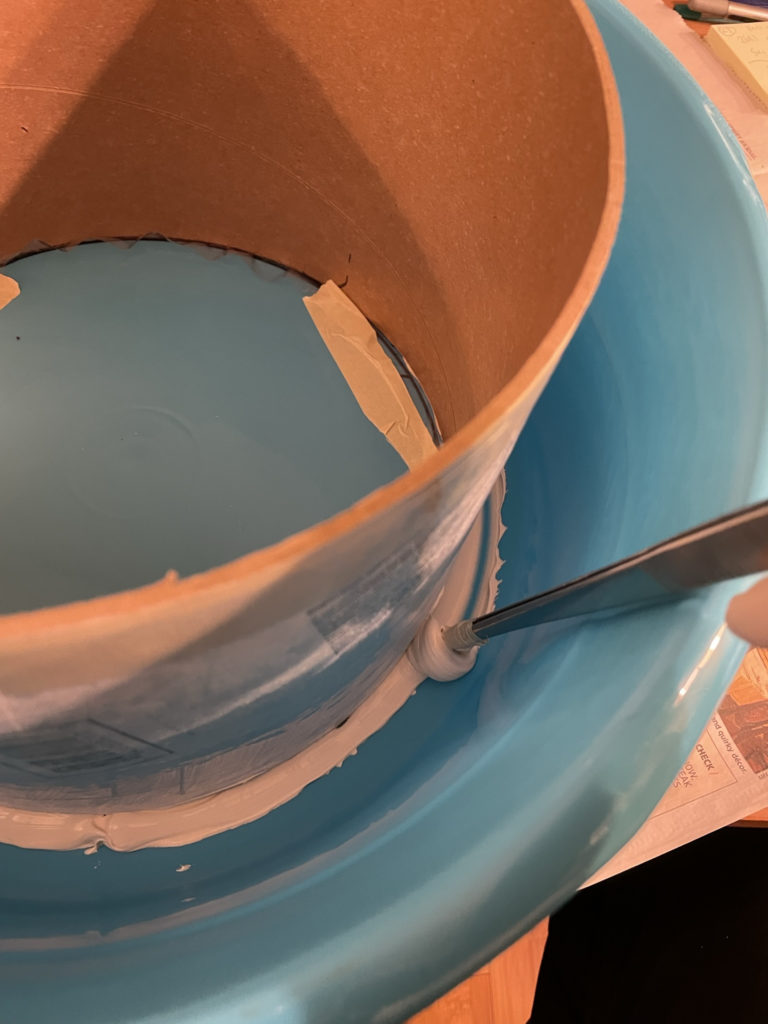
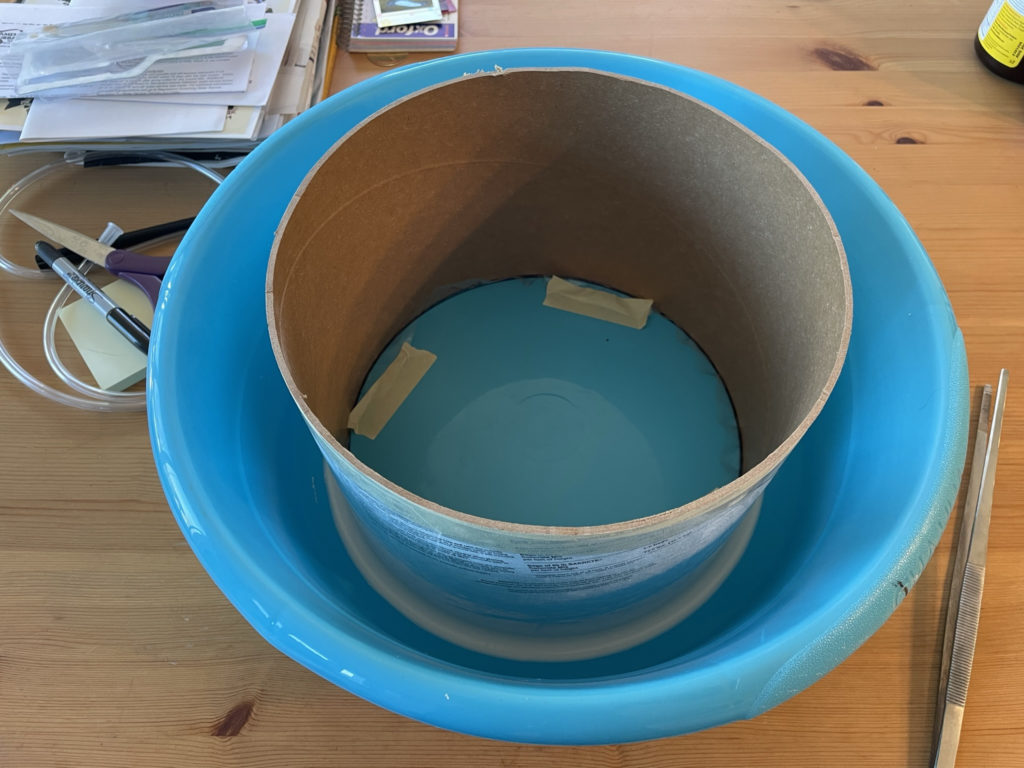
So here is my mold, set up for concrete mix to be poured into the space between the basin and the outside of the concrete tube.