
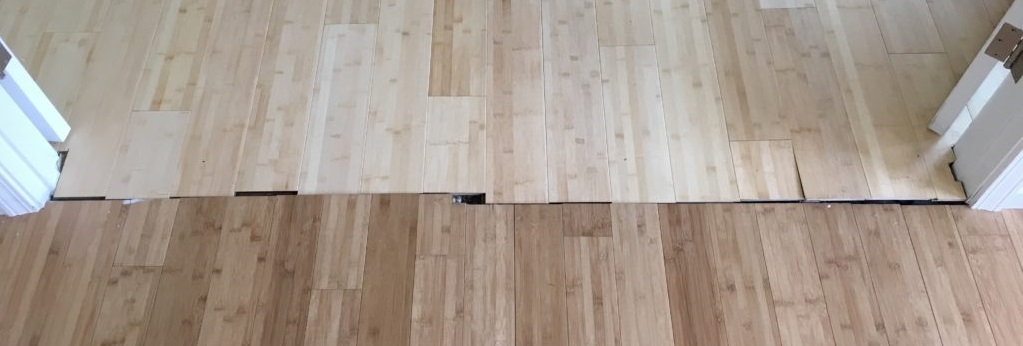
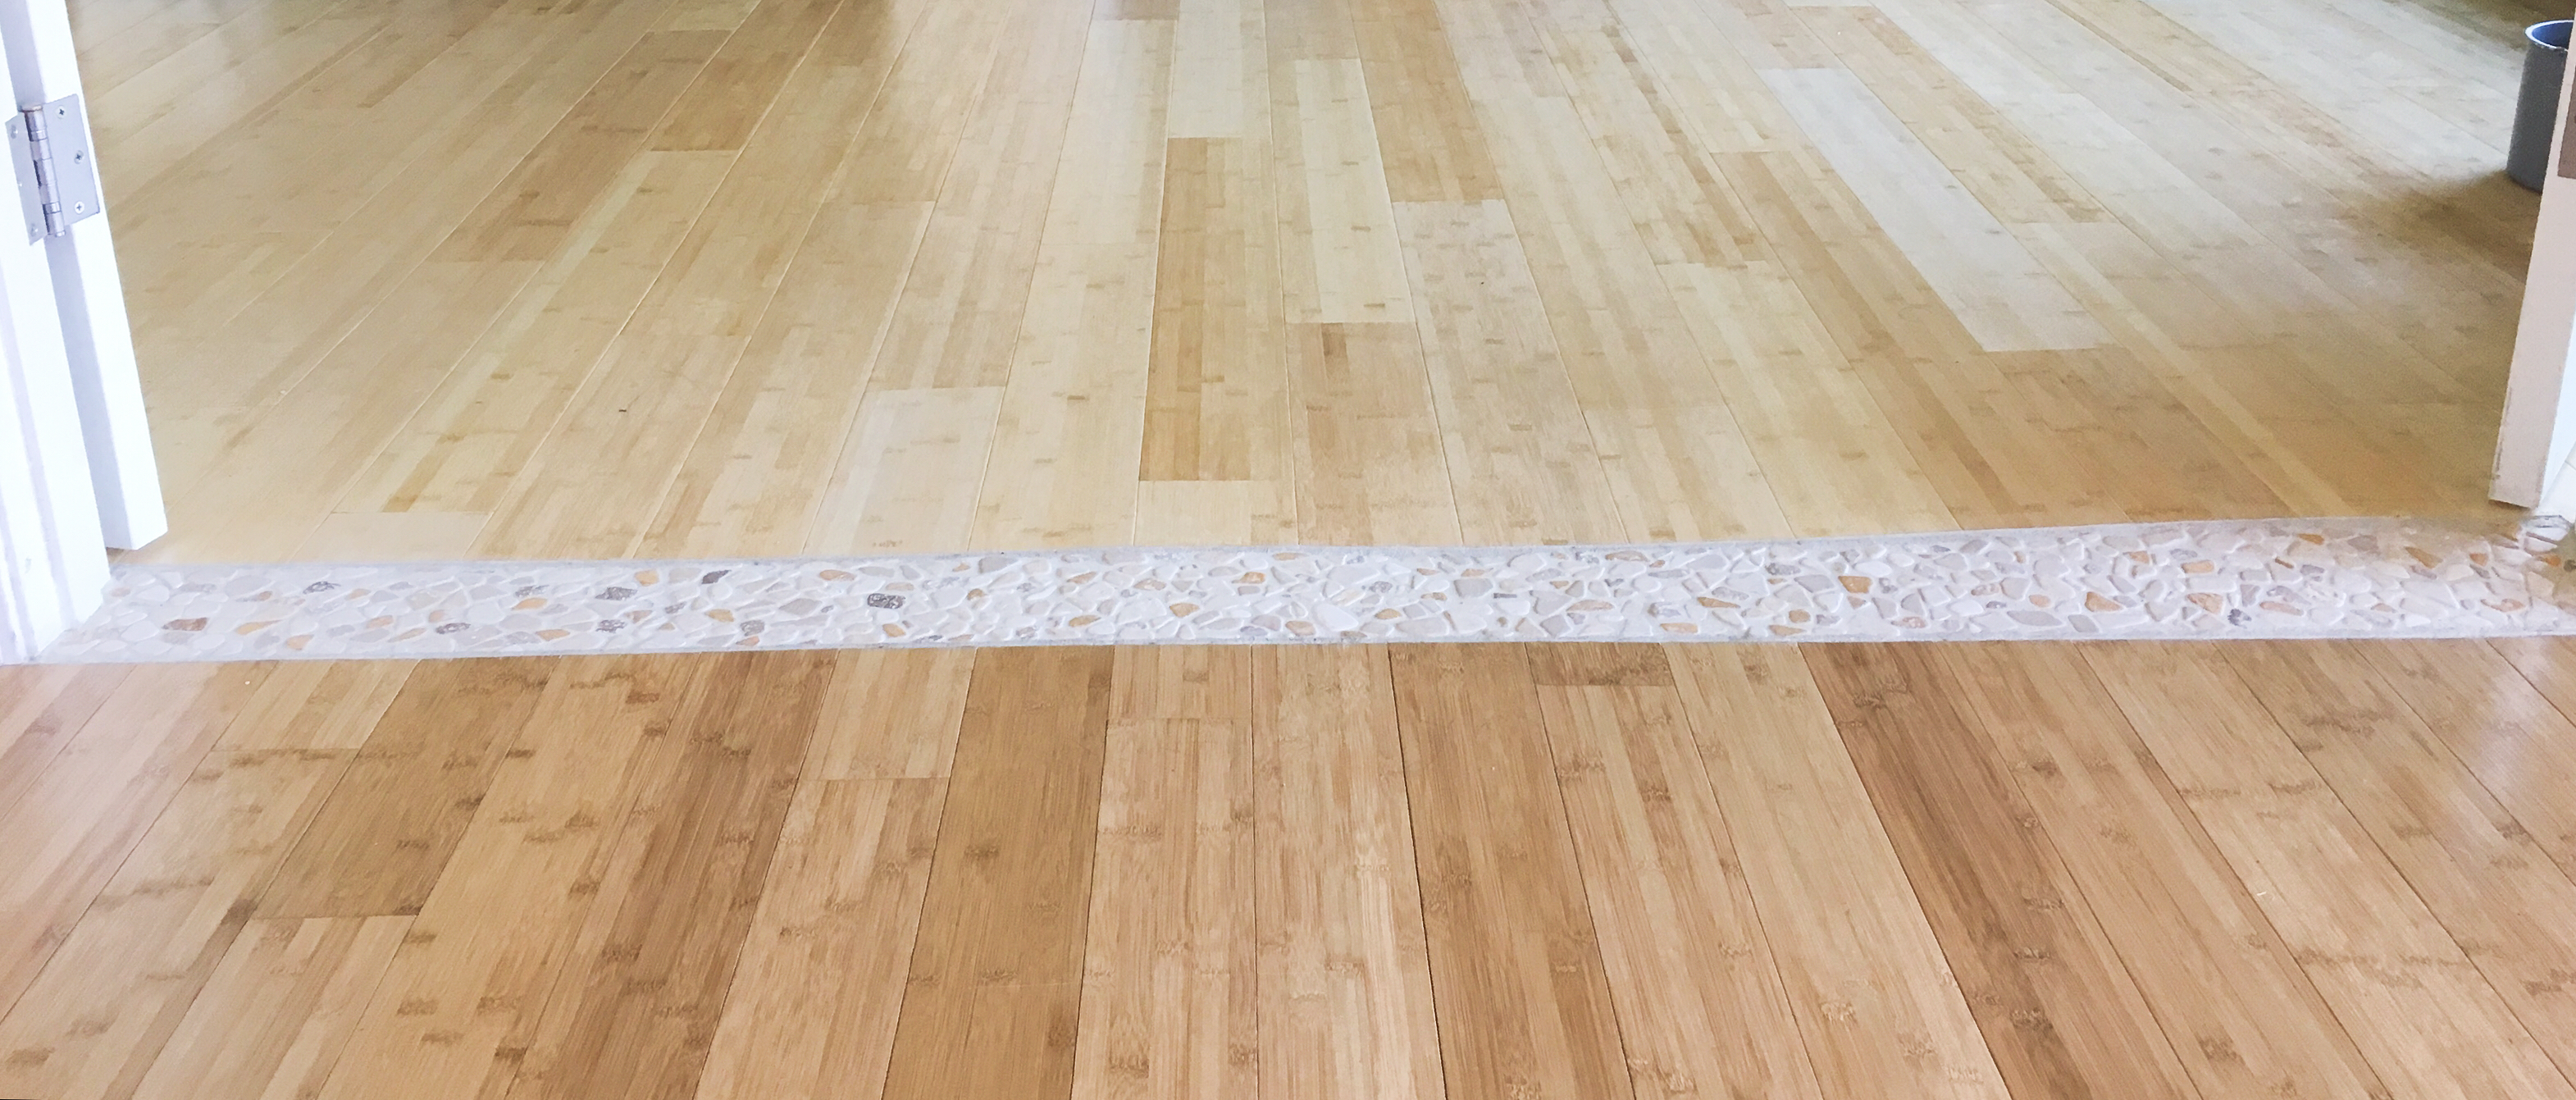
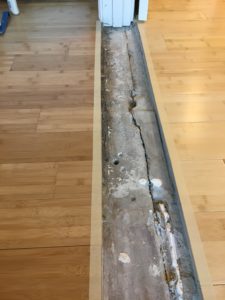
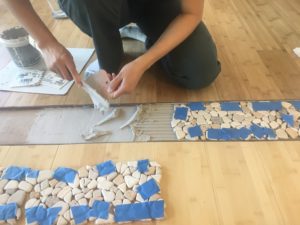
Here’s how we got from the upper picture to the lower picture.
Method:
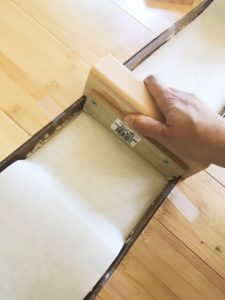
1. Trim the floorboards on either side of the transition with circular saw using our saw guide (made in Part 2.). We lined up our saw guide to the upper edge of the planned cut, and put various heavy objects on the plywood section and also had my husband standing on it to prevent movement during the cut with our circular saw. This gave us a nice clean edge. But we kept the saw guide in place for the next step.
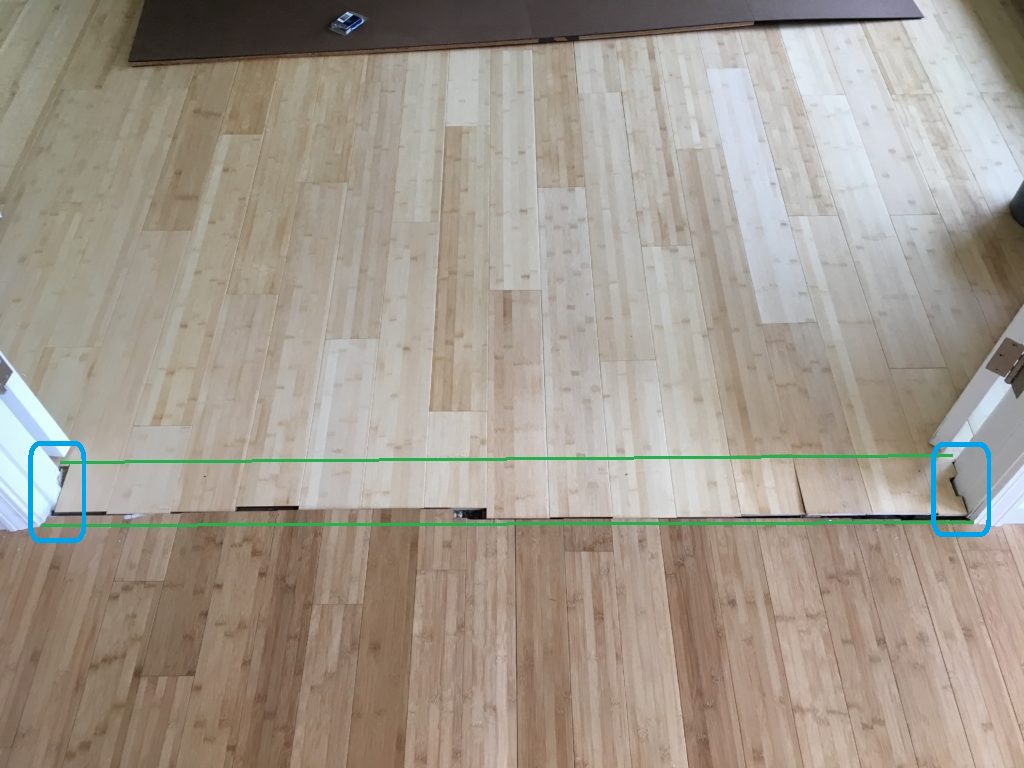
2. Trim the floorboards near the door frame with the oscillating multitool. See the blue rectangles in Figure 1. Due to the location of our transition adjacent to a door frame, we needed to use the multitool in order to get the blade close to the door frame, which we could not do with the round blade of our circular saw. We used the saw guide and let it guide our oscillating multitool to make the cuts in the floor board along each side of each doorframe.
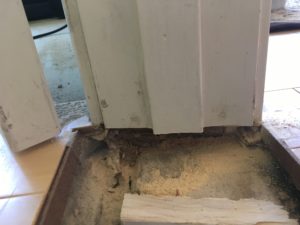
*note: We ended up needing to pry off some of the cut remnants from the kitchen side from the underlying glue and the multitool was perfect for that too! Here’s what it looks like after the cut:
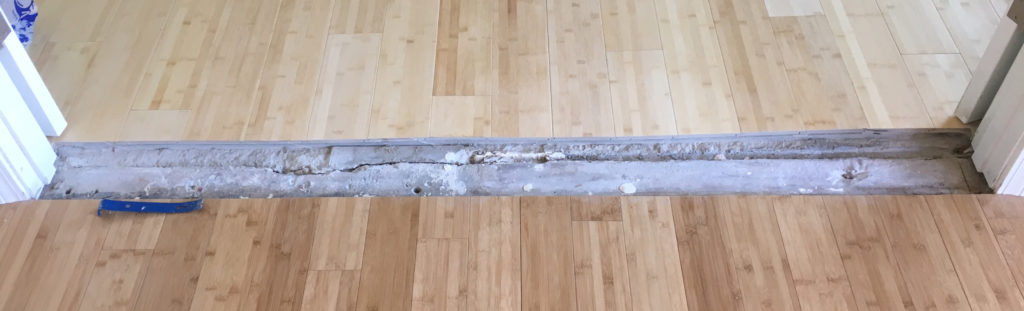
3. (If necessary). Pass the custom spreader across the transition to figure out if any of the concrete in the foundation must be removed to give you the proper depth necessary to have the completed transition sit at grade. For us, this was a minimum of 15mm. It was necessary for us, so we used the saw guide and a diamond concrete blade on our circular saw to cut down to the necessary depth along the edges of the transition area and removed the concrete using a mallet and concrete chisel. This was messy work, and we made sure to wear a facemask and eye protection. Be prepared to leave the area after cutting to let the dust settle and to spend some time cleaning up the dust afterwards!
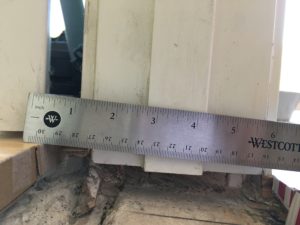
4. (if necessary). Trim the edges of the door frame. For us, we decided to do this so that we could install the transition underneath the edge of the doorframe for cosmetic reasons along the transition line. To do this, we used our oscillating multitool. Below, you can see the area underneath the ruler, which we removed.
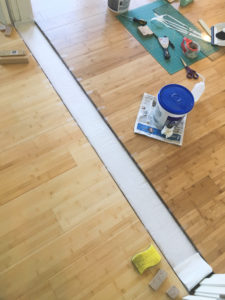
4. Sand and seal the open edge of the hardwood planks with polyurethane and install spacers. The hardwood planks on either side of the transition have a transparent satin coating on it to repel water and stains and I wanted to make sure the cut edge we just created was not going to absorb water and stains during the installing as well as afterwards. Additionally, I didn’t want the edge to be sharp, this could cause injuries and compromise the structural integrity of the wood edge. So we sanded the cut edges with 1000 grit sandpaper, cleaned up the dust, laid down masking tape about 1mm from the edge and sealed all edges with polyurethane. Once the sealant cured, I removed the tape and inserted the taped hardboard spacers made in Part 2.
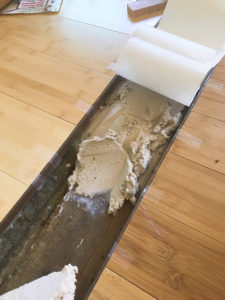
5. Patch and level. We used quite a bit of Henry’s patch and level to fill in the bottom of the concrete foundation. We need a stable and level surface to attach the tiles. To help, we used a strip of freezer paper trimmed to fit inside the transition to help smooth the compound. This actually worked beautifully, as the patching compound would not stick to the smooth plastic side of the paper, and the custom scraper could pass over it easily without catching and dragging. Keep in mind that the compound takes much longer to cure using the freezer paper to keep it smooth, but once it has hardened a bit, the freezer paper can be cleanly peeled off to speed up the curing. We ended up doing this about three times as the compound contracts a bit upon curing and I wanted to make sure this layer was level.
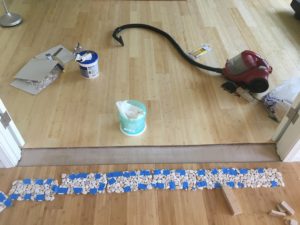
6. Once the patch and level was fully cured, we mock fitted the mosaic tiles, using pieces of masking tape to keep loose rocks in place. This is the point where we make adjustments to fill in the space as much as possible, including switching out rocks, removing rocks, and re-orienting rocks. This was the fun part. We made sure to mock the entire space so that everything fit perfectly when we installed the tiles with adhesive. Its important to keep in mind that the rocks all have an “upside” face, that should face upwards to ensure that the thickness of the rock installed is 10mm.
Once we had our layout, we gently set it aside, in the same orientation. It is important to get the layout correct here, as you won’t have time to switch out rocks during the next step.

*note: I’m not sure if you’ve caught it, but the first picture in Part 2. shows a tiny dimple in the center of the picture. That was a little hole in the grout which resulted from a piece of glue on the tile backing poking through. It only occurred in one place, and I can patch it up, but still. I would keep a sharper eye out next time for the glue backing on these mosaics!
7. Setting the tiles in adhesive. There’s a great series of videos on grouting, one of the parts is linked here. This guy has a ton of videos, and they really helped as I’ve never set tile before! During this step, we made sure to have a water bucket and sponge ready. My cute husband was armed with a toothpick to pick out parts of the adhesive that squeezed too much through the gaps. After all, we didn’t want sharp adhesive lumps on the top of our transition!
I spread the adhesive, gently placed the tiles in, and then gently pressed the tiles across the transition with the flat edge of the 5.5in scraper to ensure that the rock tiles were pressed to grade.
*note after this step, we pulled out the spacers but then realized that we would need the same spacer for the grouting step! So we put it back, with a layer of freezer paper (shiny side toward the tiles) and folded it back to create a space that we could swipe with our sponge during grout cleanup (see Figure 9. below).
8. Once the adhesive cured, we removed the masking tape and gently touched the rock tiles to make sure all the parts were adhered. Any tile that was loose (there were about 4 little ones toward the edges that were not well adhered), we reapplied adhesive and pressed back. When all the tiles were adhered and the adhesive had cured, we grouted the entire transition. We used sanded grout because it should convey more durability to our transition as it accommodates joints up to 1/2in.
**One thing I would do differently next time is to run a little blunt edged scraper, like a flathead screwdriver, along the edge of the grout in contact with the freezer paper. When sponging off the grout, it forms a curve between the edge rocks and the edge of the freezer paper/spacer. This in turn results in a tiny higher ledge of grout along the spacer that later made the caulk line a bit more visible than I would have liked.

9. Once the grout hardened, we sealed the grout with grout sealer to minimize staining and facilitate cleanup. Finally, we removed the spacers, removed the wax paper (which peeled off cleanly and easily), and sealed the gap with sanded caulk in the same color as the grout.
**note: We used sanded caulk to match the sanded grout, but I’ve never used it before and it was a pain. It does not smooth easily, so have patience. I also noticed that the caulk likes to cling to more dust, so I’ve cleaned it good, dried it off, and sprinkled some baby powder over it. Seems to do the job!
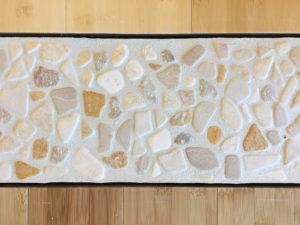
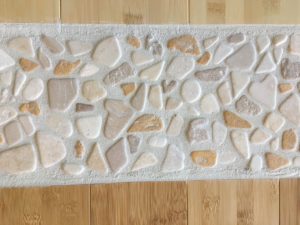
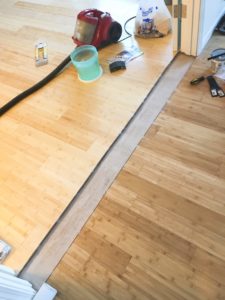
And that is how we went from a wonky transition that bit me (I slipped right before we started on this project and gouged my heel on the jagged edges, yep, that was good motivation not to put it off any longer!) to a transition that looks and works great. I find myself standing on the transition just to feel the rocks under my feet and it’s held up beautifully.
