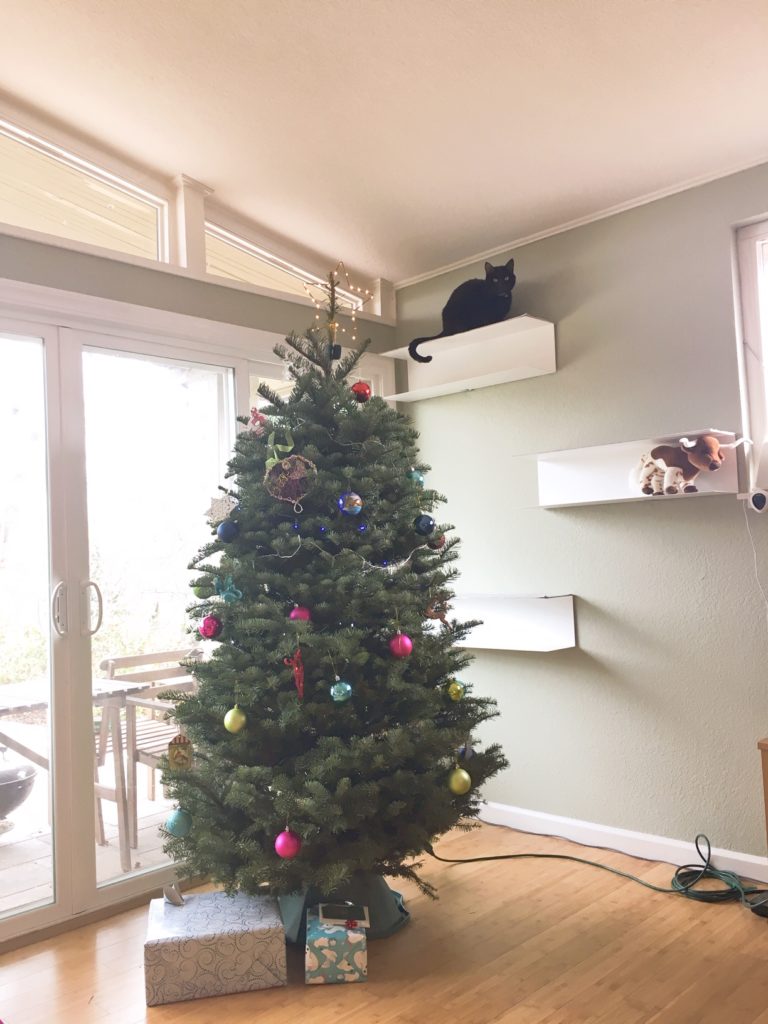

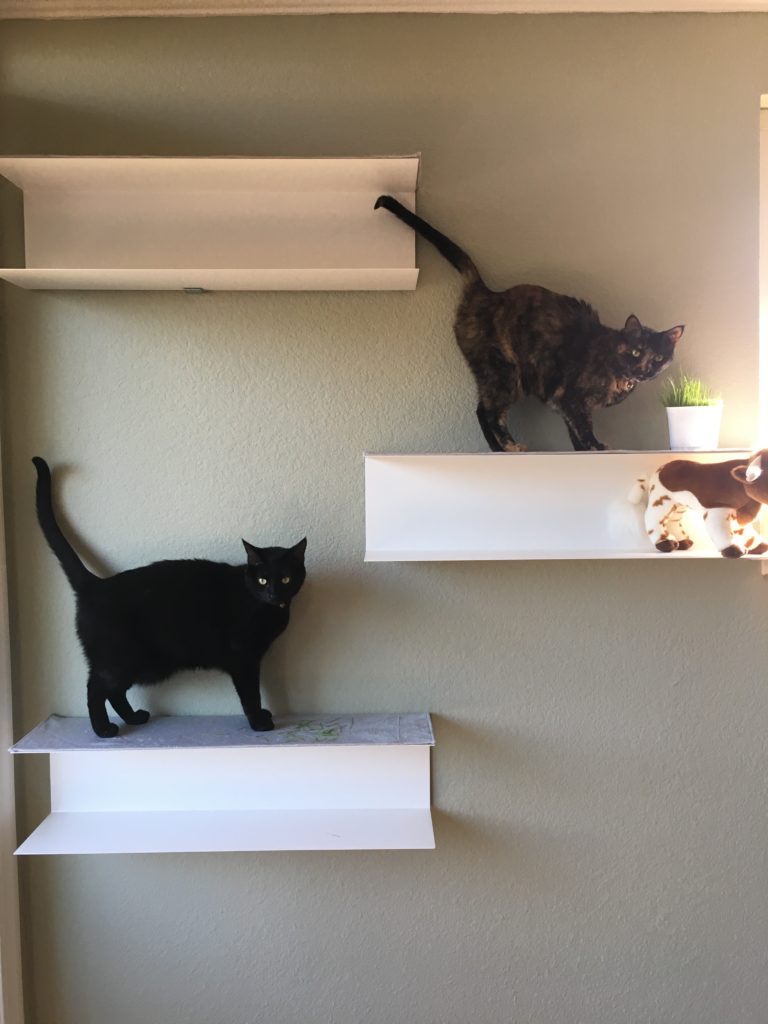
We have two cats who are siblings from the same litter. Hazel (boy) and Fiver (girl). They’re now 6 years old and during winter they tend to be more sedentary than usual. Maybe it’s because it’s dark, or maybe it’s because there’s not many squirrels and birds outside in the yard for them to look at, but we figured some new cat furniture might get them off their duff.
I’d been thinking of this for a while, and the key is to get cat furniture that not only the cats enjoy, but that we can enjoy as well. My husband and I have pretty similar tastes and we ended up with the Botkyrka shelves from Ikea.
I sewed a Soft & Minky fabric to the felt insulation and attached it to the uppermost surface of the shelves, reinforced the anchors to the wall, and the cats love it! We love it too, as the space between the upper and bottom flange is perfect for displaying items and the overall look is very clean.
Aside: I looked into this quite a bit and it turns out that there are similar shelves made by VIPP. They come in two sizes, the VIPP922 and VIPP921. We went with the Ikea Botkyrka because we could get it same day and the price was much better.
This is a pretty short project, but just in case, here are the details:
Materials (approximate cost 2018):
3x- Botkyrka shelves in white ($34.99)
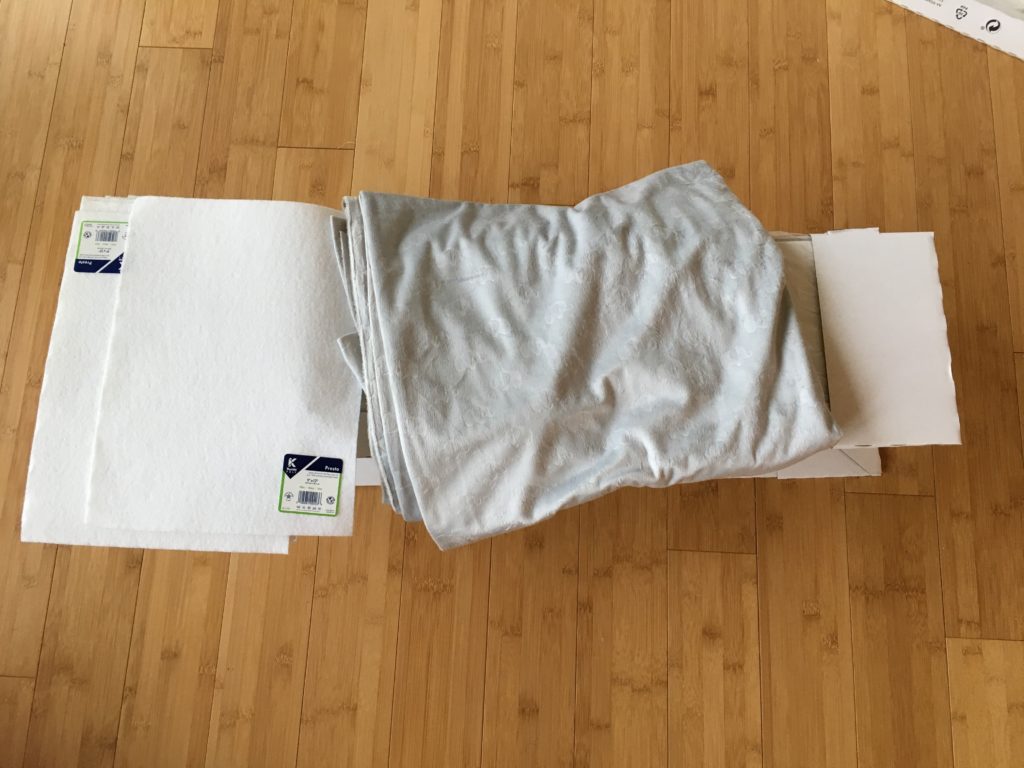
One 12 pack- 9″x12″ Presto felt sheets with adhesive backing ($23.88 for 12)
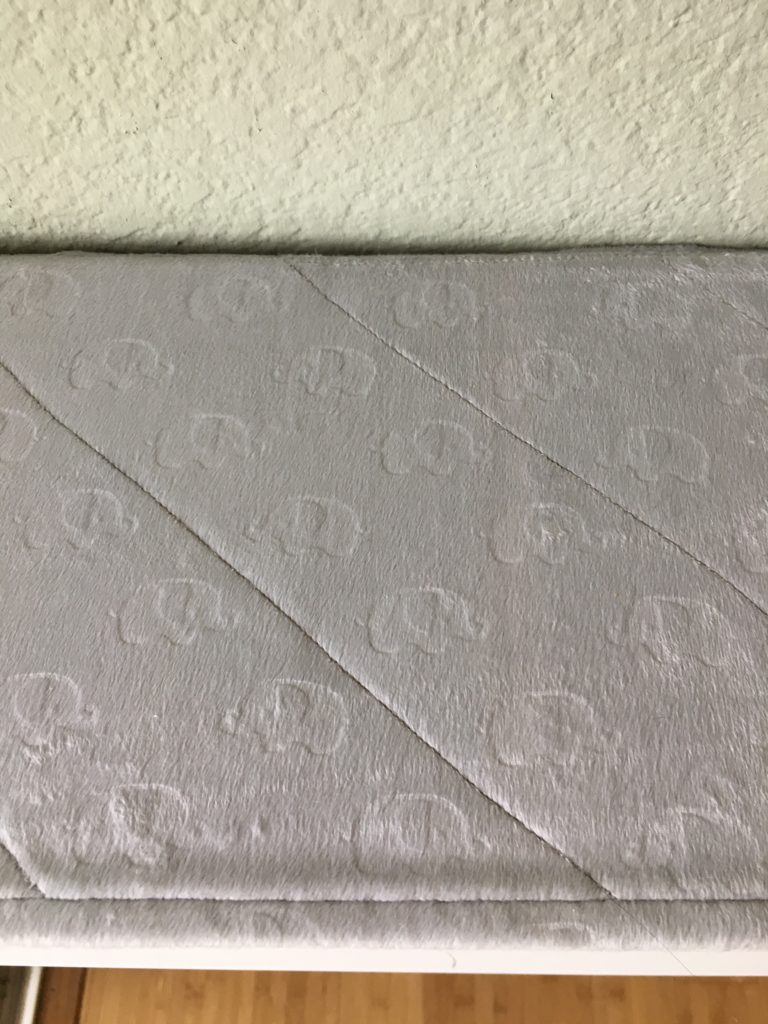
1x- yard of fabric that is at least 36 inches wide (price varies) For this particular project I used Soft & Minky Fleece Fabric-Gray Embossed Elephants from Joann. The color went well with our décor, the embossed elephants were a subtle detail, and the 100% polyester meant that it was inherently stain repellent. It was soft enough for the cats to enjoy, and the strength of the fabric was useful for stable attachment to the shelves while the cats are jumping up and down. This fabric is ordinarily $14.99/yd, but I had a 50% off coupon.
Two 2 pack- 2-1/2 in. Zinc-Plated Double-Wide Corner Brace ($3.97/2pk)
9x- long (1″ or longer) screws with a pan or truss head for installing the rails for the shelves. See the Botkyrka manual for more info.
9x- long screws with a flat head for installing the brackets.
~9x- Drywall anchors. This is the max number you’ll need. I used the 46lbs load ratings. Our cats are about 25lbs combined, but I wanted to be confident that it’ll hold when cats are jumping on or off of them. Similar to these.
Quilt Basting Spray- Here’s one that I am using.
Thread matching the color of the fabric you chose.
Scotch tape.
Tools:
- A power drill. It’s possible to use a hand screwdriver, just more work.
- Sewing machine. Same as above.
- Scissors, ruler, and level.
- Pencil and sewing pins.
Method:
- Using 3 sheets of felt adhesive for each shelf, trim the sheets to fit exactly the top of the shelf. Use scotch tape on the adhesive backing to join into one piece.
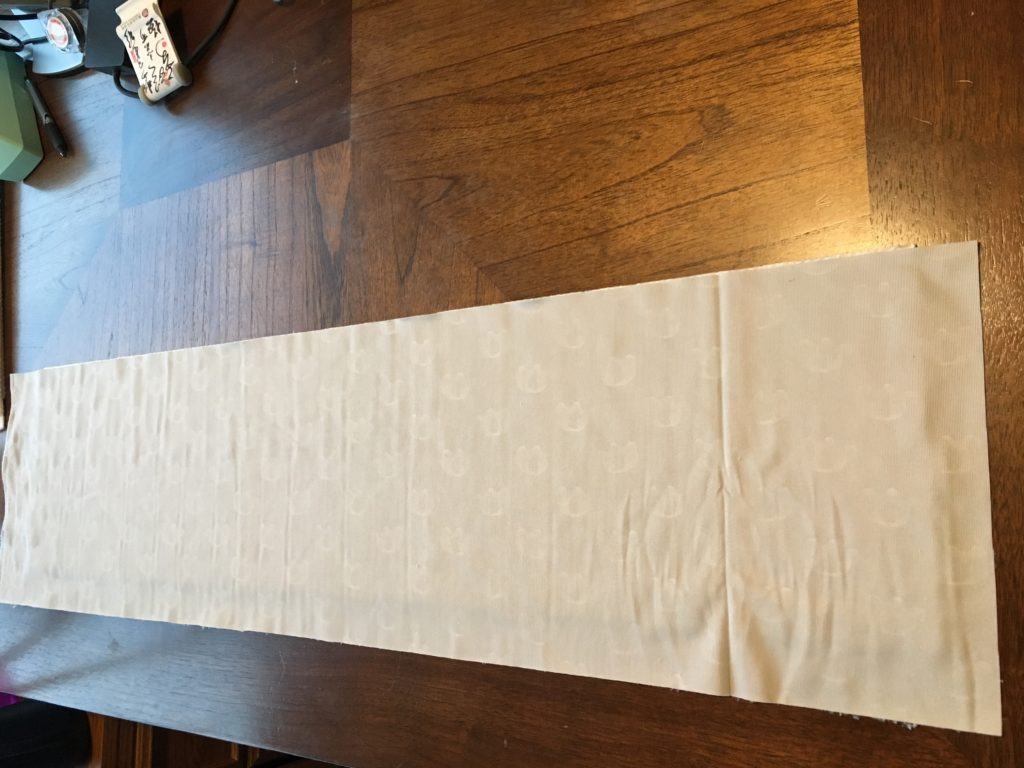
- Cut your fabric larger than the top surface of the shelf. You’ll need extra to fold over. I also made the fabric a bit wider than the shelf to cover the gap between the shelf and the wall. So my fabric piece was about 34″ long and 9″ wide. You can trim it down later.
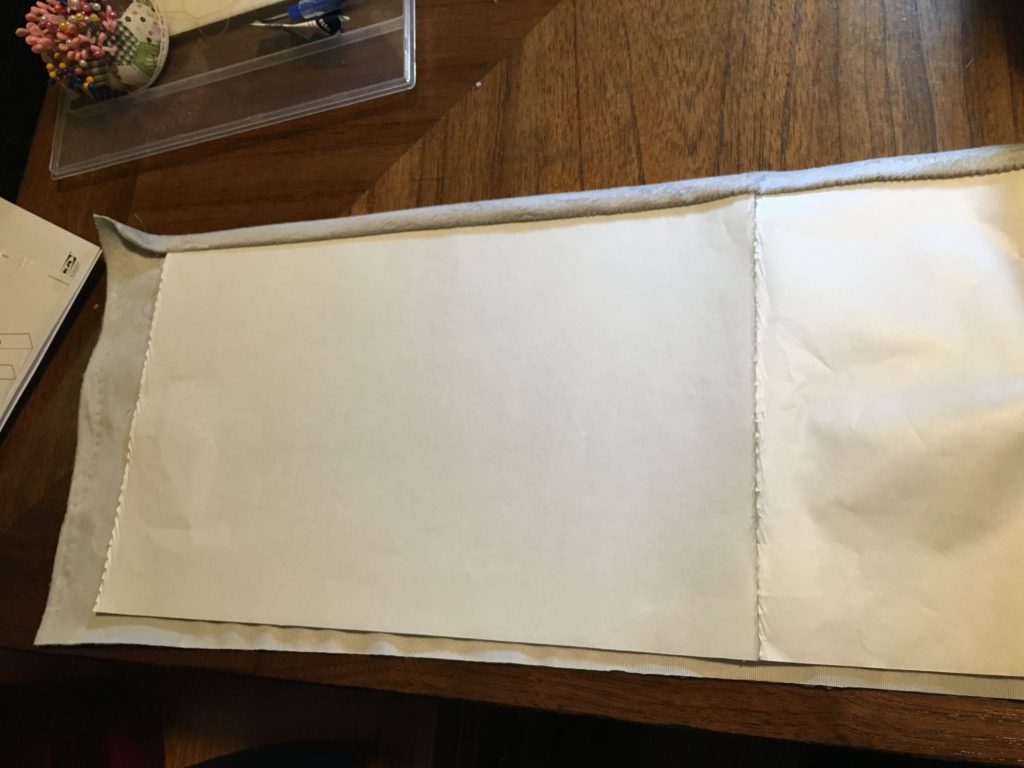
3. Spray the top side of the felt with the Quilt Basting Spray and apply to the back side of the fabric. This helps minimize shifting between the felt and fabric during and after sewing. Fold in the edges and pin.

The assembly is such that the whole thing can be flipped so that the right side of the fabric is at the top, with the adhesive side facing downward for attachment to the shelf.
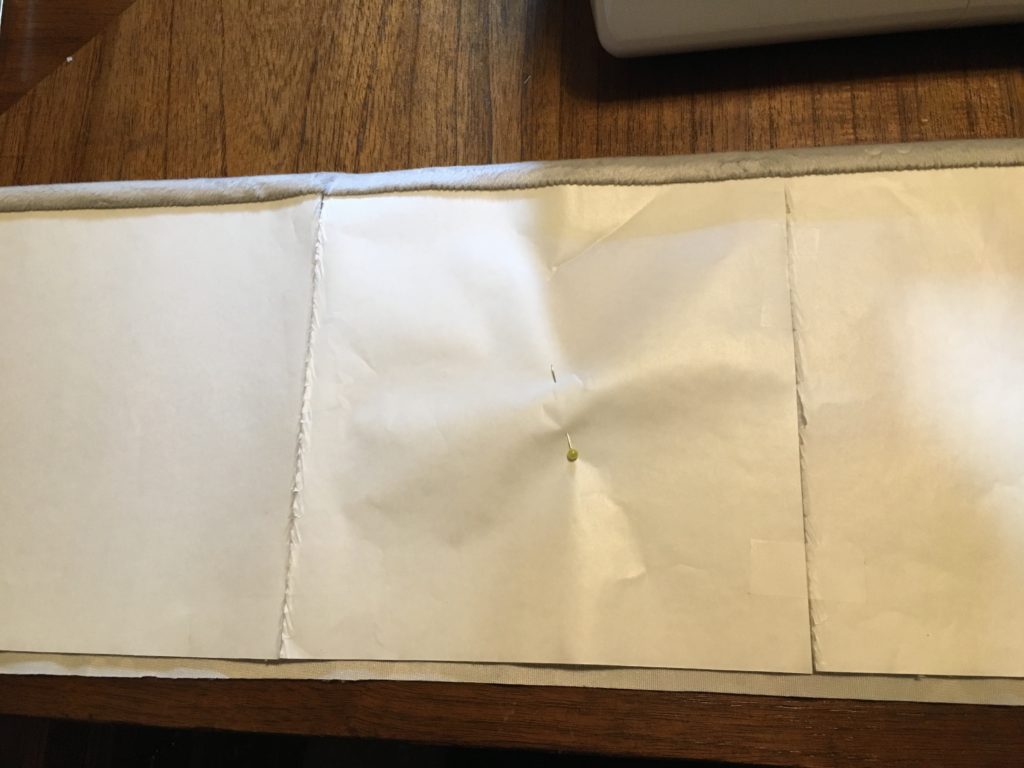
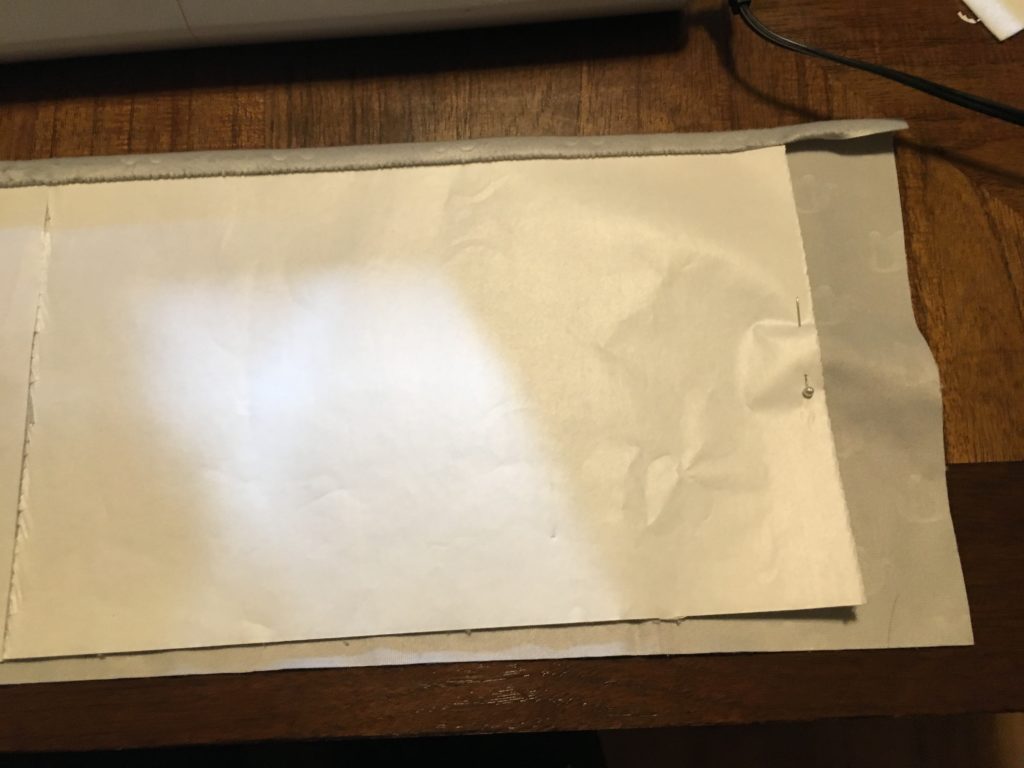
4. Using a straight stitch*, sew along the edges of the felt, catching the fabric on both side of the felt. This effectively sandwiches the felt adhesive between the fabric. I tried to use a 1/2″ seam allowance; I want to minimize the width of the edge. This is because the edge is the only area that won’t be adhered to the shelf directly.
*Note: you can use a different stitch if you’d like, just make sure it is relatively narrow to keep the edge narrow.
5. Using a straight stitch*, sew (with topside up) diagonal lines across the fabric and felt, as best fit your fabric. I wanted diagonal lines because it would increase the amount of stitches holding the fabric and felt together. I chose a ~2″ width as it suited my fabric. Depending on your fabric or preference, another width might be more suitable. Let me mention that in my case 2″ worked beautifully; there’s very little shifting.
*Note: a straight stitch is critical here to facilitate peeling off the adhesive backing.
6. Trim any excess fabric from the edges, remember, you want to maintain a narrow edge. Now, you can peel off the adhesive backing of the felt and attach the whole thing to the top of the shelf. Make sure that the shelf is clean before applying.
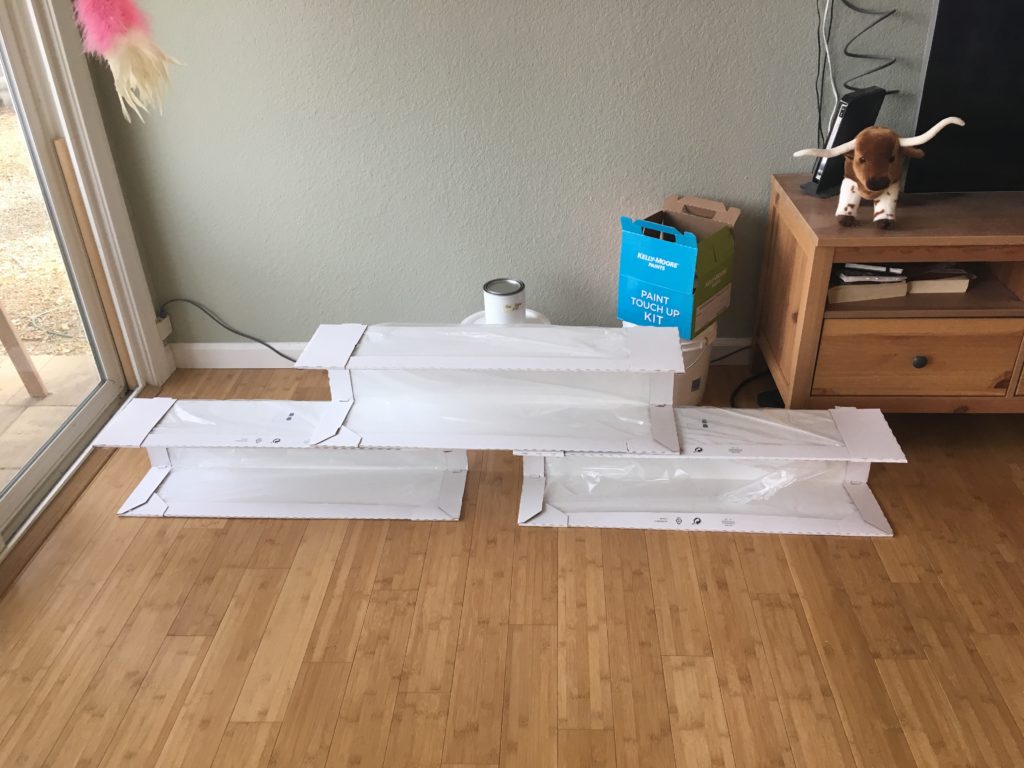
7. Now you can install the shelves on your wall, following the instructions that came with the Botkyrka, using pan or truss head screws. We made sure at least one attachment point of the rail was on a wall stud. The others we used drywall anchors.
8. After installing the rail and shelf, we positioned the corner brace on the bottom of the shelf where there was a stud, marked the position*, removed the shelf, installed the brace with long flat head screws, and re-installed the shelf.
*Tip: We could have cut a rectangle piece of the adhesive felt double the size of the brace and used it to fold over and cover the bottom of the brace, we’ll remember it next time, but you can do it now if you’d like.

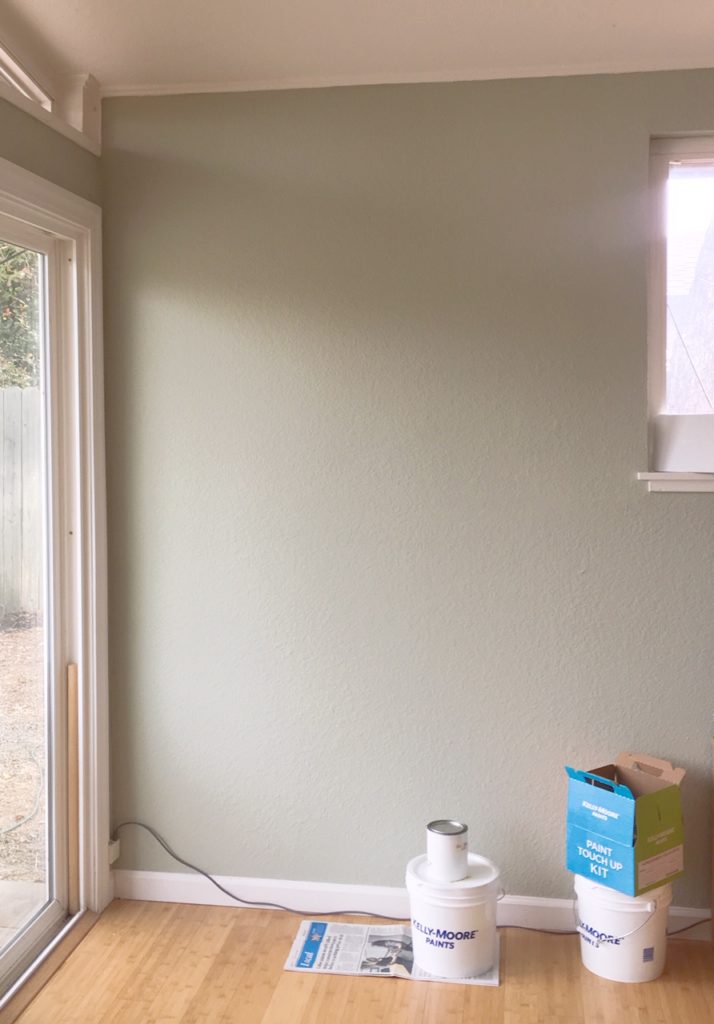
Before 
After After

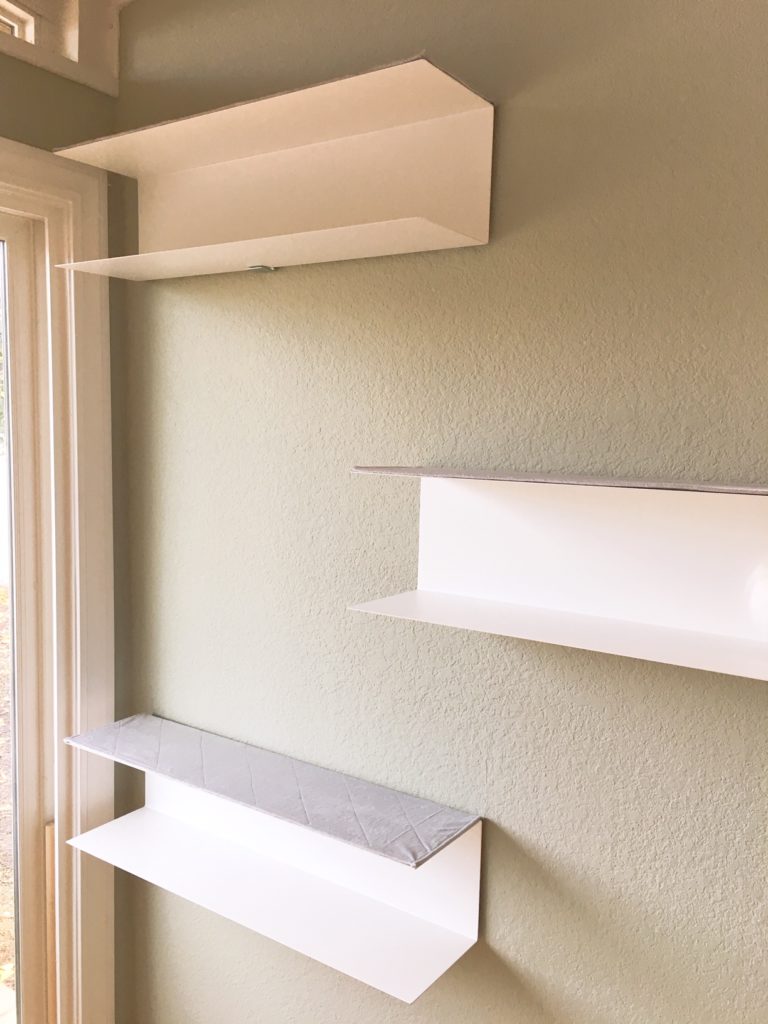
The fabric and adhesive have held up really well. We are loving these shelves!