

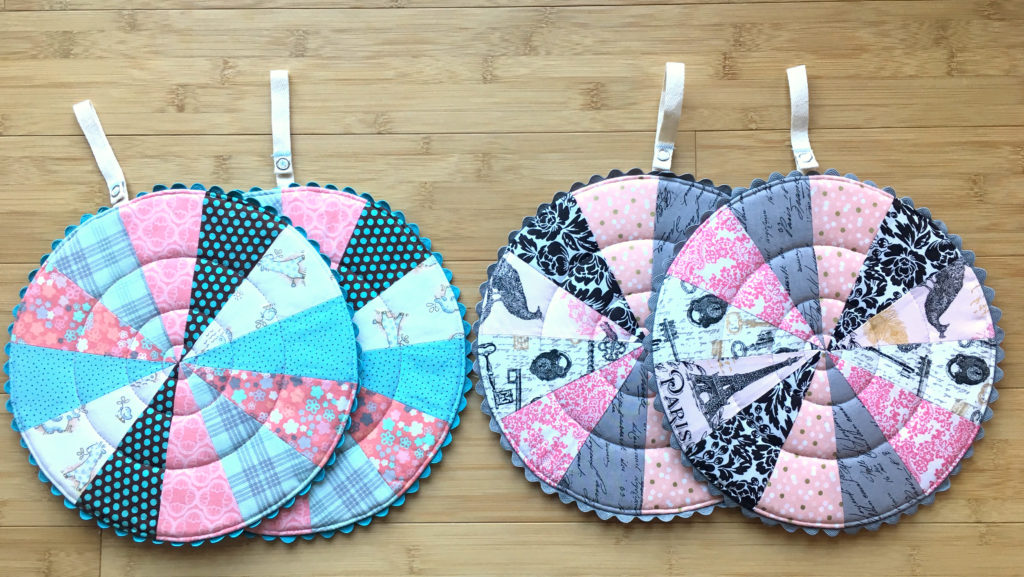
1st Quilted Trivet 2nd Quilted Trivet
My sister is a deeply practical person and figuring out gifts for her can be a real hit or miss. So, I’ve resorted to asking her probing questions about what she might be needing around the house. The gift ultimately still ends up being a surprise as she has no idea how I go about fulfilling her request!
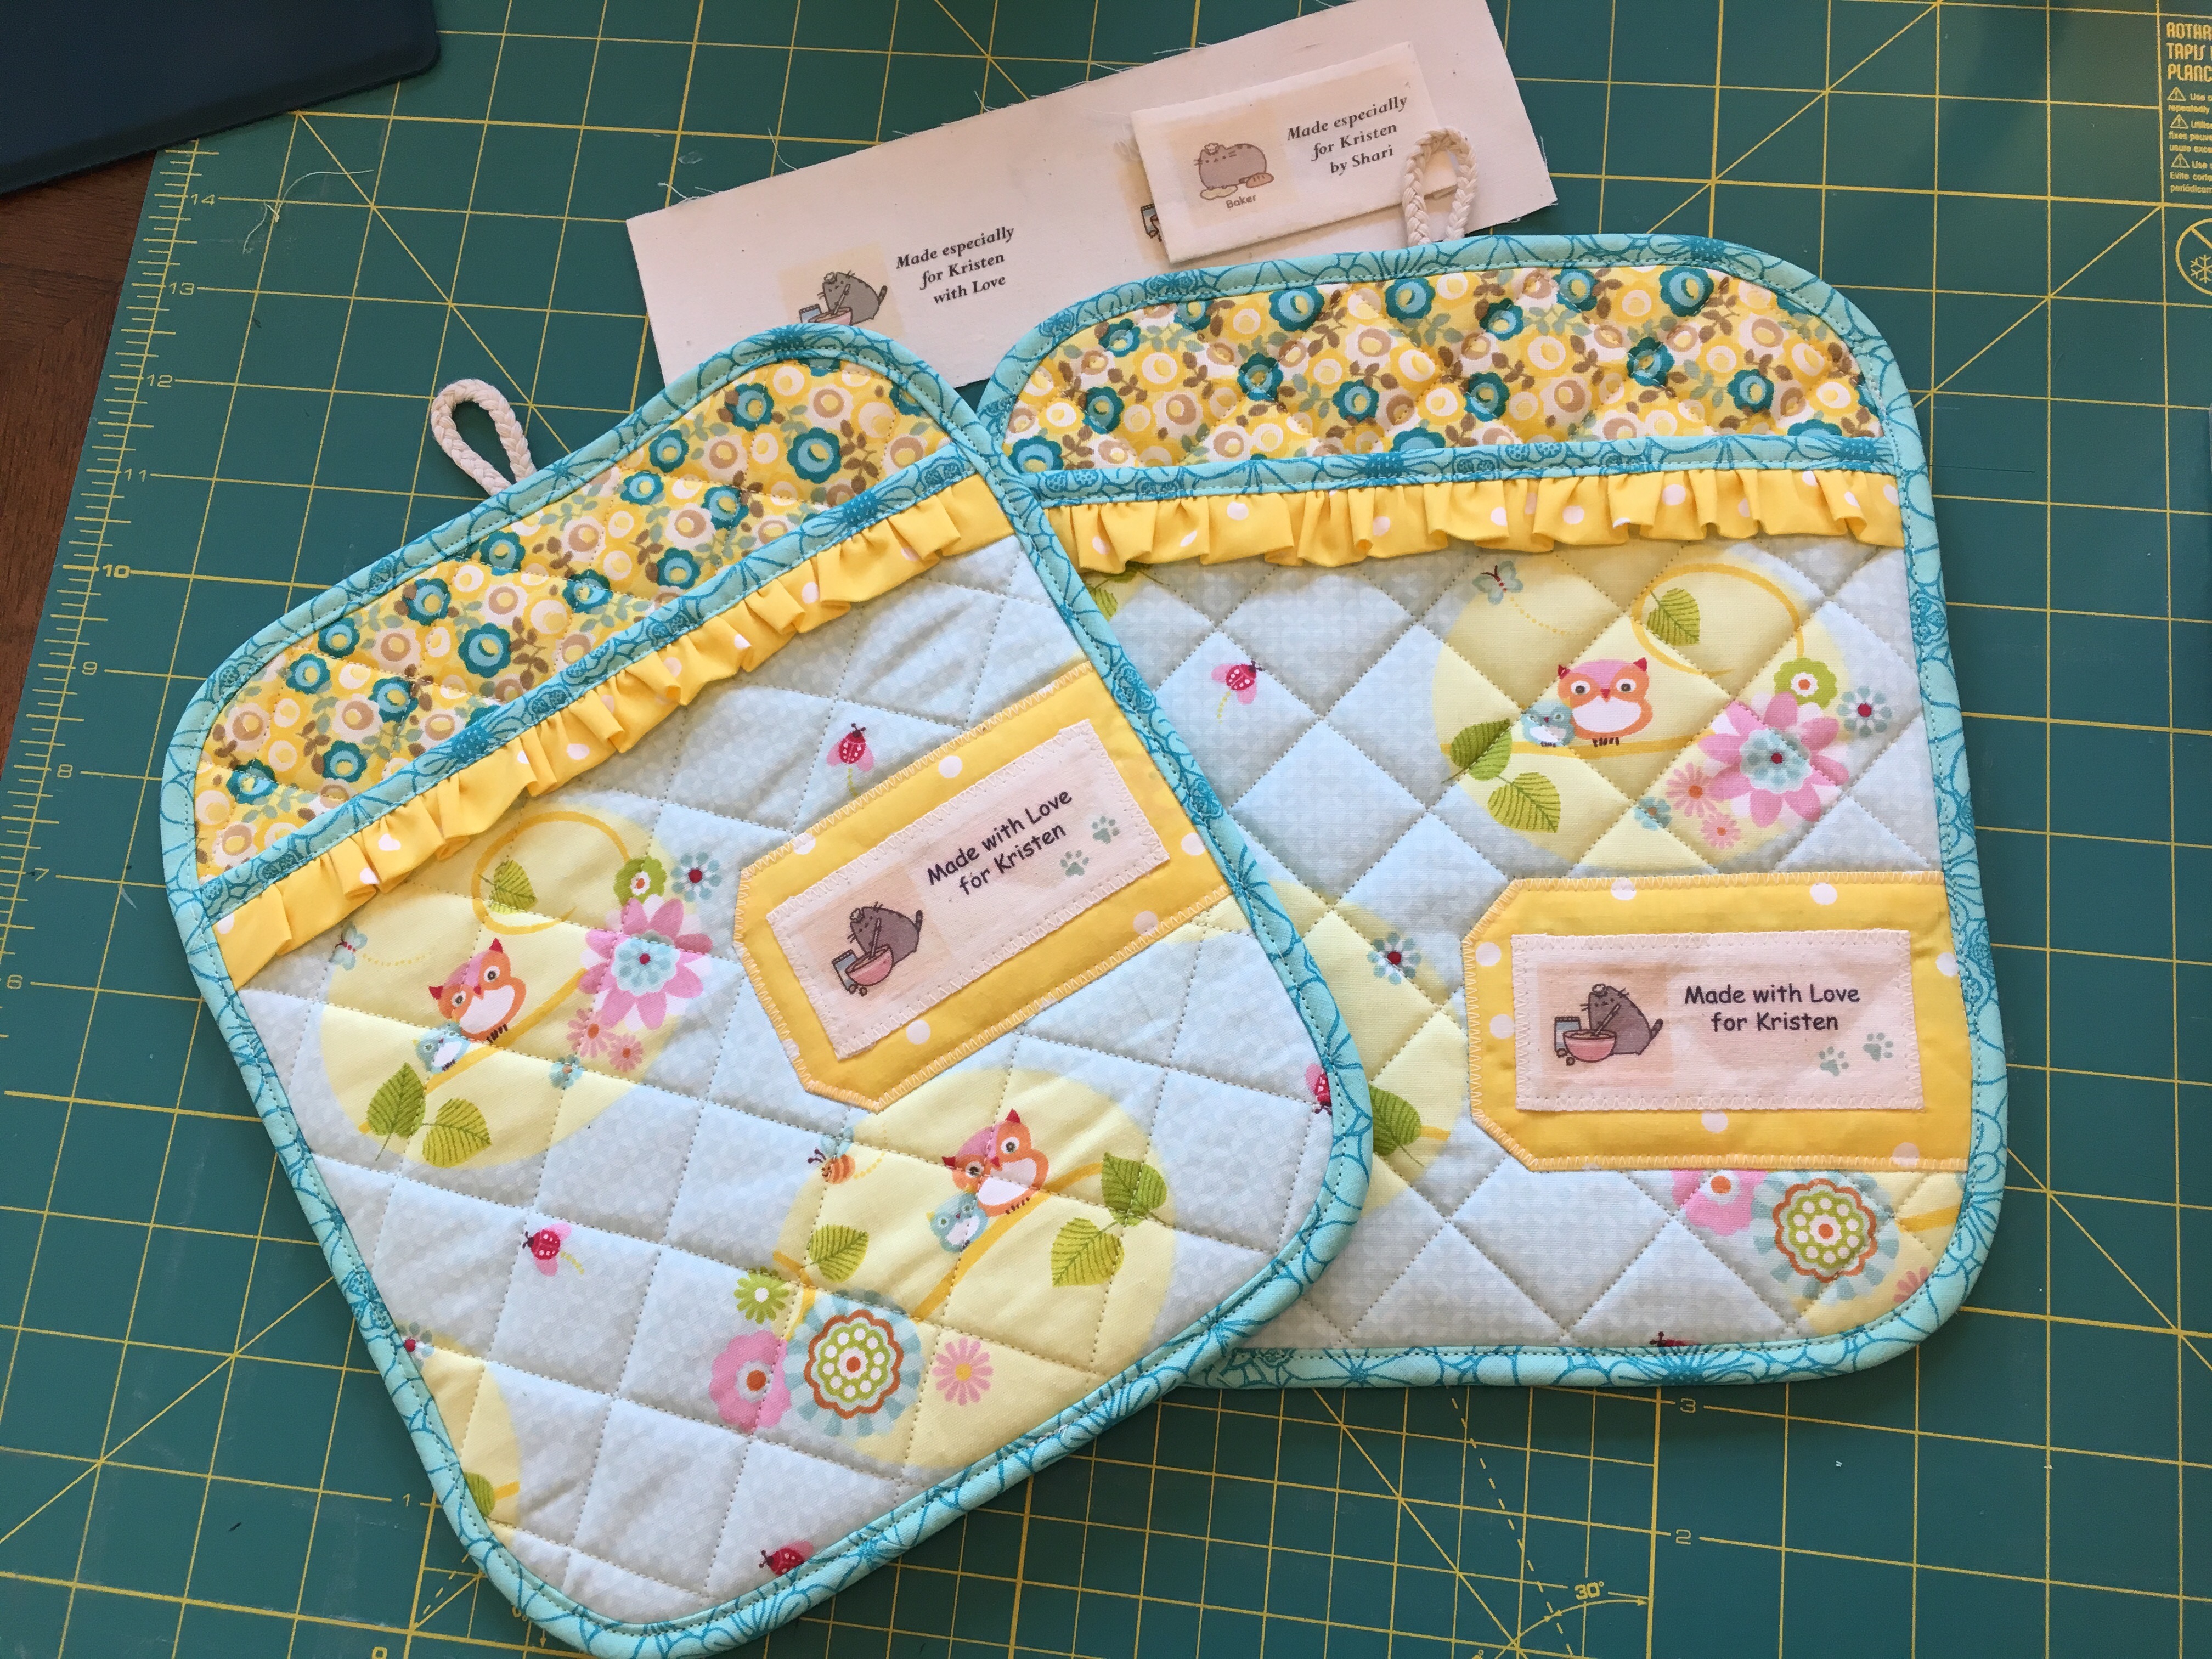
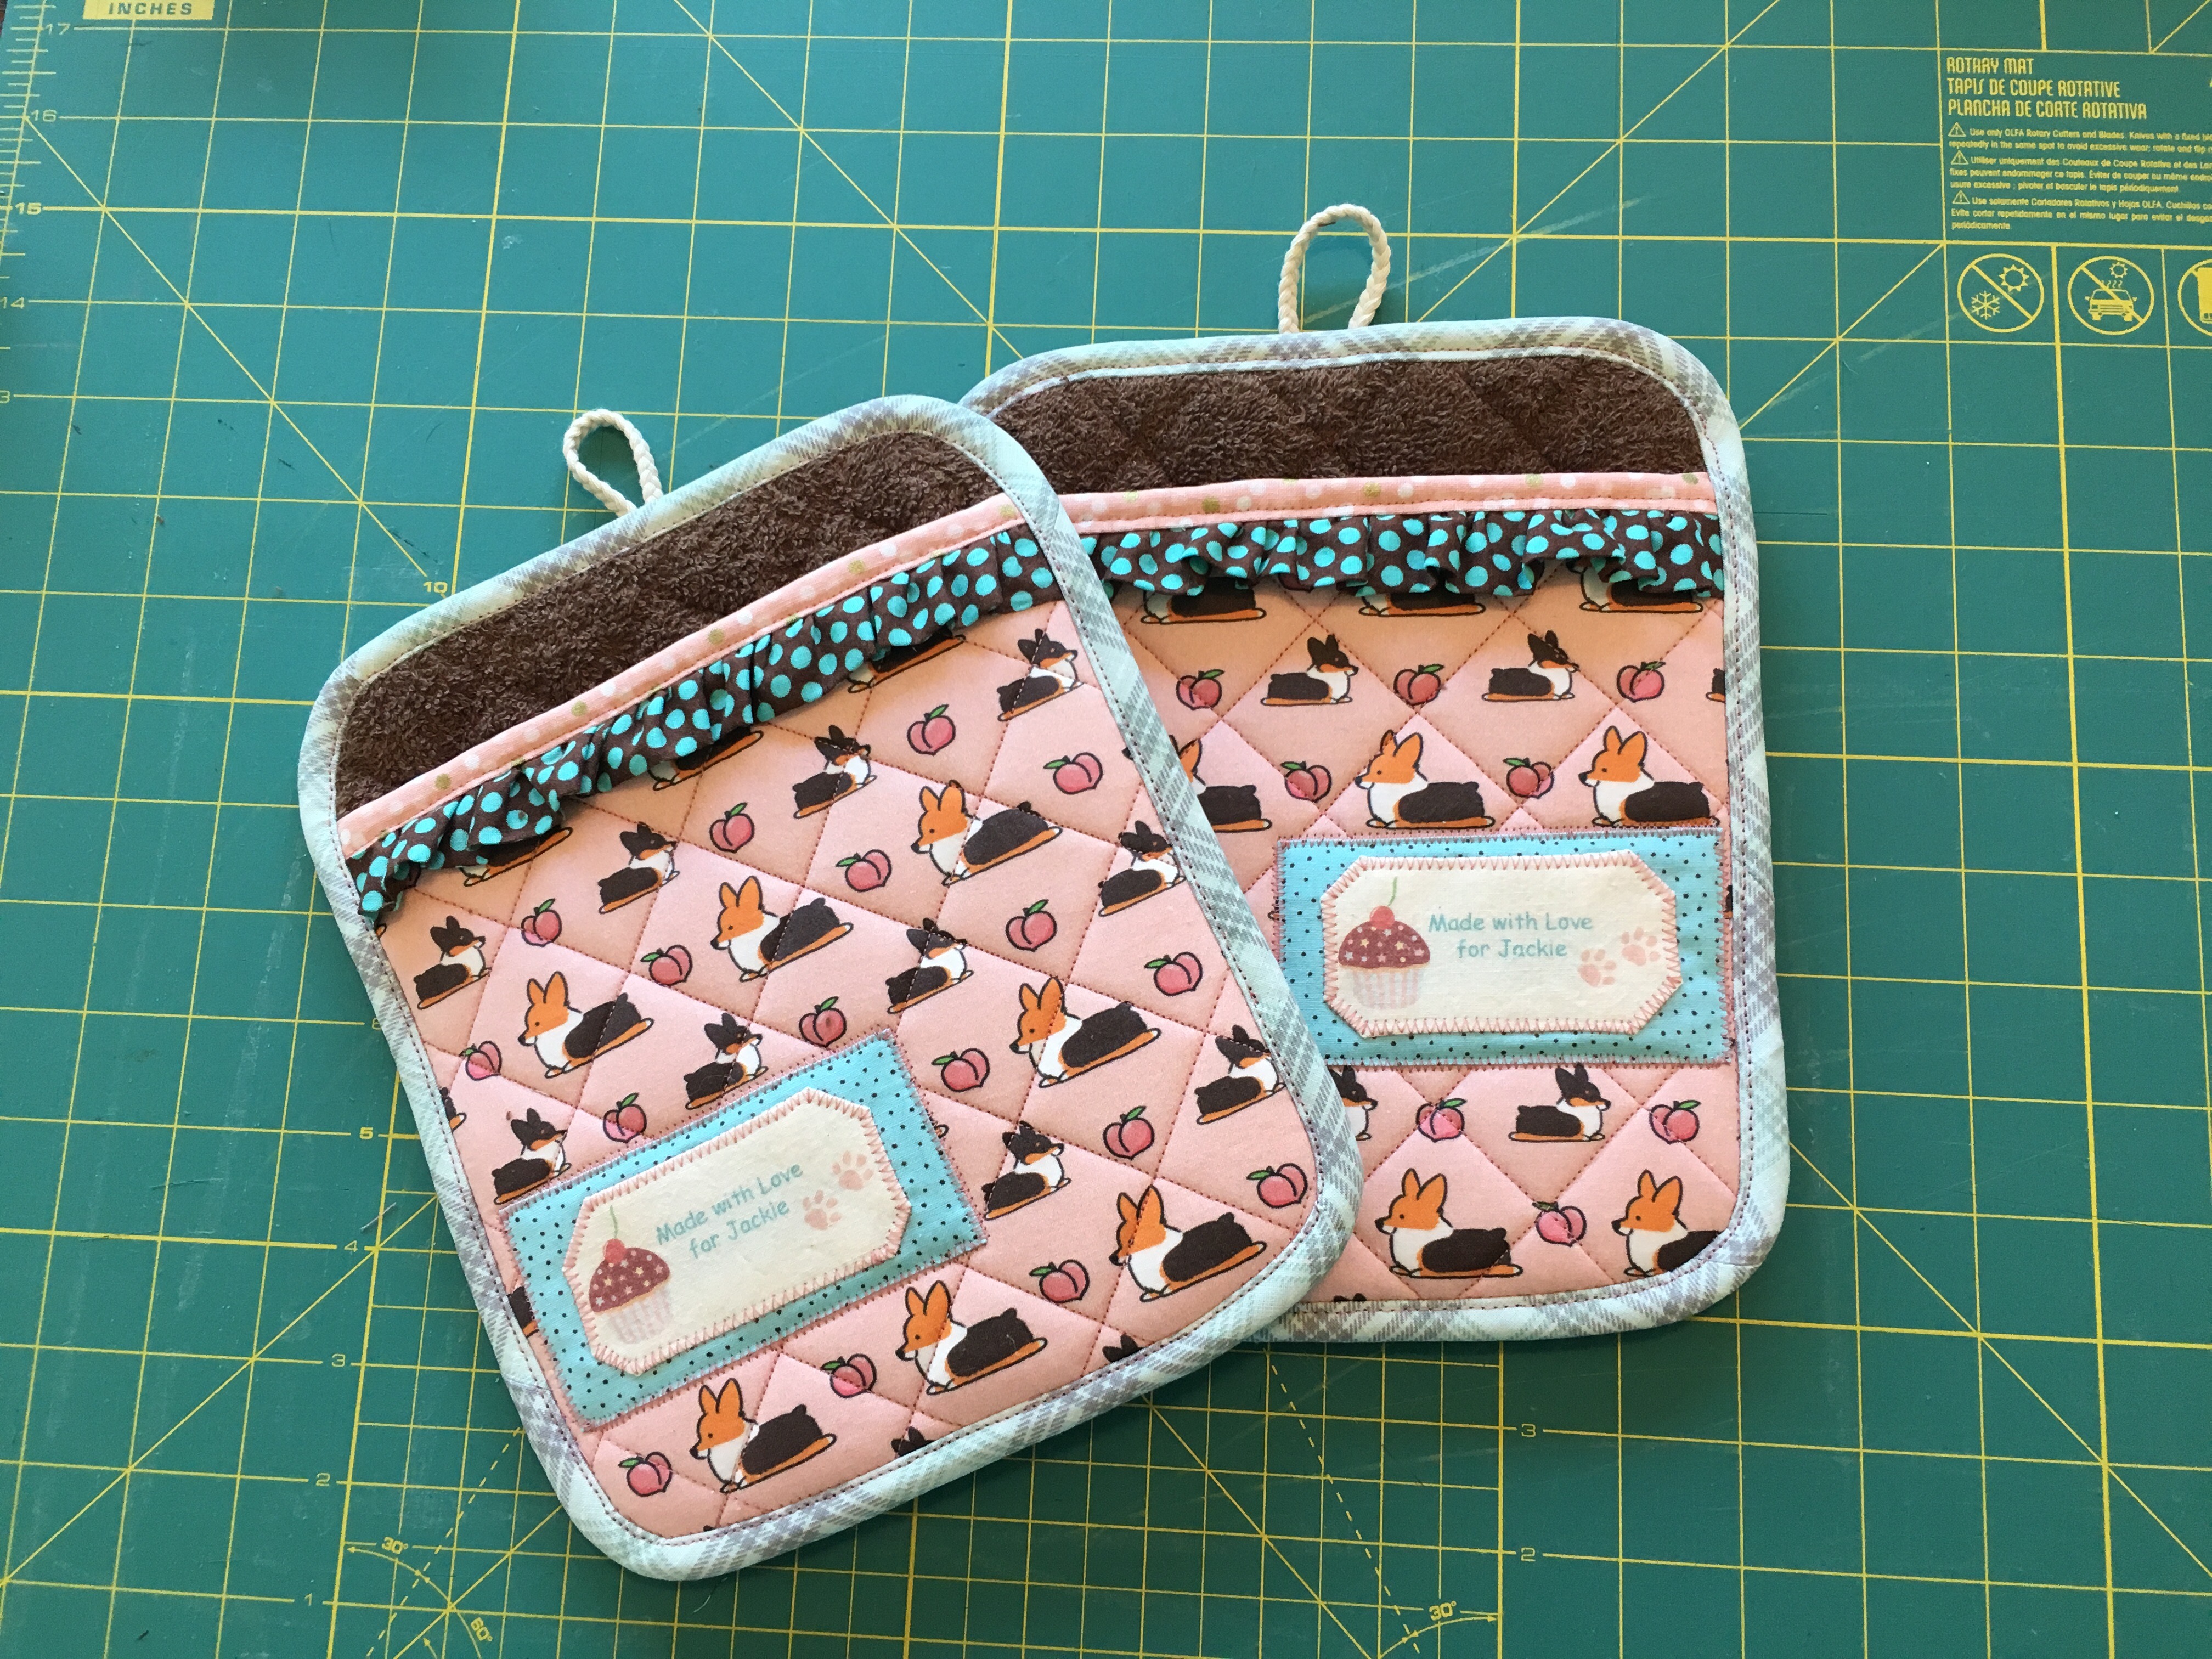
For Christmas, I inquired about the state of her potholders, as I found a super tutorial for potholders that I love, and had used before (see here and here). However, she mentioned that actually she could use a few trivets to protect their kitchen butcher block island…
So, I found a adorable tutorial for a Patchwork Trivet with Circular Quilting, and I’ll be sharing that here!
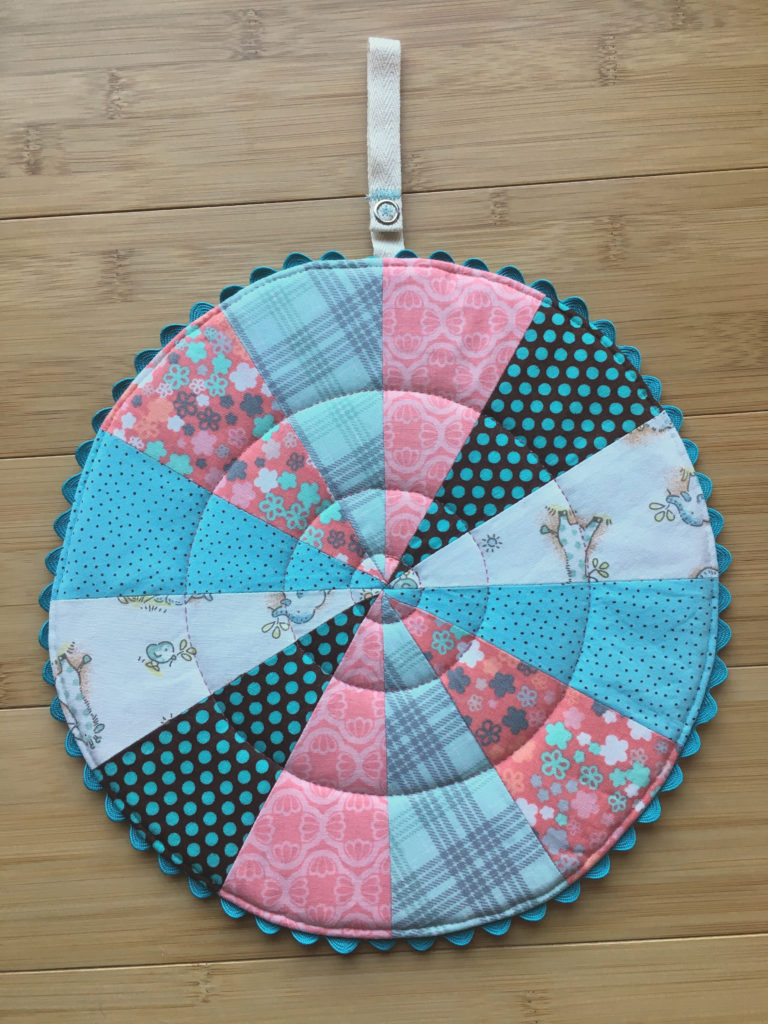
These are pretty easy to make. An easy weekend project, and so satisfying! Whenever I make kitchen stuff I always make a pair so it’s not lonely. 🙂 I ended up making two pairs, the first pair to figure things out and the second pair for gifting.
As this a review of an existing tutorial, I thought I’d share why I picked this tutorial, what I love about it, and what I changed. I’ll also go over the results following the tutorial with and without incorporating my changes. This is not meant to be a substitute tutorial, but a review, so check out the original tutorial above if you decide to make this trivet. I hope this review gives you some ideas to help with that decision. 🙂
Reason I picked this Trivet pattern:
I picked this trivet because I love the idea of being economical with your tabletop space. This is essential when you have a dinner party and want to fit more round items on your table. Square/rectangular trivets would be great if you serve more square or rectangular bakeware, but for me, it’s usually a round pot or pie, so this is perfect. The finished size of my trivets is 10.25″ in diameter (including rick rack).
Another reason I picked this is because I typically skip the trivet and balance dishes and pots on my little potholders, not the best. This ends up with my dishes and pots wobbling on the table, as often my potholders are smaller than the vessel, and my potholders are often not perfectly flat. For example, I love potholders that have a pocket for my hands, which result in an uneven thickness that makes it a wobbly trivet.
Lastly, this trivet just looked adorable to me. I love the patchwork (another way to use up scrap fabric, yay!) and the rickrack on the edges adds a really cute detail.
In short, I love this trivet!
General Changes:
- I used Insul-Bright in addition to batting.
- I used Quilt Basting Spray to keep my fabric and batting layers in place before sewing.
- I fused a thin interface to the trivet front after all the wedges were sewn together to keep everything nice and stable for subsequent steps. I punched a hole in the center to decrease the bulk of the fabric fanning out from the center point.
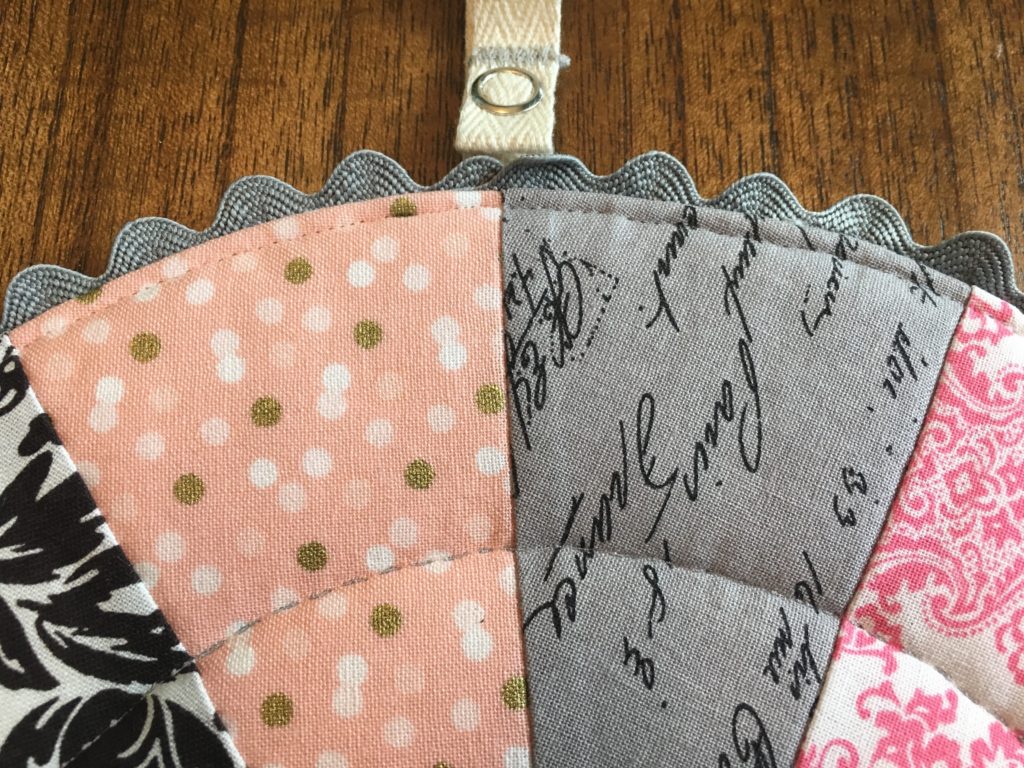
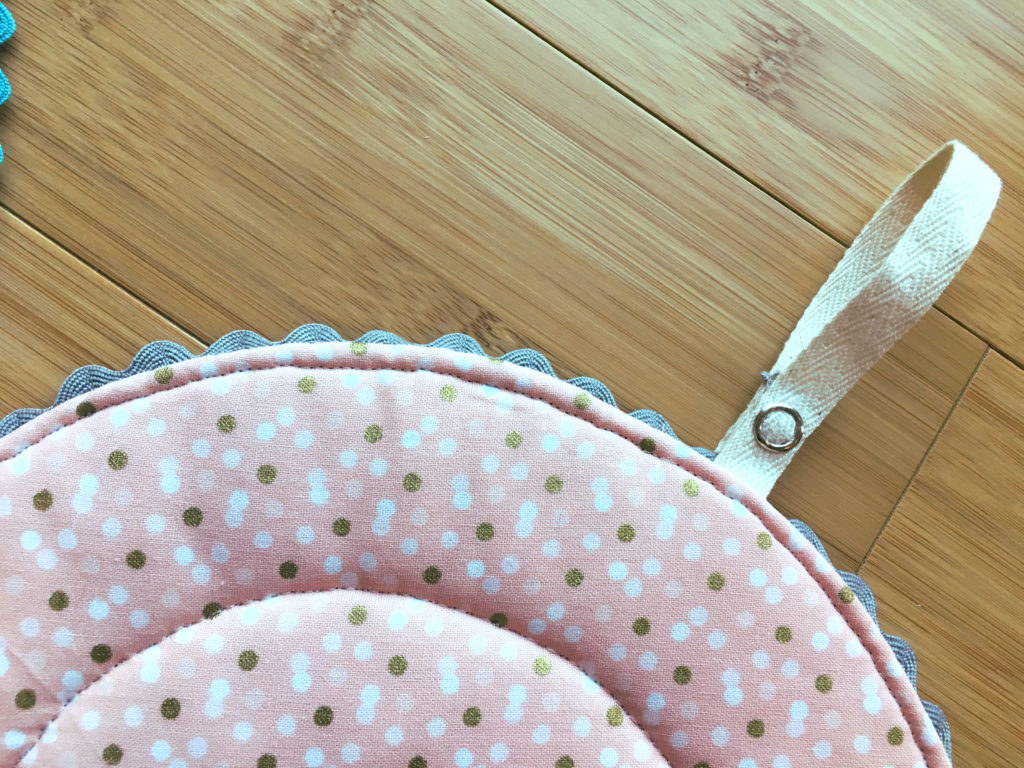
- Instead of a loop, I made a loop held together with a snap for people who don’t have hooks and like to keep things on drawer or appliance handles.
- I sewed a thin edge around the edge of the trivet to reinforce the edge and decrease the “puffiness” of the edge. This also reinforced the area where I closed the gap used for turning.
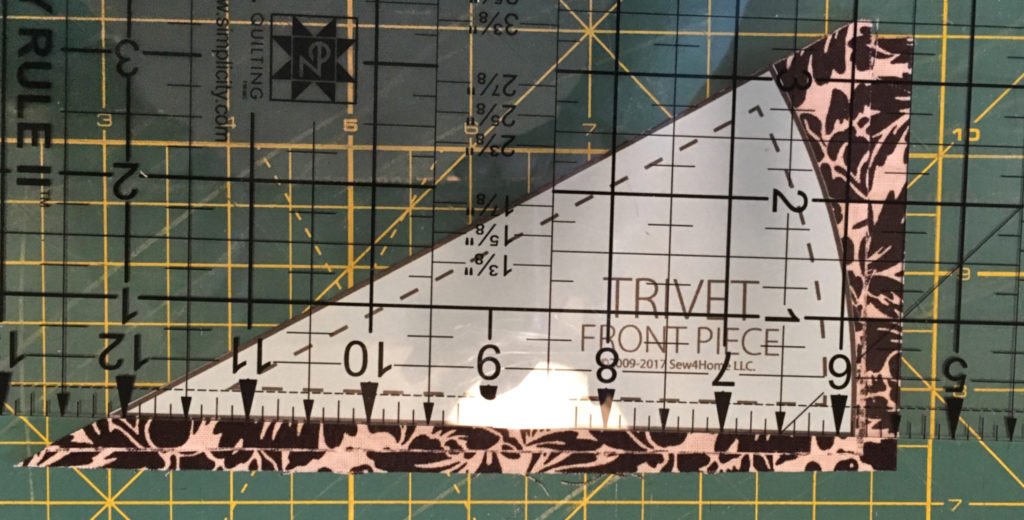
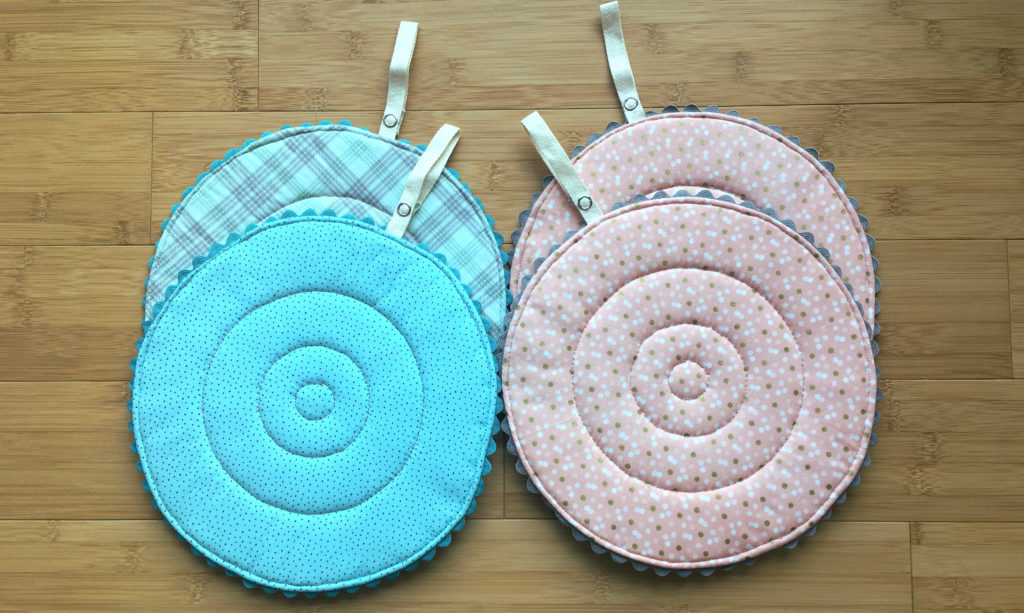
- Because I do not have a circular sewing attachment for my sewing machine, I drew circles using a Pilot Frixion pen, which works great as the ink disappears upon ironing. This is one of my favorite tricks! I can mark to my heart’s content… 🙂 You can give this a try on a scrap piece of fabric first. The key is that you need to be able to iron the fabric.
Changes I made between the 1st & 2nd Trivet pairs:
- I used two layers of Insul-Bright and a single layer of quilt batting. I’ve used Insul-Bright for other kitchen projects before and I really like the insulating properties. The 1st trivet pair I only used two layers of Insul-Bright and I didn’t feel it was thick enough, so I added the quilt batting between the two layers of Insul-Bright, which has the additional benefit of absorbing moisture.
- I cut the “Trivet Back” larger. I increased the radius of the trivet back by about 1/4″. This is because when you sew the front and back of the trivet together, it’s easier if one has a bit of wiggle room. You can always trim things down, but you can’t make it bigger. In this case, it’s easy to make the trivet back a bit larger to begin with.
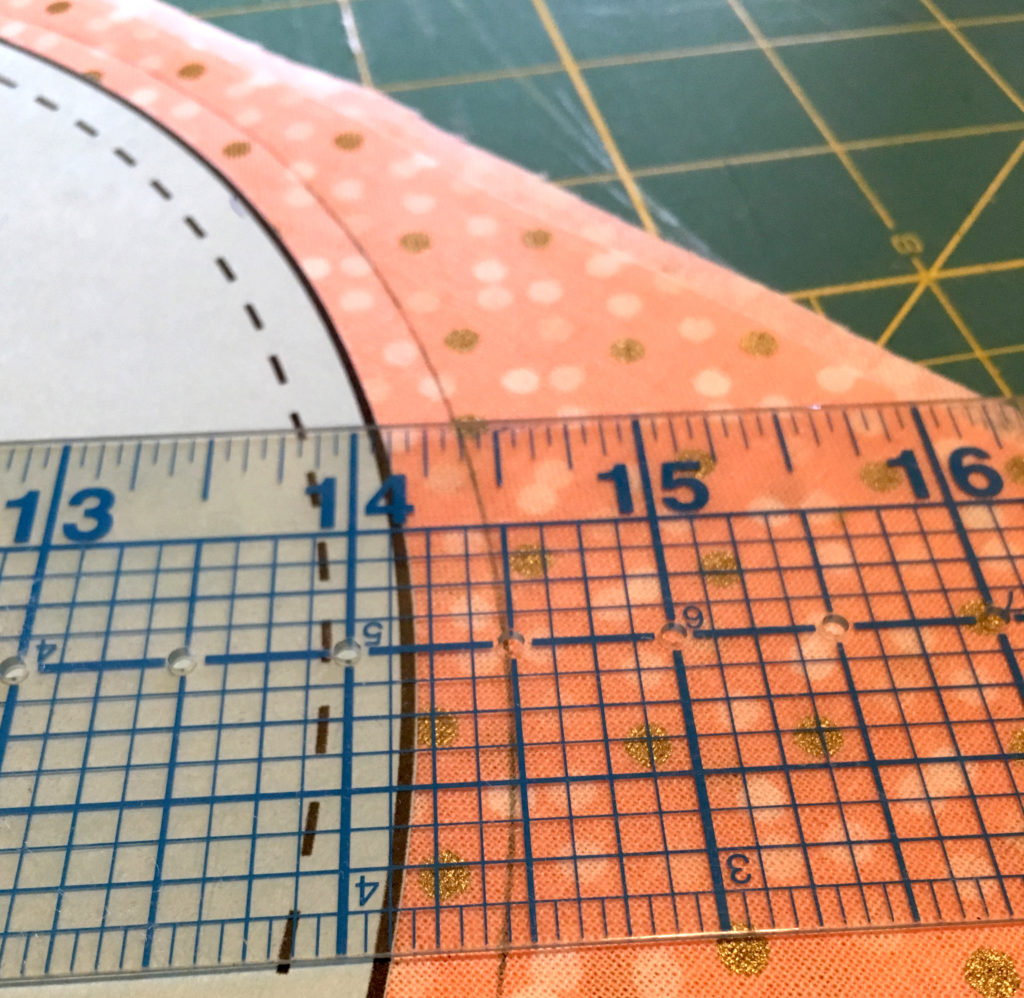
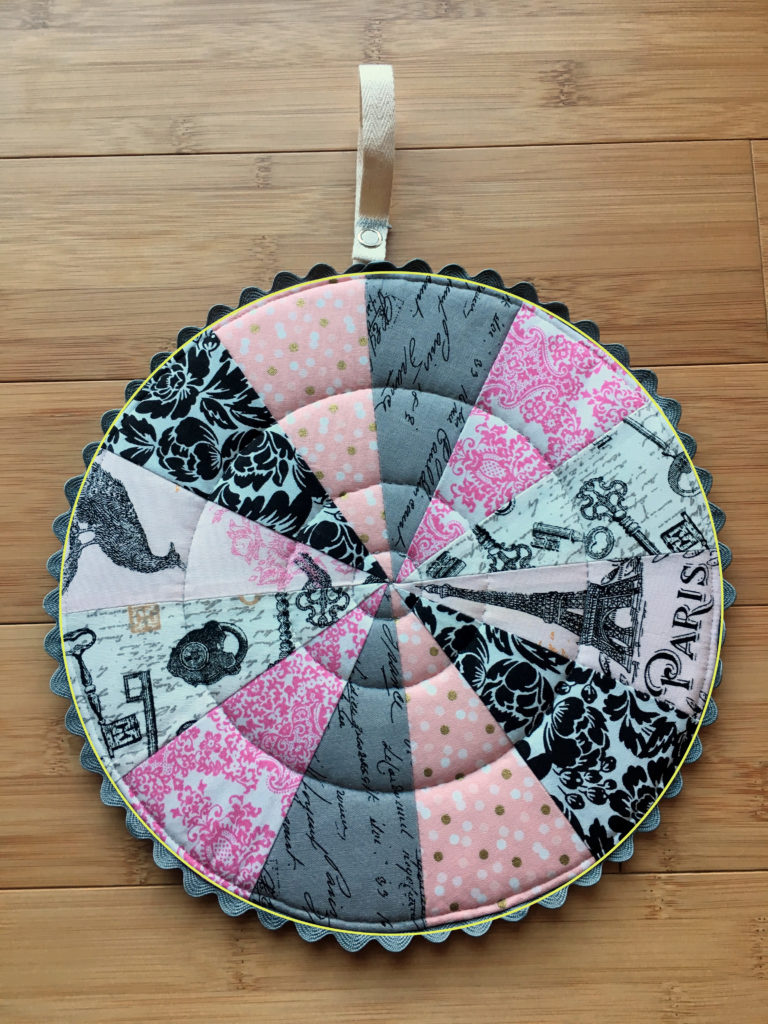
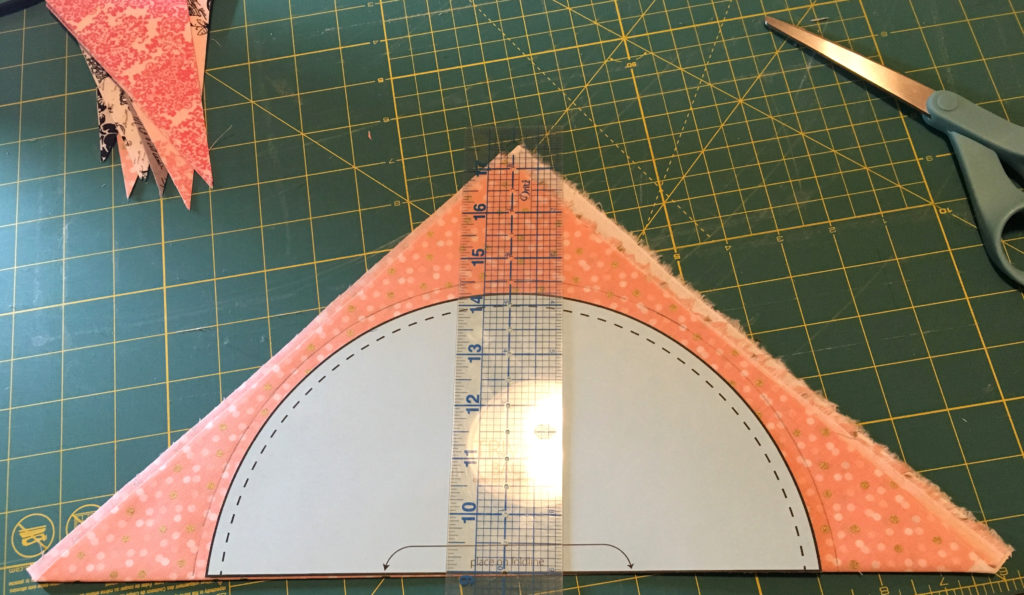
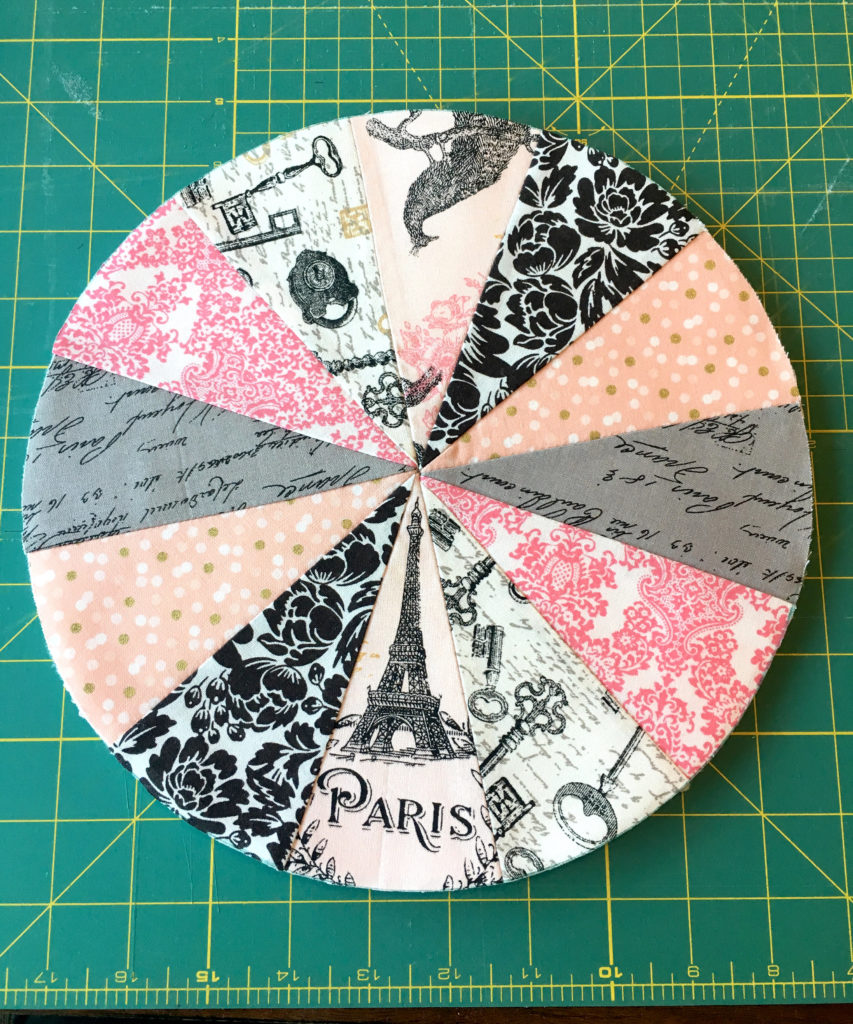
3. Trim the trivet front into a perfect circle before attaching rick rack. After I’ve quilted the 12 wedge fabrics together into the trivet front, I use a ruler or tool to draw a perfect circle of my trivet front before attaching the rick rack. Sometimes even if you try very hard to cut the fabric wedges perfectly and sew them all together perfectly, the rounded edges of the wedges sometimes do not match up perfectly. This ensures that your trivets end up perfectly round! I trim the trivet back according to the trivet front, this then becomes the only time I have to trim a curve extra carefully, saving me a lot of time in previous steps.
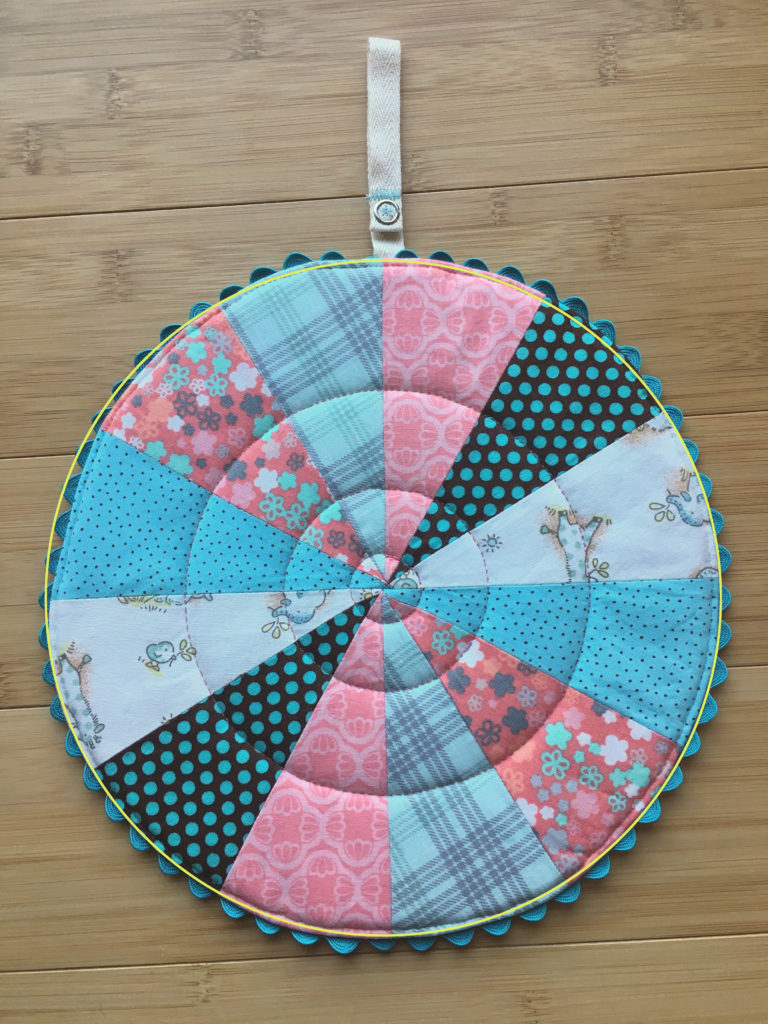
See the picture below, where a perfect circle has been superimposed on each trivet in yellow. The 2nd Quilted Trivet, on the right side, is almost perfectly round. Having a perfectly round trivet front also helps position the rick rack accurately. I trim the trivet back according to the trivet front.
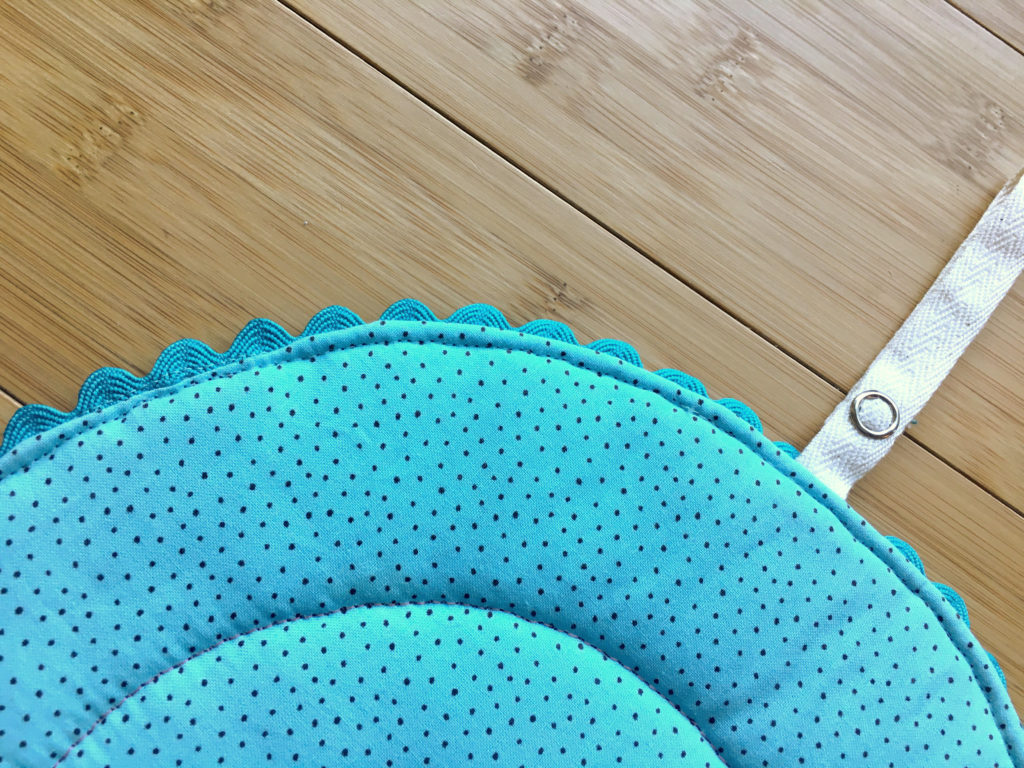
4. When sewing all the layers together, I sewed a ~3″ section, turned it right side out and pressed it with a hot iron to set it. This formed an impression in the fabric and batting. When I then sewed the rest of the layers together, I could pick apart this 3″ section, turn the trivet right side out, and have a clear mark of how to close the gap, which had been sewn before and ironed. This made the gap I closed much tidier.
See the images below, where the 2nd Quilted Trivet was much cleaner on the edge to the left of the loop.

If I did this again:
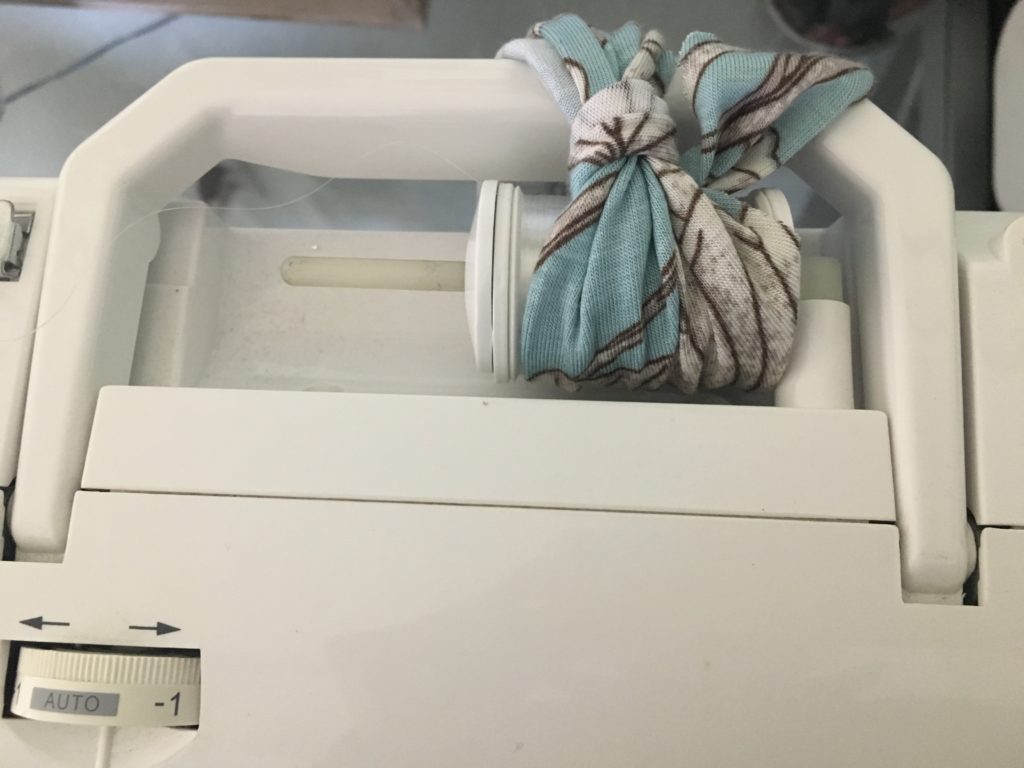
I am still debating the use of invisible monofilament thread. The hand stitched look is cute if you can adjust your machine just right. I feel that it caused a bit of puckering on the back of the trivet (see pics of the back) and it took a bit more fussing with my machine.
I’ve learned that the spool needs a little help to prevent the monofilament threat from jumping off the spool and catching other parts of your sewing machine. I saw some pictures online where people used mesh tubes for garlic that worked well. For me, I didn’t have this, so I tied a bit of fabric around my spool and it worked okay.
See below for a pictorial of my process!


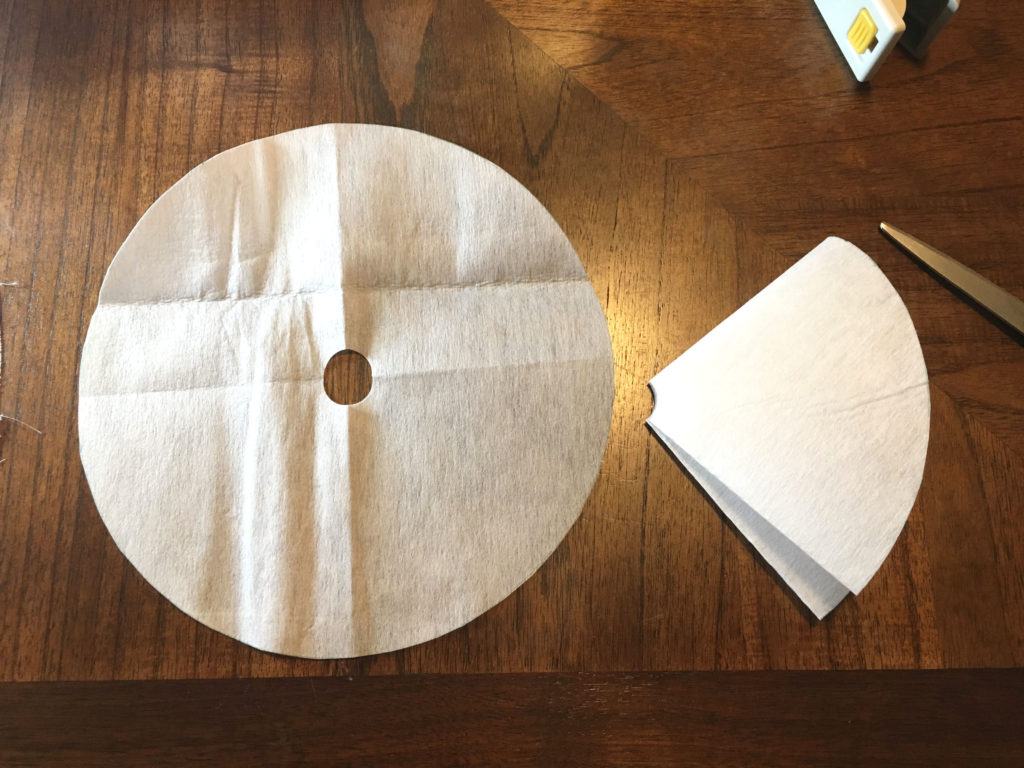
Cut wedges for front. 
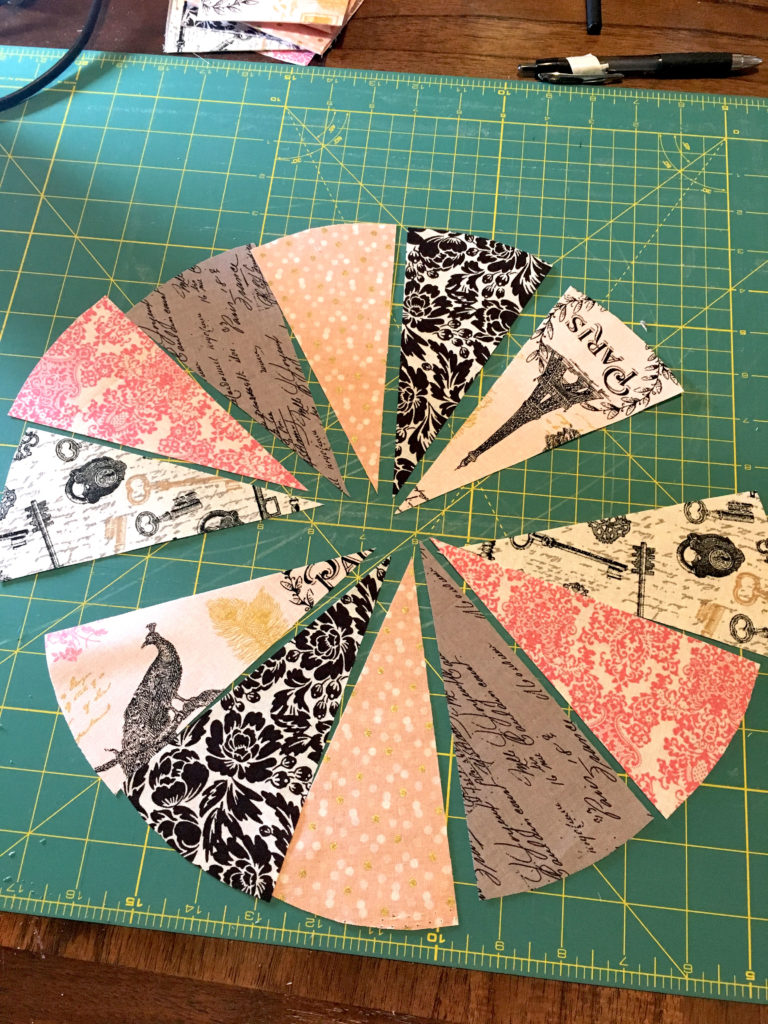
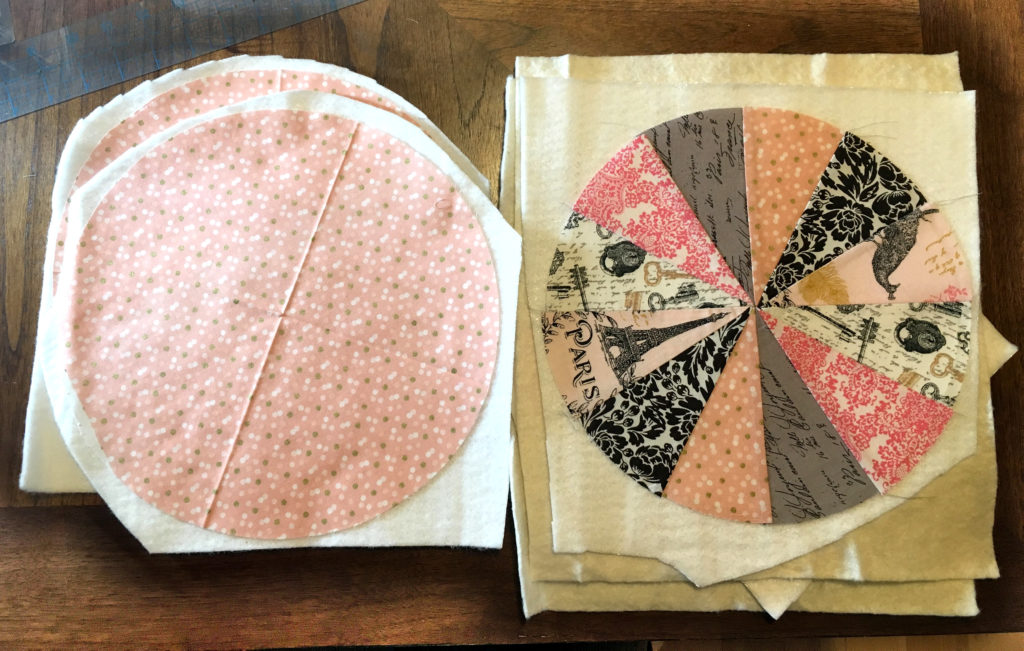
Cut circle for back. Decide on your layout. 
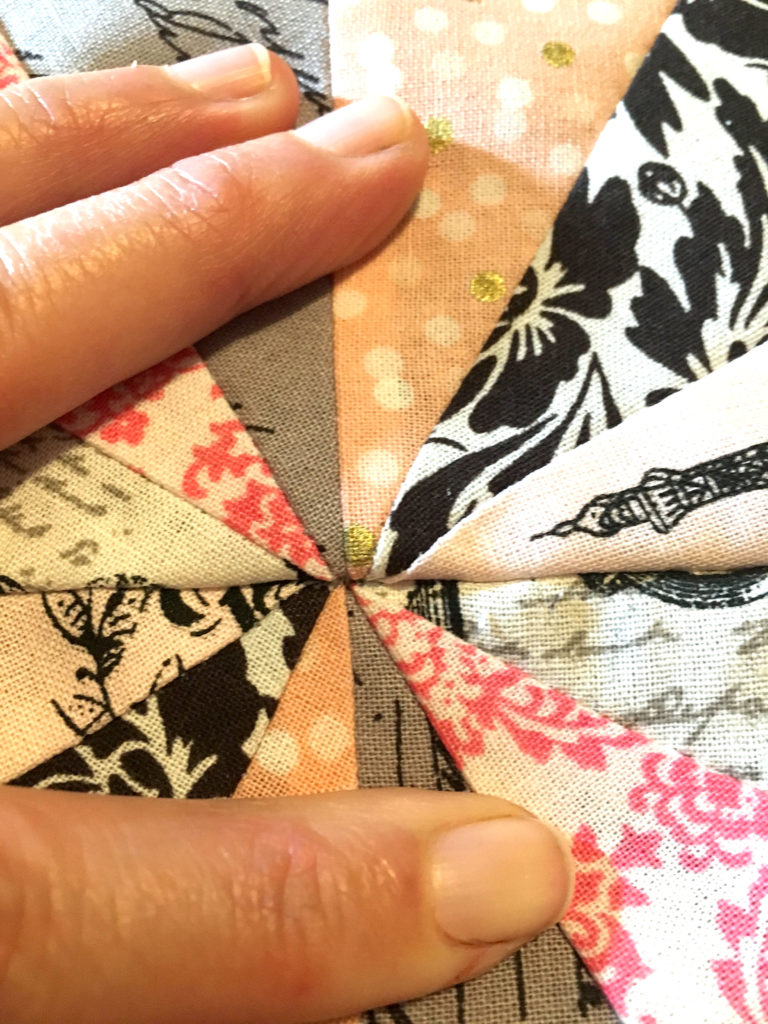
Sew front wedges together, carefully. Check on point meeting (if you care!). Cut interface (and batting). 
Baste all layers together. 
Trim into perfect circle. Attach rick rack and loop, sew all layers together.


Love your new trivets! 
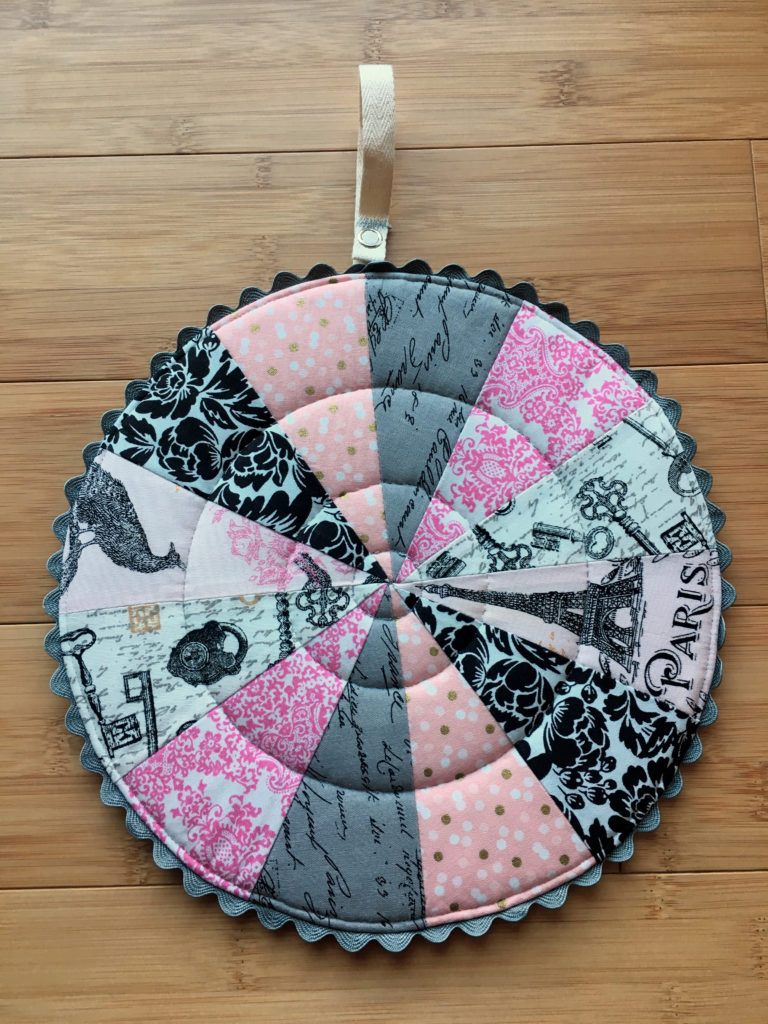
Left ones for keeps, right ones for gift!
I’m excited to gift the Parisian trivets to my sister, I hope she’ll love them! Have you noticed that I made the patterns of the Parisian set mirror-images? 🙂 It’ll add some visual interest when they’re hanging somewhere in the kitchen!