The weather is warming up and the squirrels are rampant! Time to get those covers done!

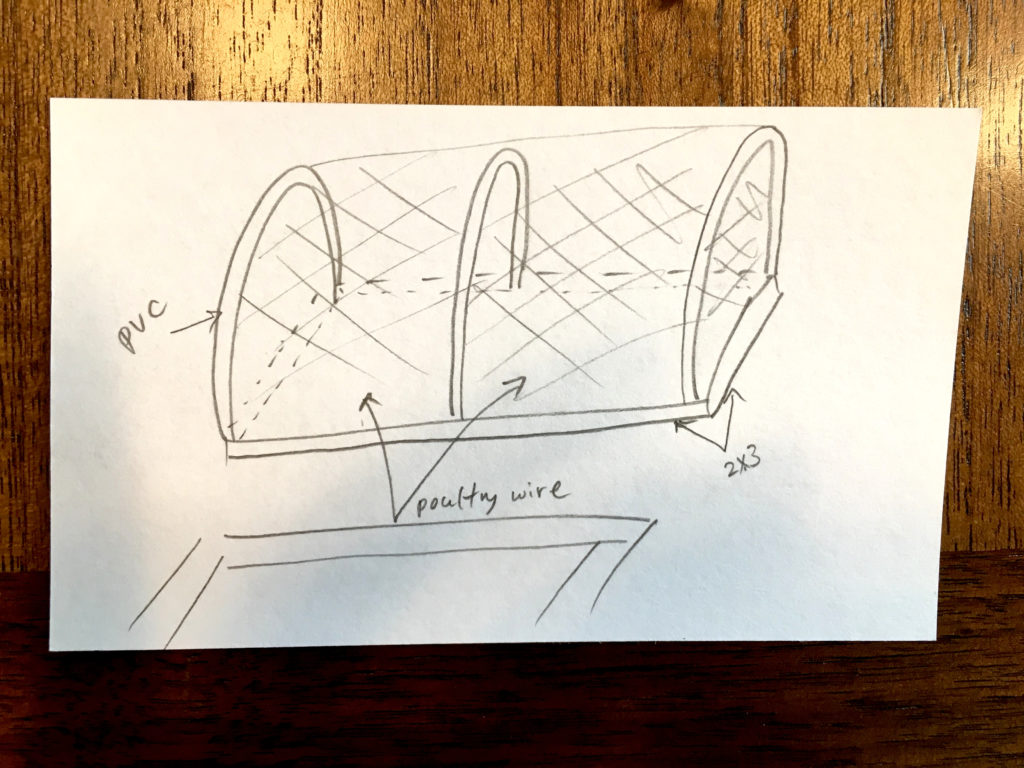
Plan… 
Made!

Materials for 3 covers (prices as of March 2019):
- 9- 2x3x8 studs. ($2.06/ea)
- 9- 1/2″x10′ PVC40 PE pipe. ($2.31/ea)
- 2 rolls- 4’x50′ of 1″ 20GA Galv Poultry netting. ($39.98/ea) *We had about 3/4 of a roll left over after this project.
- 2 pack- 1/2″ Galv Pipe Strap 2 hole 10 pack. ($1.98/pk)
- 1 pack- 8″ Cable tie 100 pack. ($7.98/pk)
- 3- 5.75″ Door pull, zinc. ($3.67/ea)
- 3 pack- 3″ Utility hinge, zinc. ($3.27/ea)
- 1″ wood screws
- 2″ general construction screws
- Staple gun with staples.
- Total: $152.05 *Goodness, this was not a cheap project!
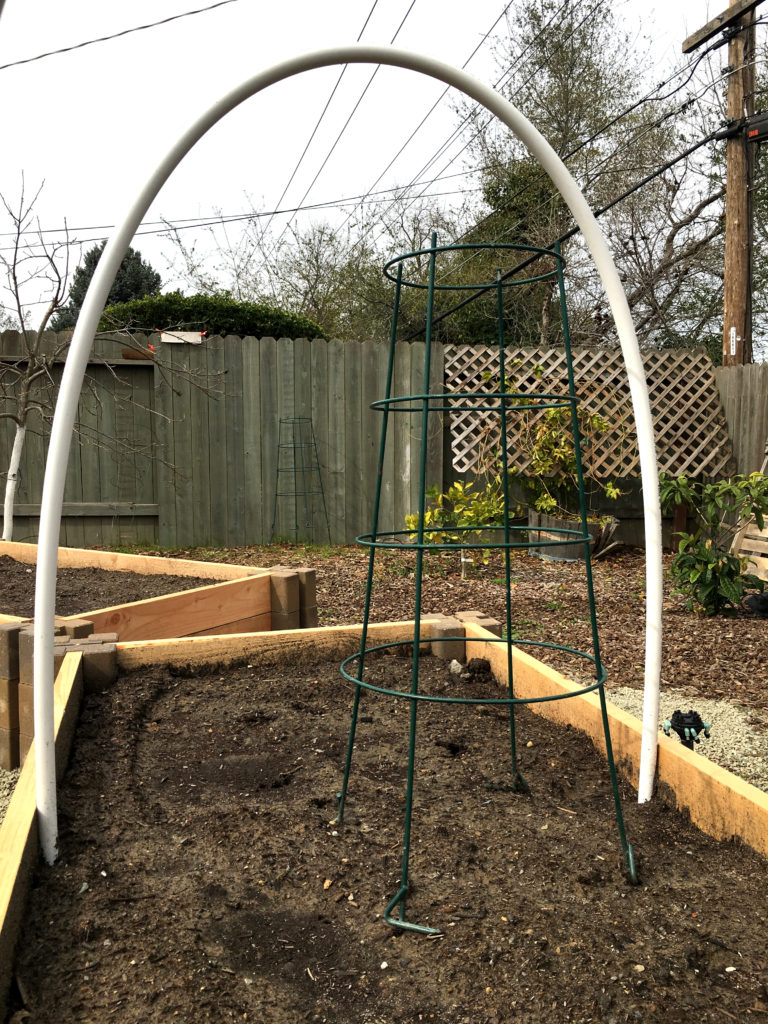
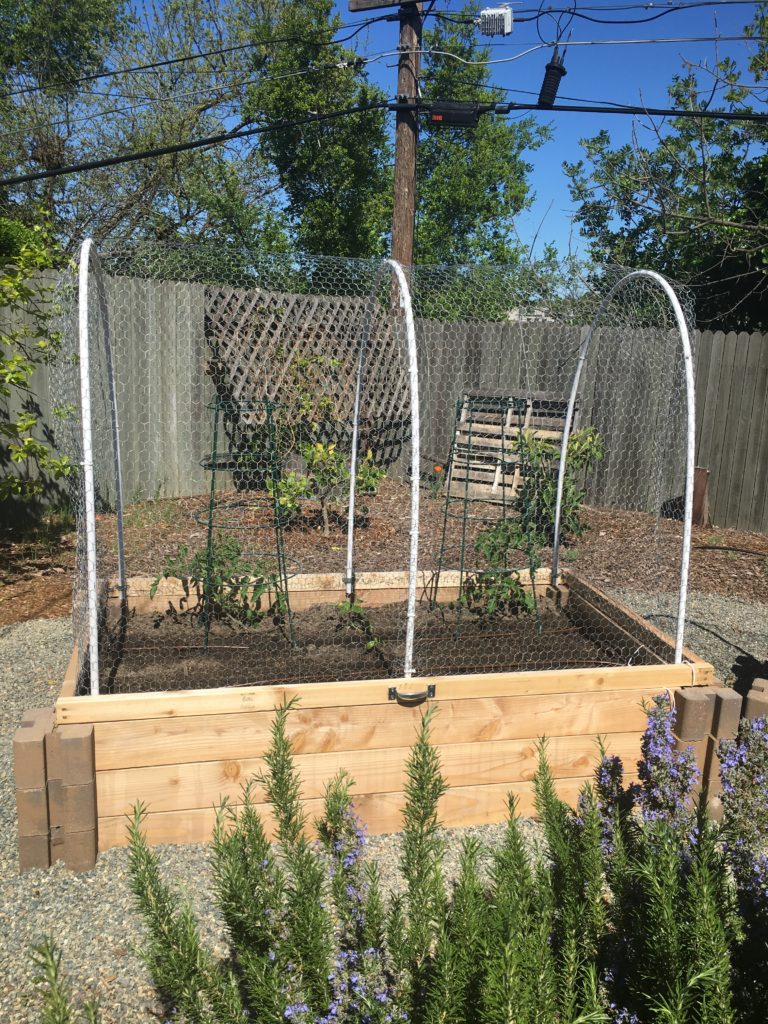
Before we began, we made sure the 10ft pvc pipes would give us enough height in the planters for our tomato cages.
Process:
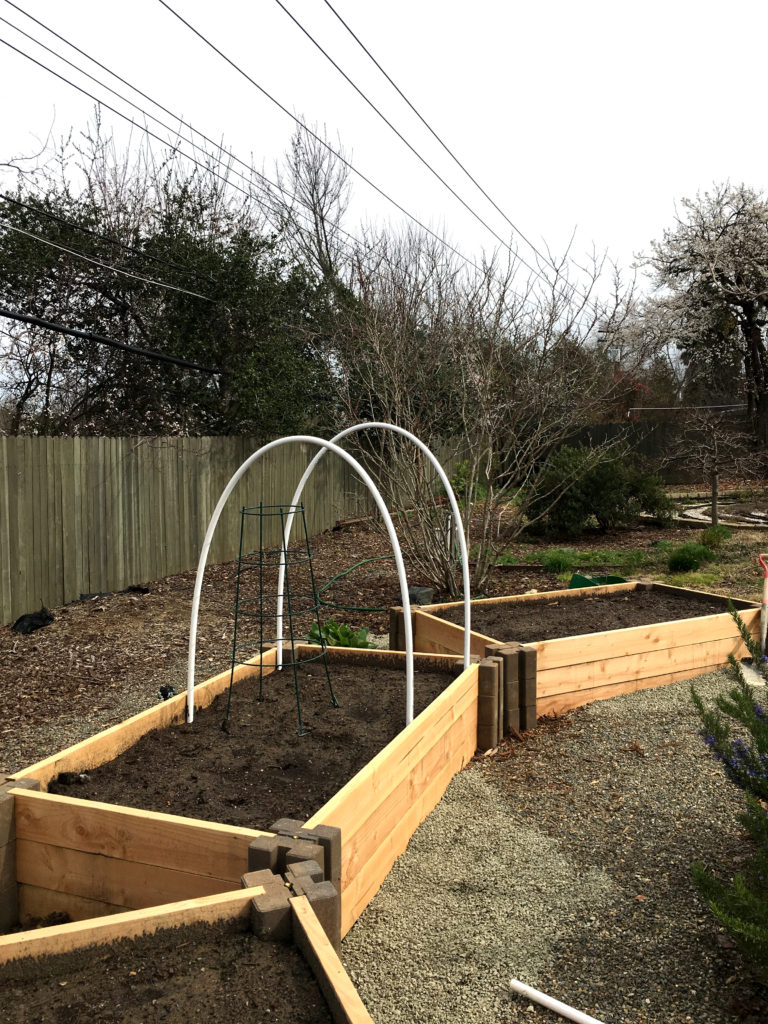
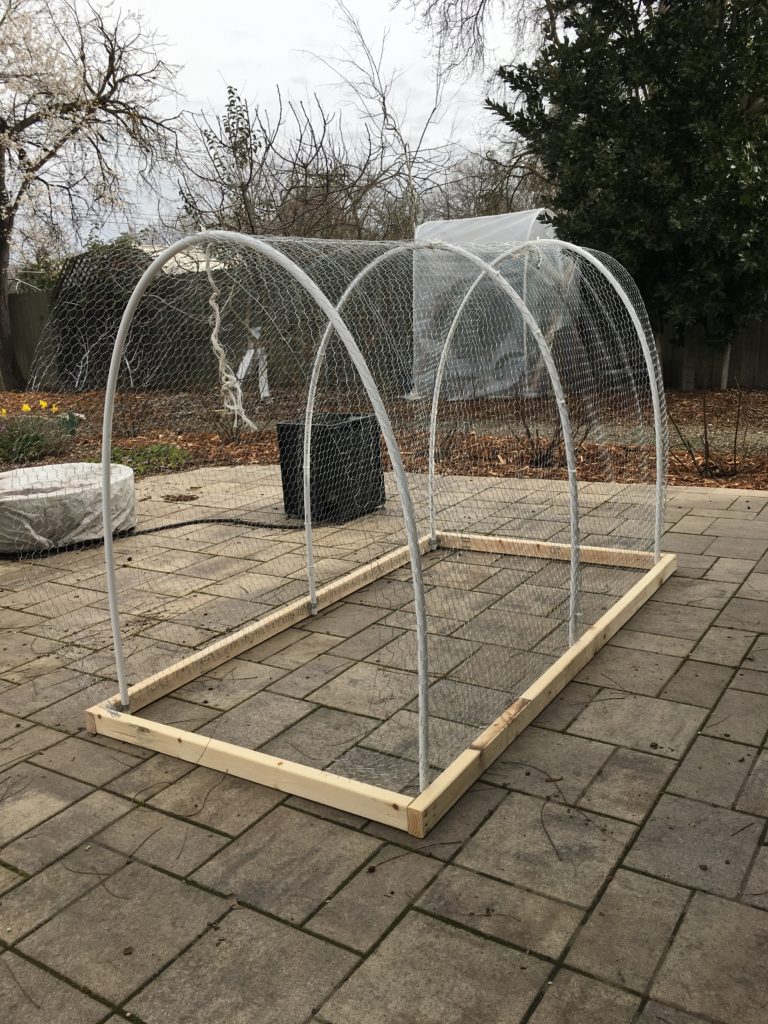
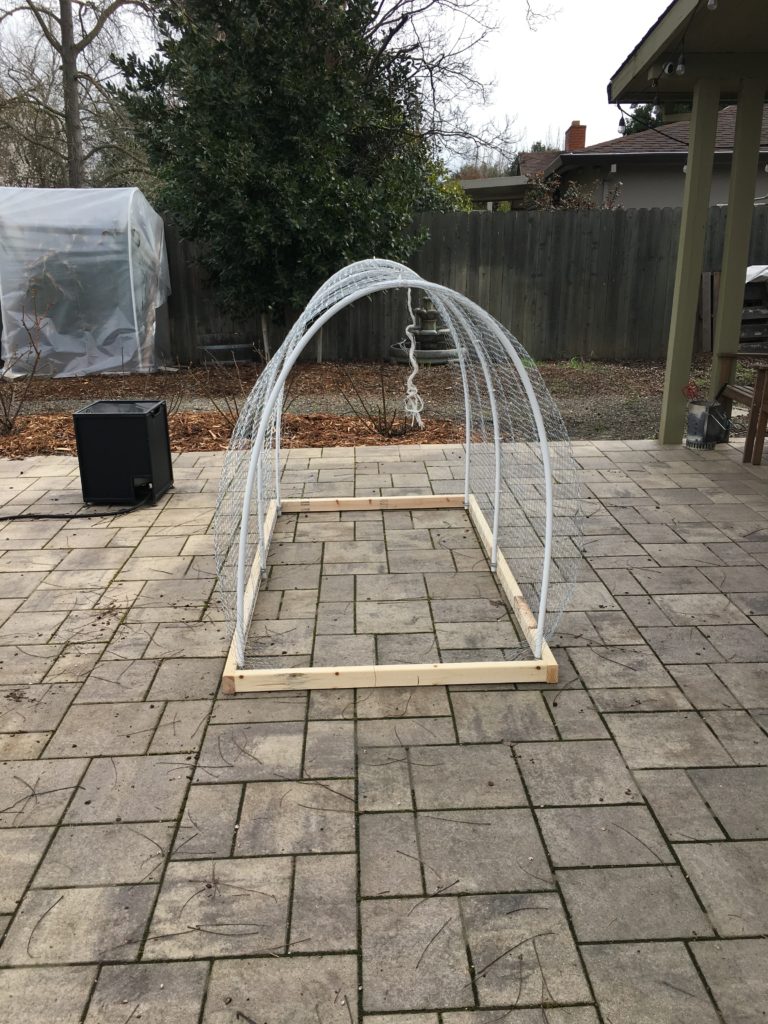
- We first screwed the wood together with 2″ screws to create a 6’x3′ frame. We have two 6ft studs encompassing two 2ft9in studs so the final result is 6’x3′.
2. We then install PVC brackets loosely on the inside of the frame at the ends and in the middle.
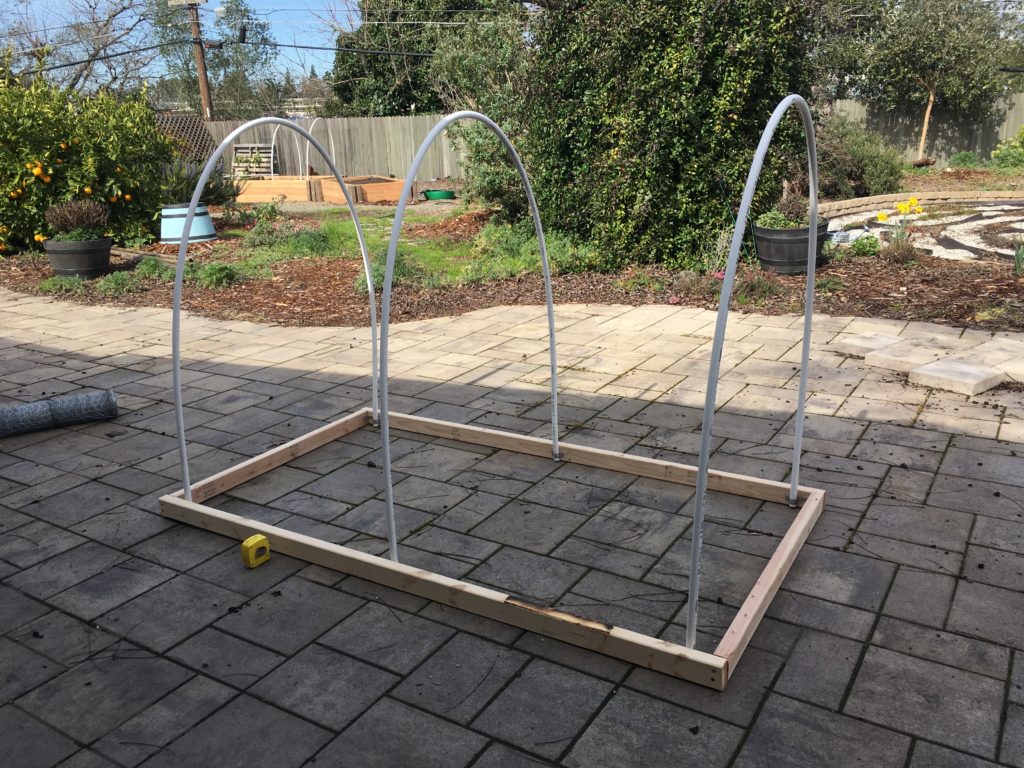
3. We then inserted our PVC and tightened the brackets.
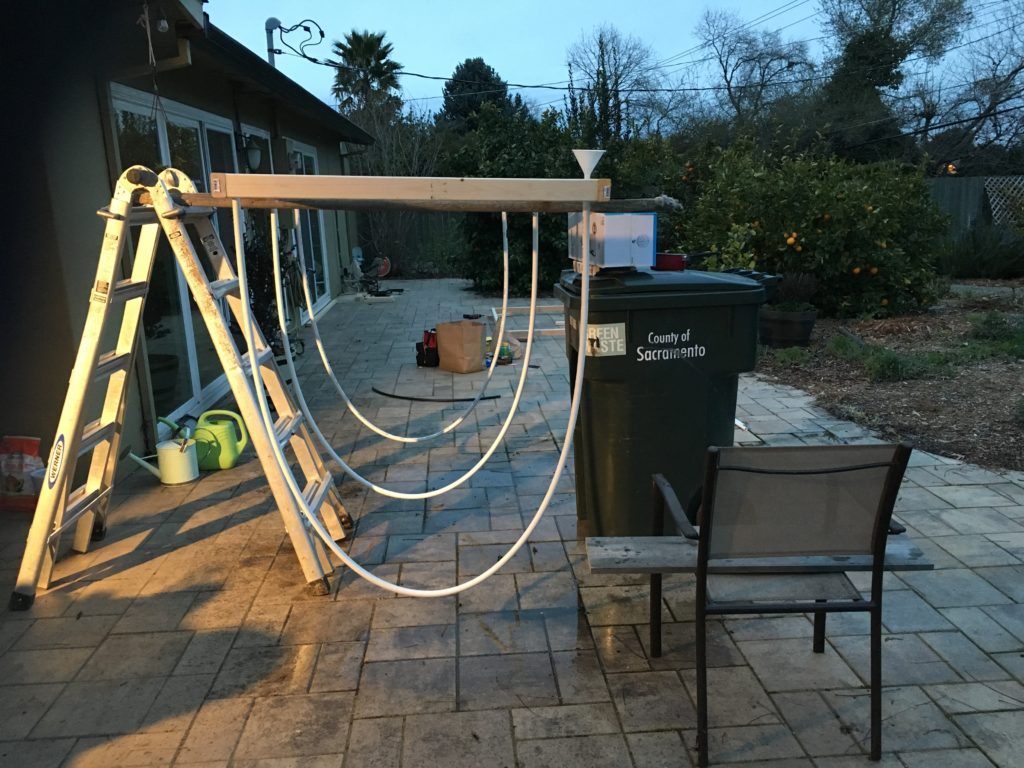
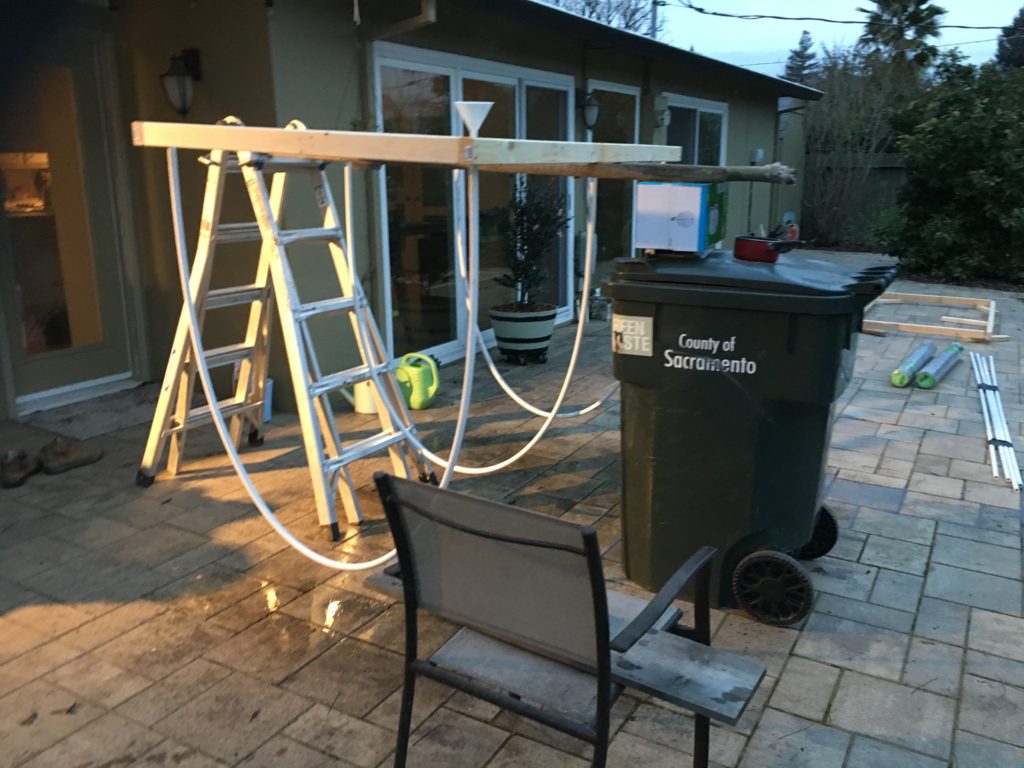
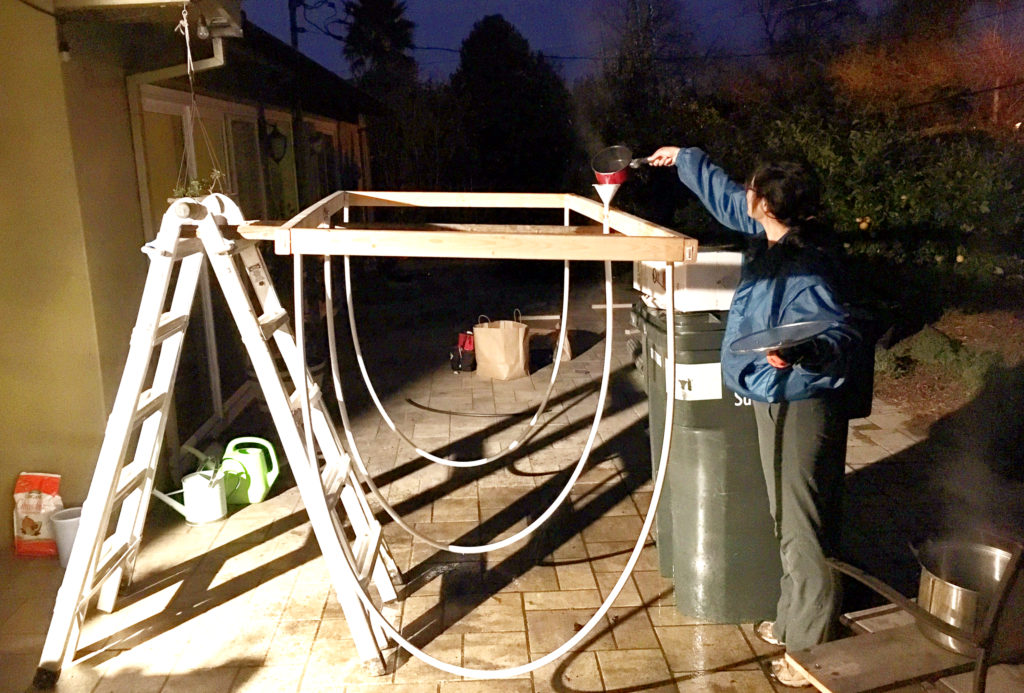
4. We then set the PVC shape as we wanted it to be nice and stable when we put poultry wire on it later. To do this, we turned our cover upside down, supported on a ladder and a bin, and poured boiling water into each of the PVC ‘ribs’ until it ran out the other end. We let the whole thing sit until the water has cooled in the PVC before proceeding to the next step.
5. We attach poultry netting over the PVC, using two strips that overlap at the middle PVC rib. We use a staple gun to secure the netting to the inside of the wooden frame and zip ties to secure to the PVC ribs. We made sure to pull the netting taut, and to measure the distances between the ribs to ensure proper spacing.
6. We attached handles to the front of each frame with wood screws.
7. We secured the covers to the planter boxes with two utility hinges on the backside of each planter.
8. Finally, we attached a screw to the lower right hand corner of the front of the planter in order to attach a string that we tied to the right corner of the cover frame. This allows us to open the covers without having the covers fall over. As a companion to this, we screwed a square piece of wood to a scrap stud to make a stopper to prevent the cover from falling down when open!
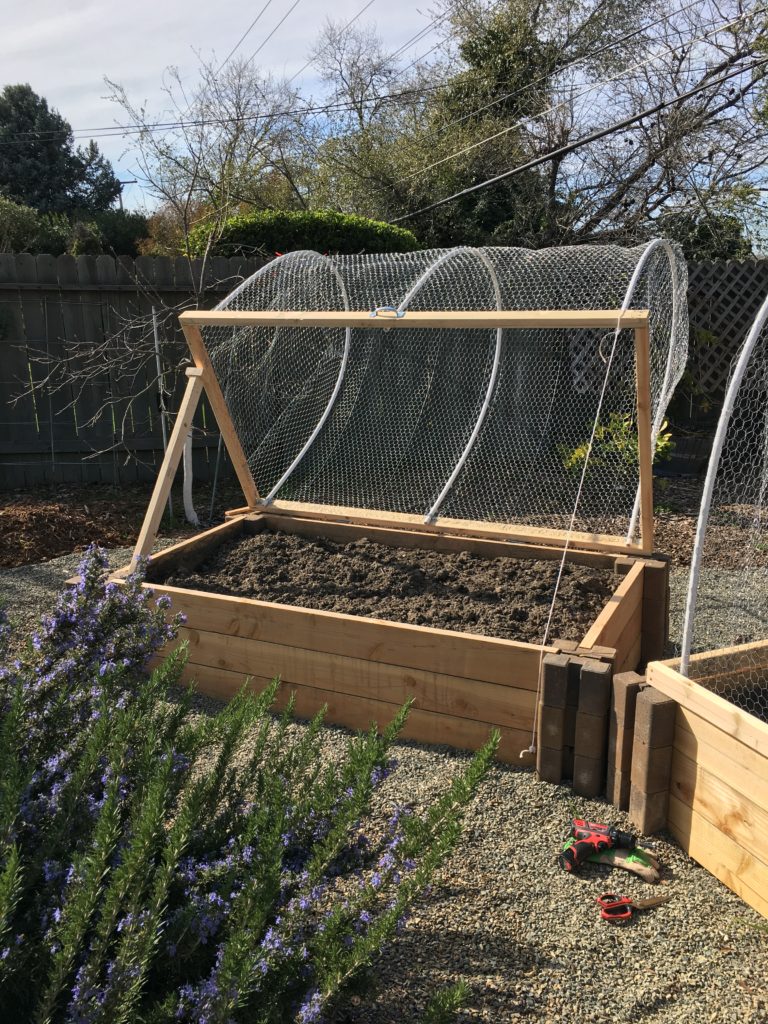
There it is! Our wonderful raised planters with squirrel protection covers! The PVC was perfectly adequate to support the poultry wire netting with no noticeable sagging. The PVC and poultry wire seem to reinforce each other, which we’re very happy with. The entire cover is heavy enough to sit securely on the planters, but is also light enough to lift and open easily.
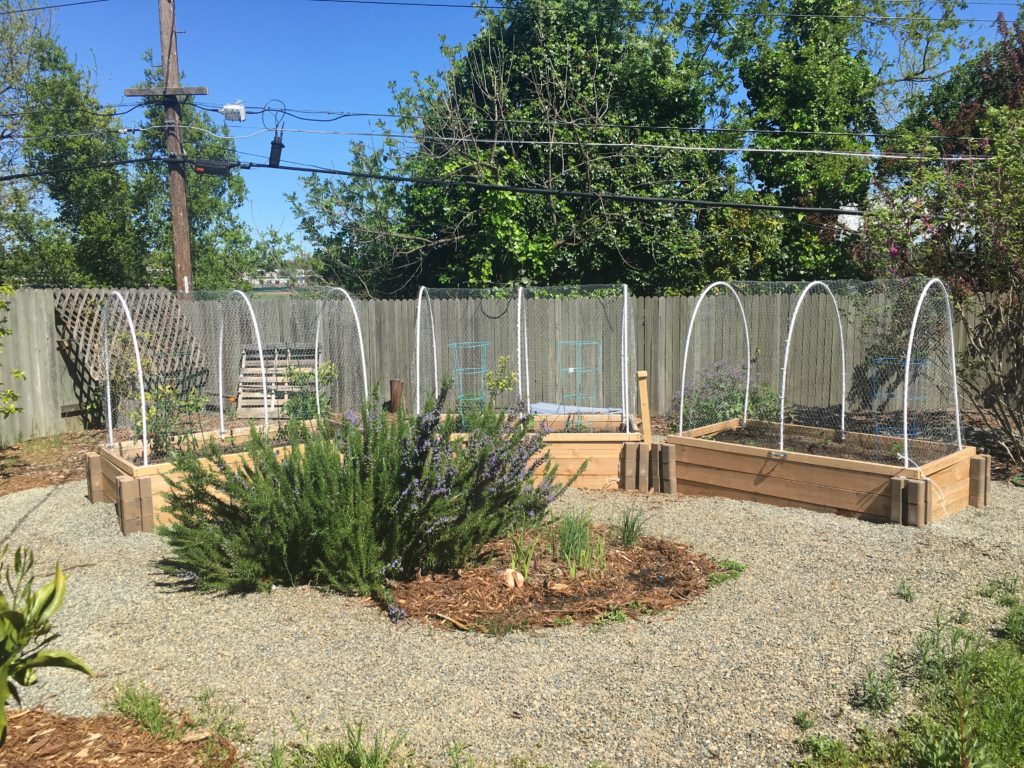
We have already put a few veggies in our planters, and are looking forward to a great growing season!